


The Neck
This is my work log of how work with the neck progressed:
When doing this, do not forget to think about the body too. There are many things to keep in mind, one example is how the distance of the neck effects the location of the bridge. I made both the body and the neck at the same time.
Before you commence with this you will need to choose what dimensions you want for your neck, you should also consider if you want to use a truss rod or not. I decided the dimensions during the work, but I do not recommend it.
20th of January:
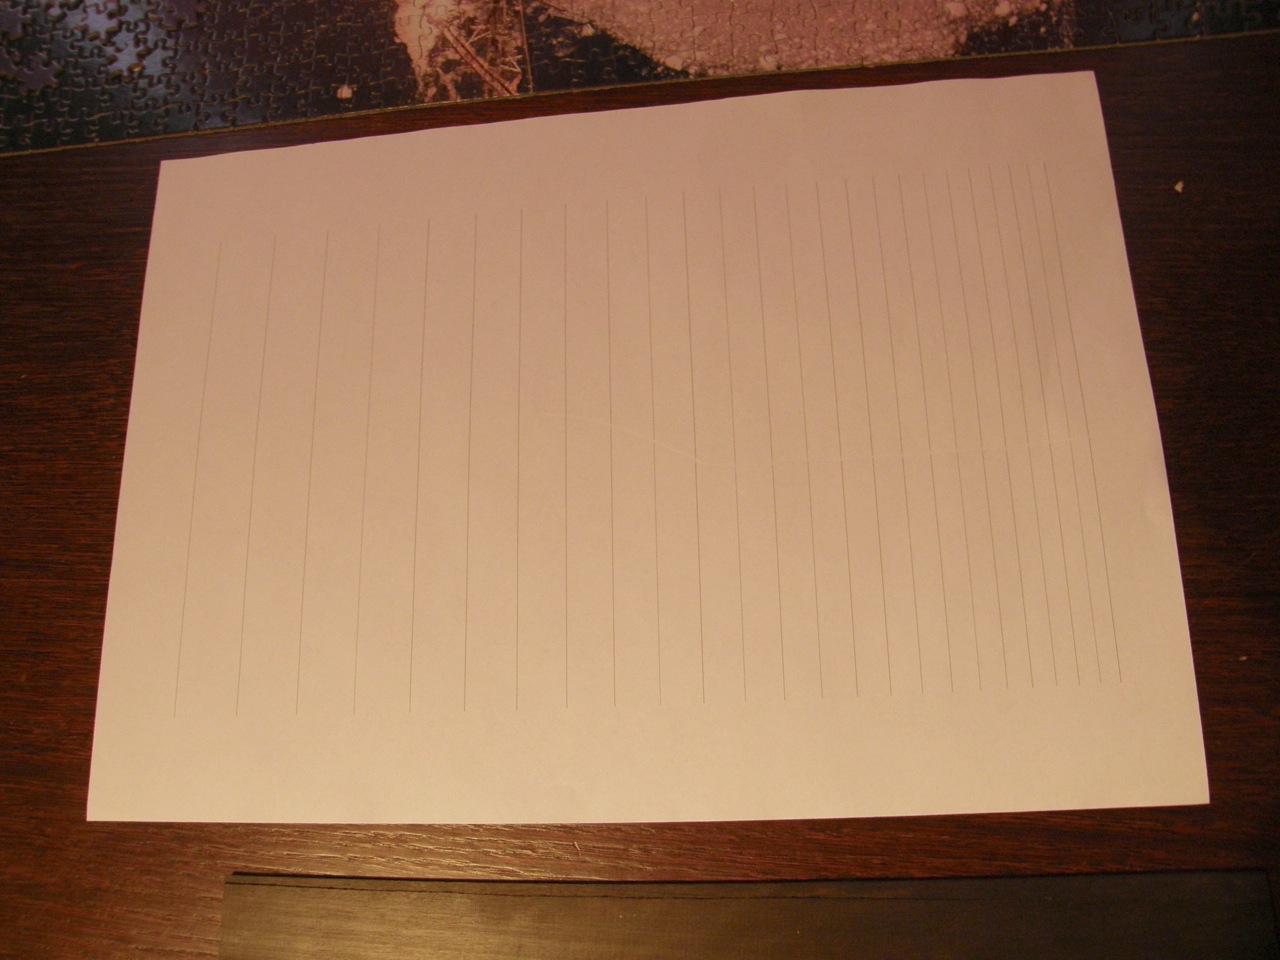
Today I have looked at the fretboard, I have made an PDF file of the location of the frets, now all I need is to print it out on an A3-paper.
Here is a link to the file if you are interested, you can see more details about the distances if you look at earlier posts. Fretboard.pdf
22nd of January:
Today I have taken some new fotos of the balalajka, they can be seen below. I have also tested to string the instrument ones more and it seems like the neck can stand the pressure without any trouble at all.
Here are some pictures of the whole balalajka: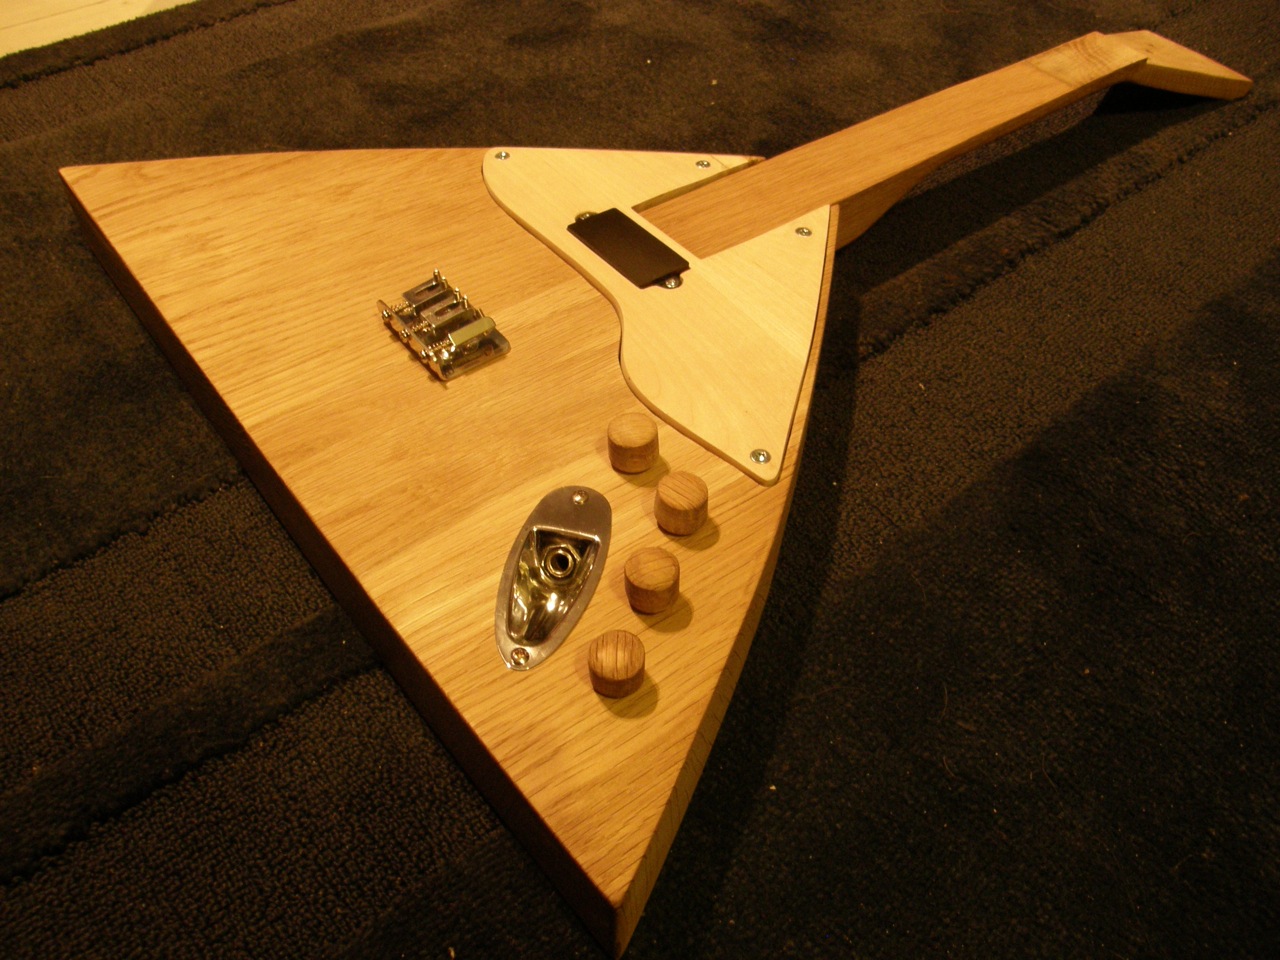
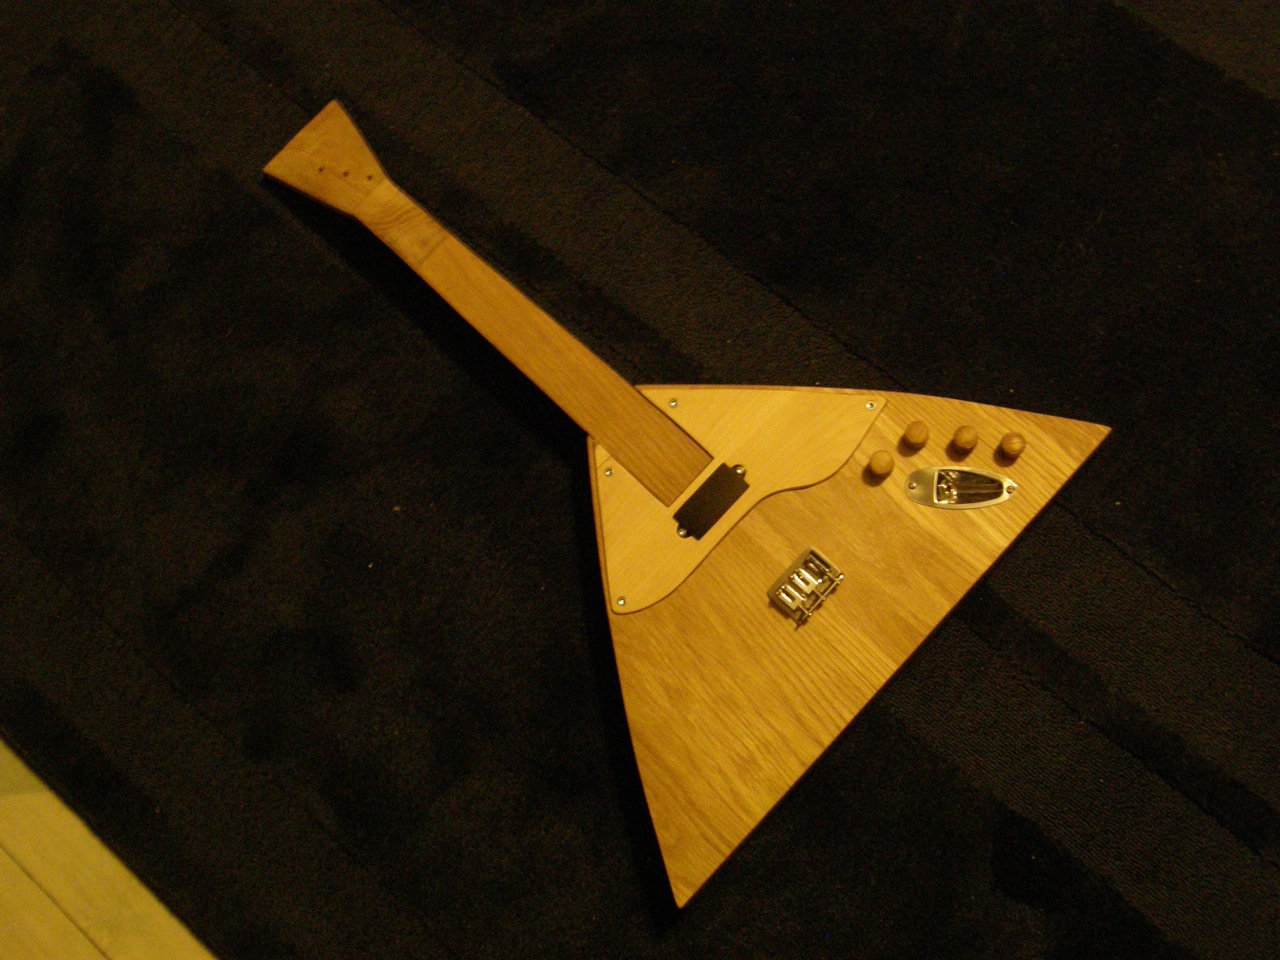
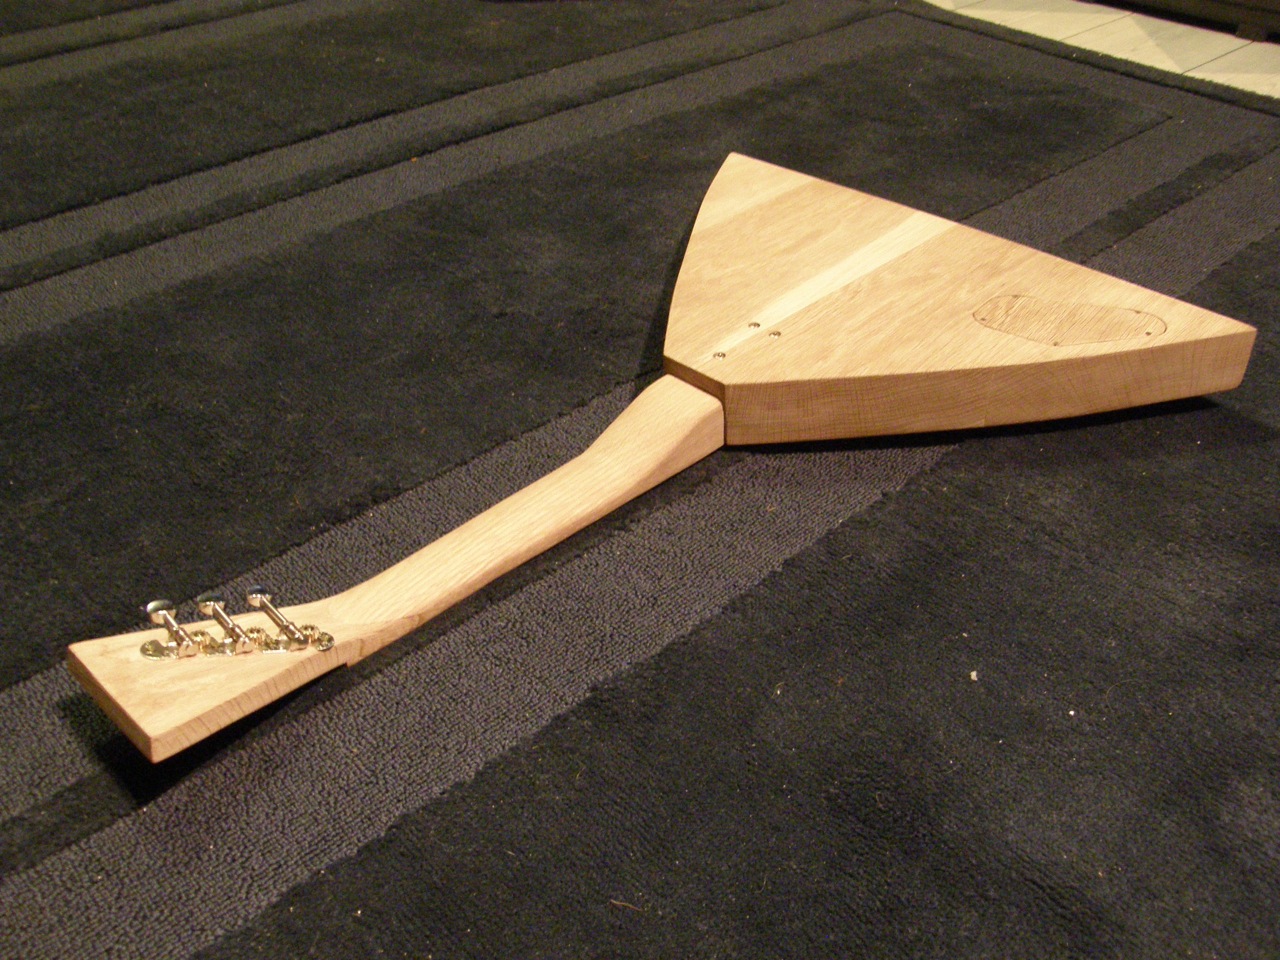
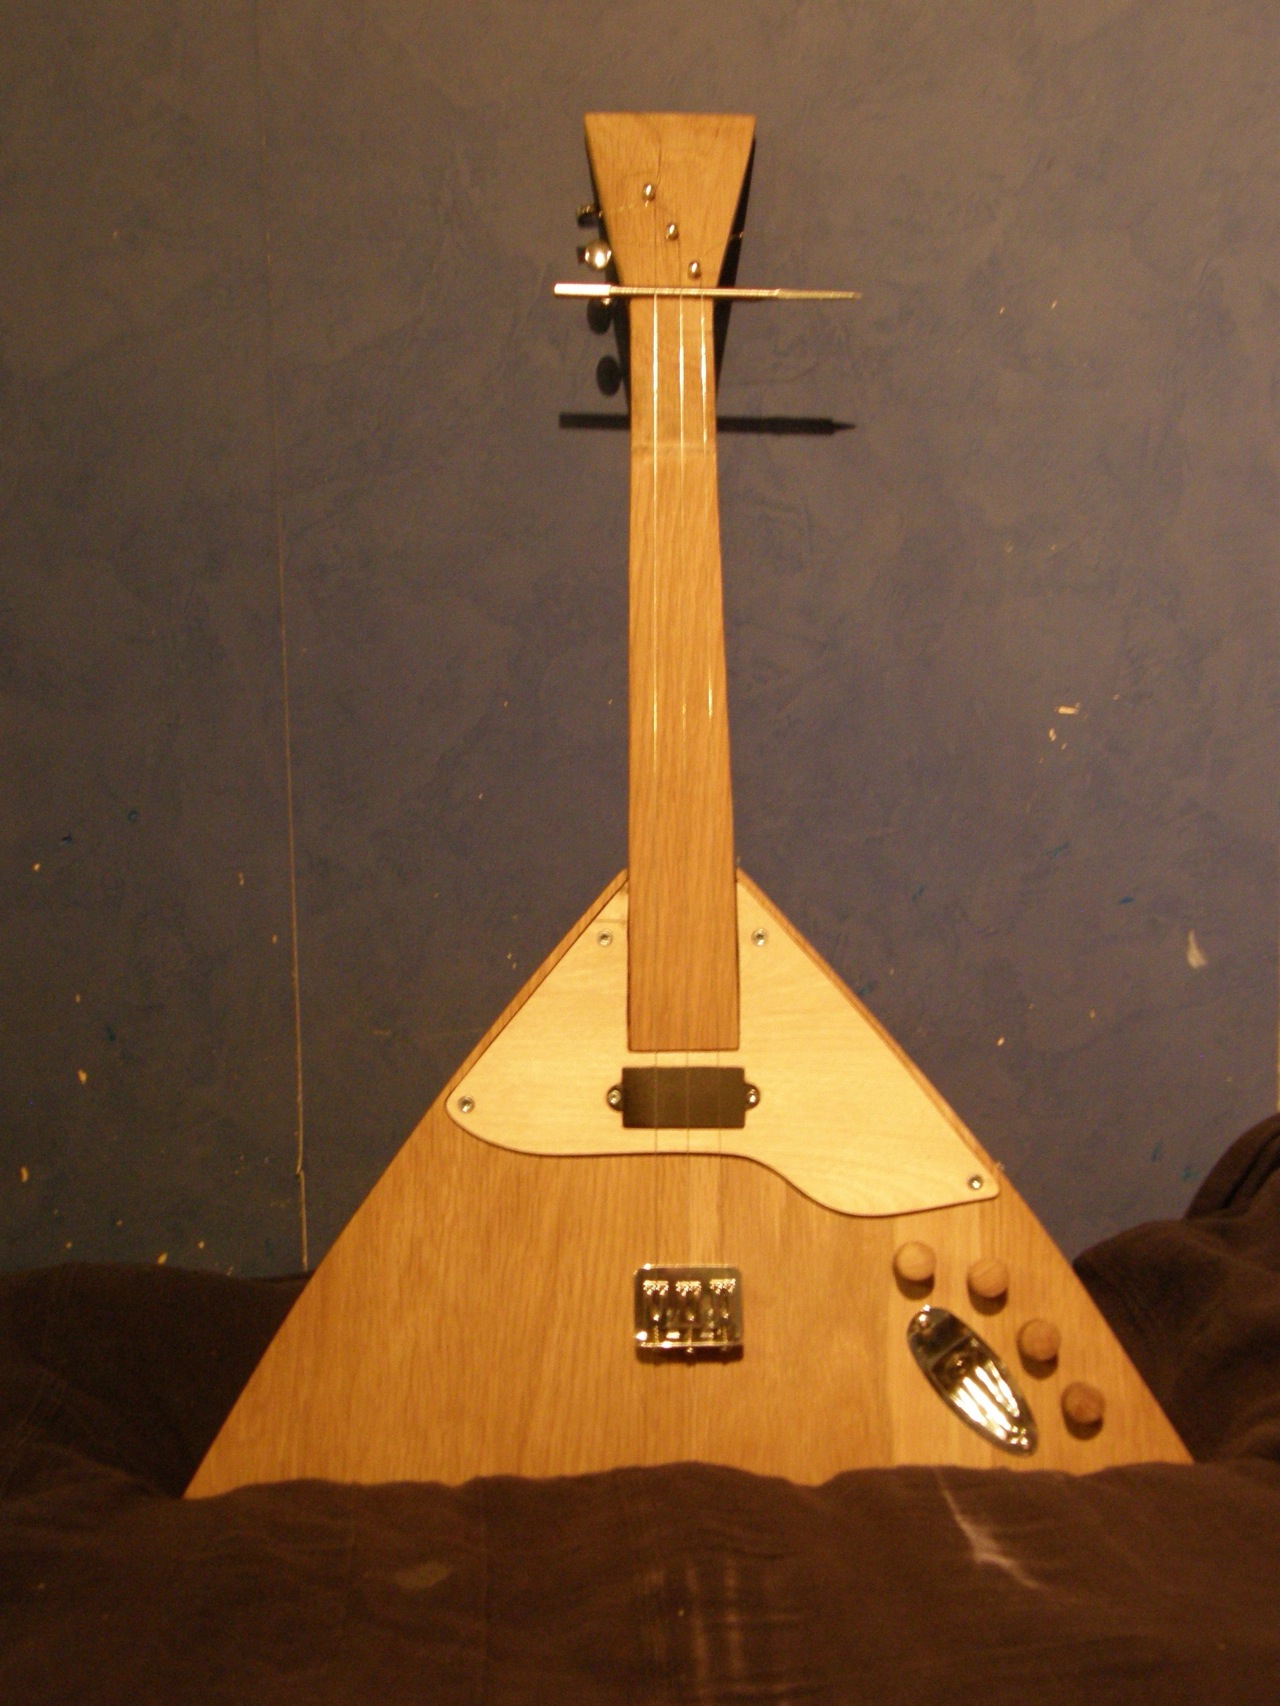
As you can see almost the only thing that I have got left is the fretboard.
24th of January:
Today I have succseeded in printing out the fretboard distances. (with the right distances).
28th of January:
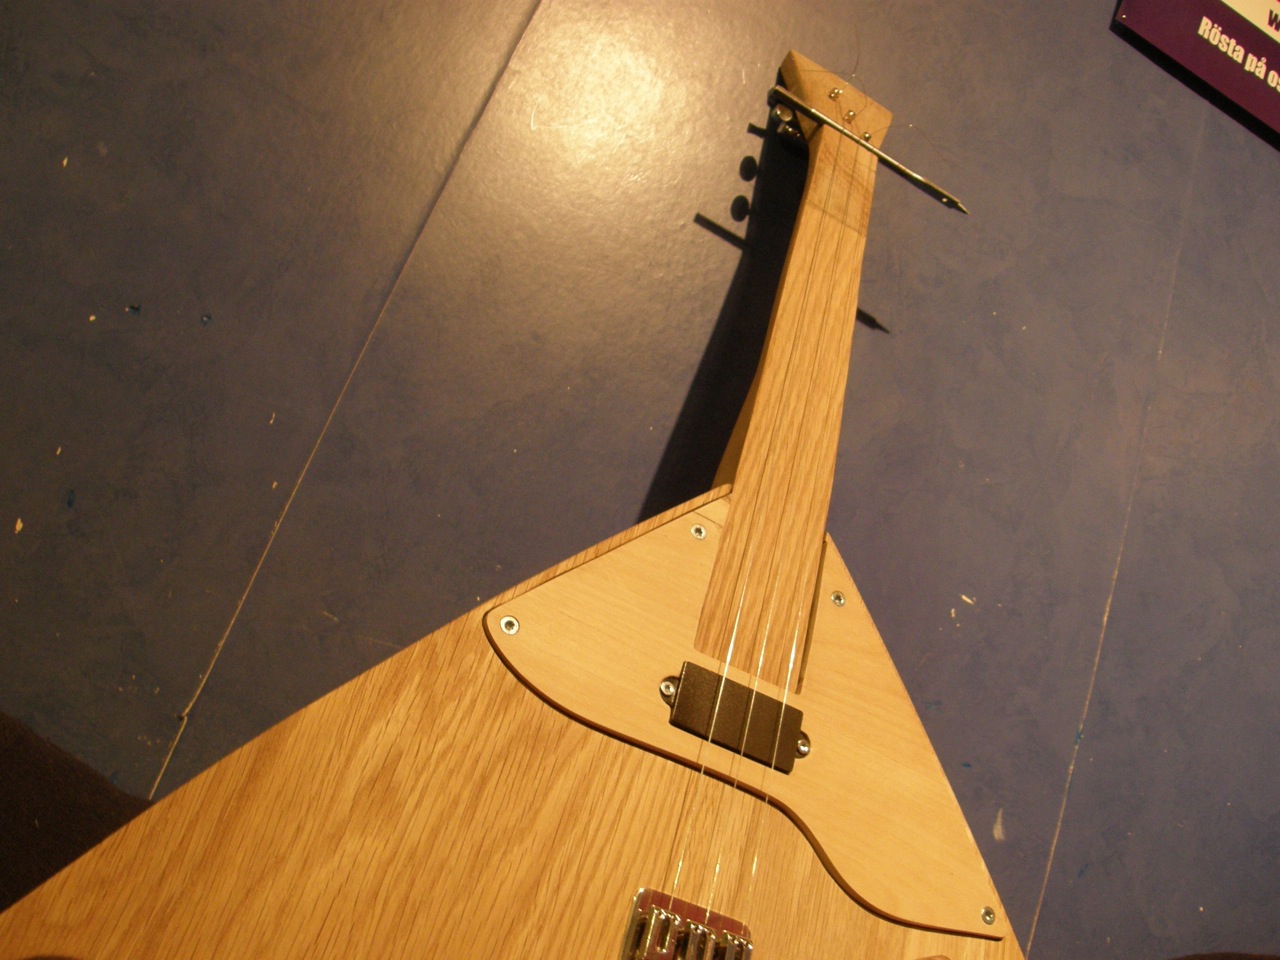
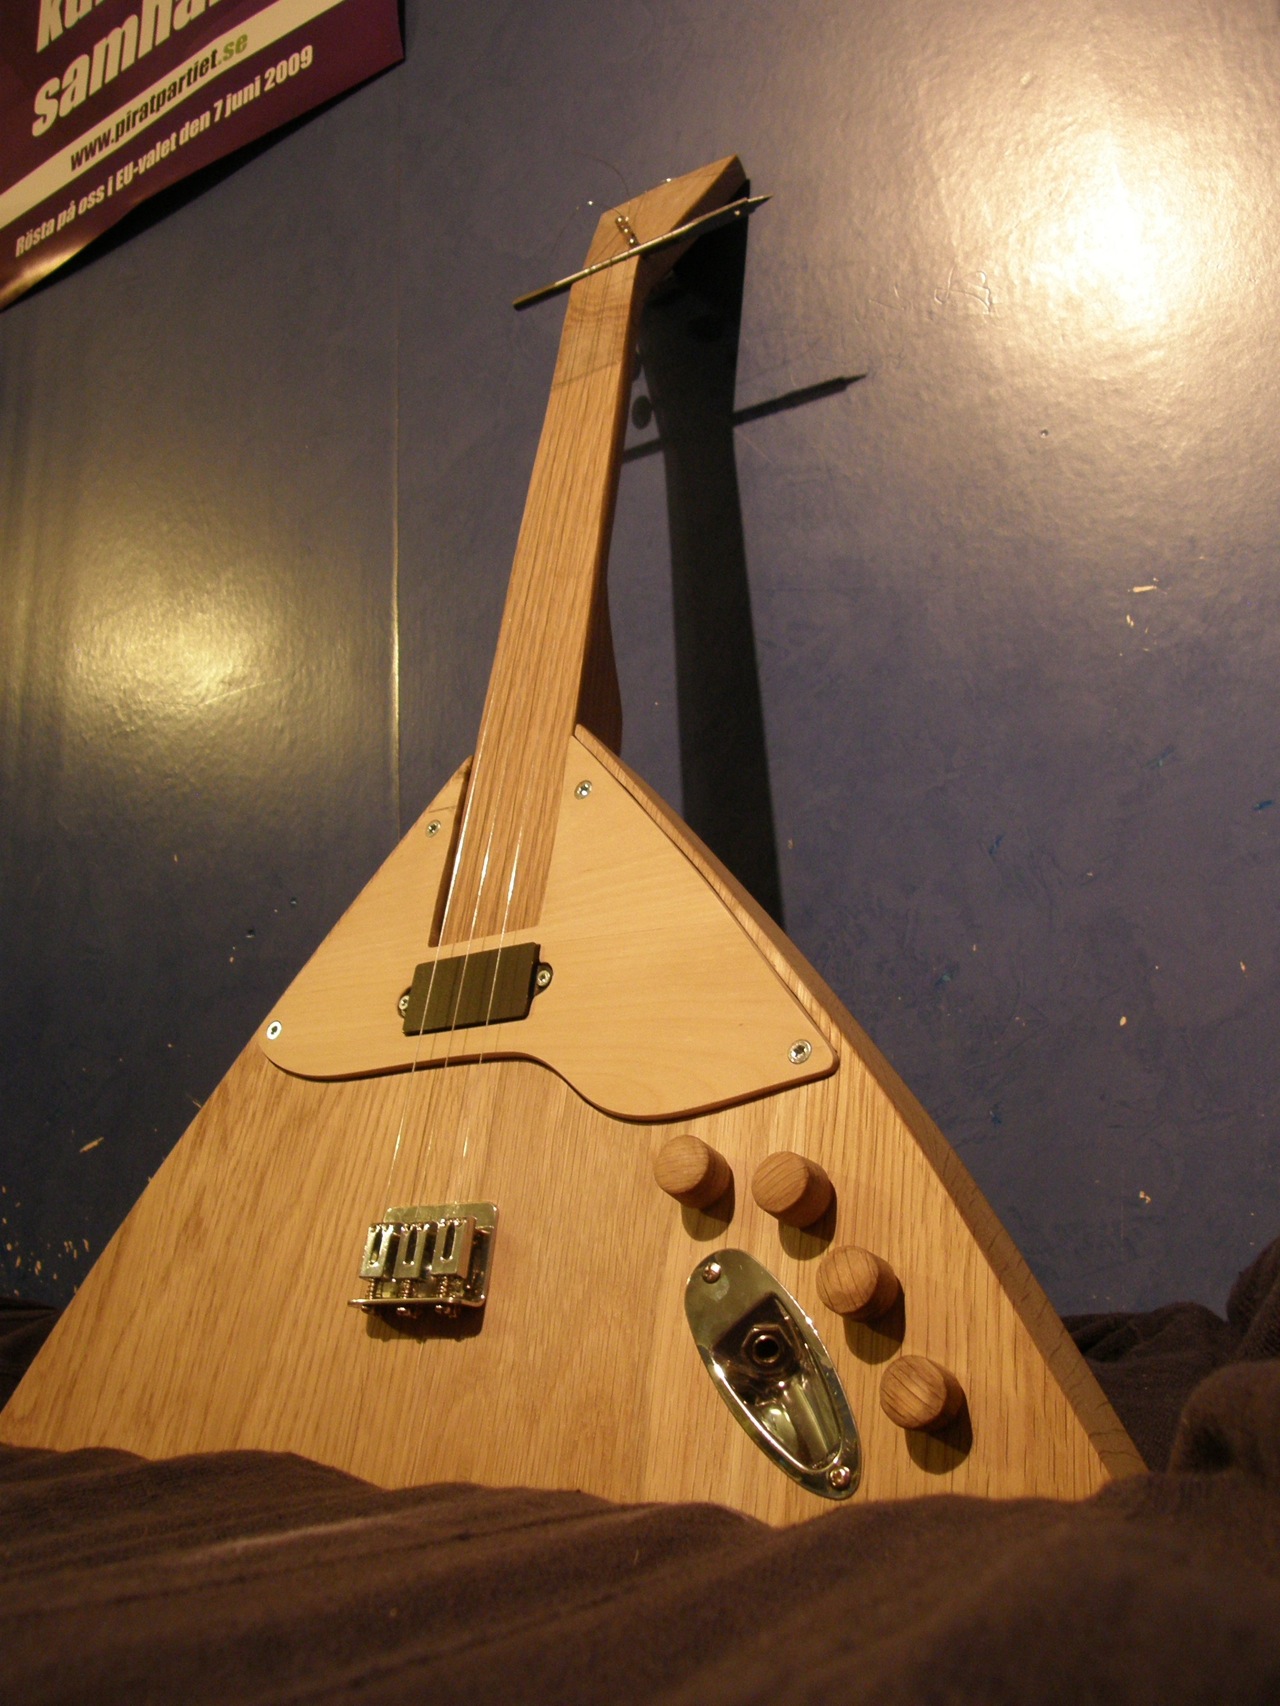
Today I got a new idea for the nut of the balalajka, you can see it on the picture below. I will make the zero fret by letting the nut go onto the fretboard itself, I have never seen any guitar with even a similar design so I hope that this will work.
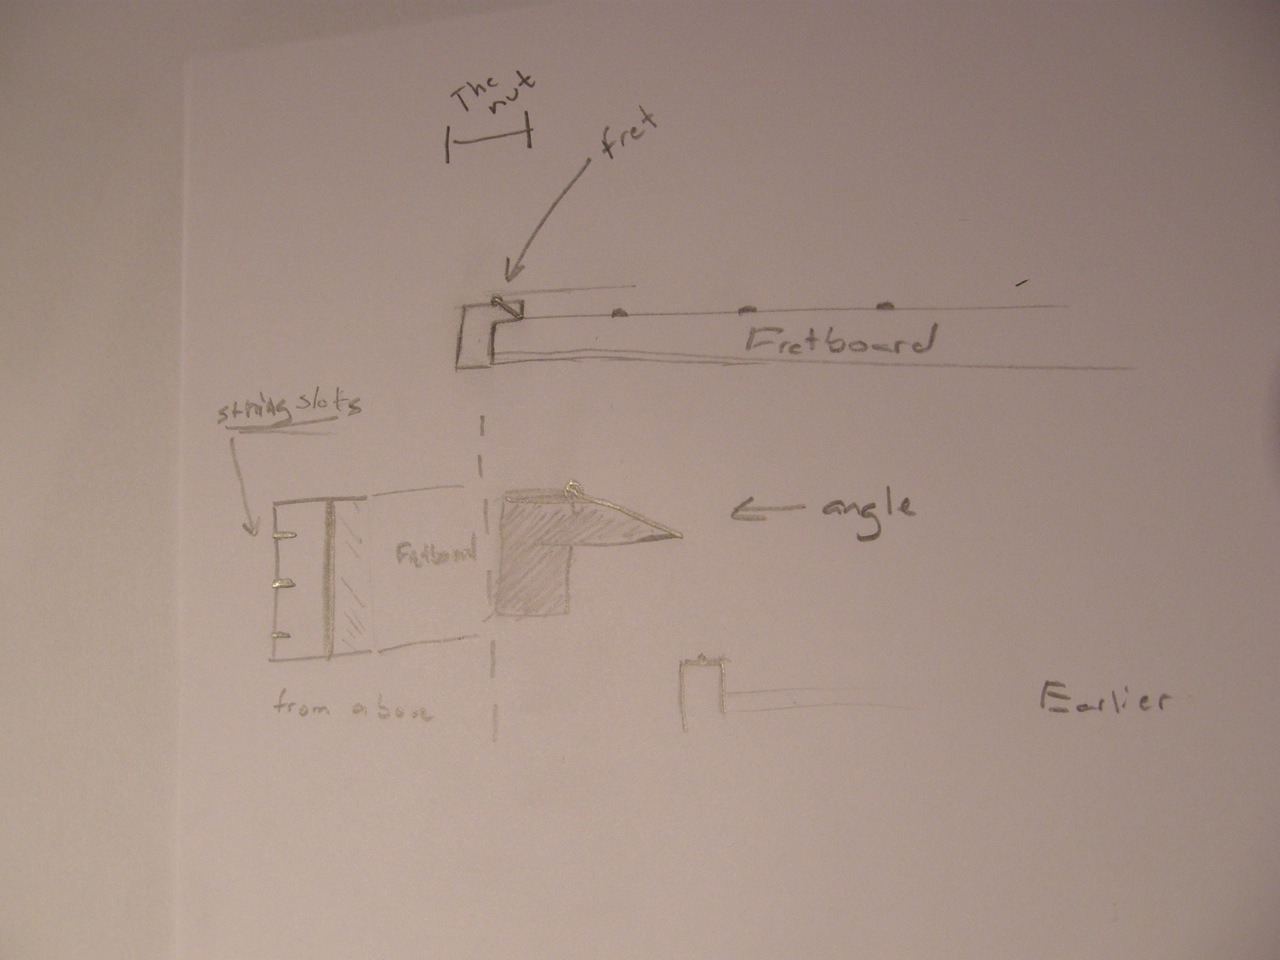
I hope that you understand what I mean, otherwise you should be able to see it when I have finished with it.
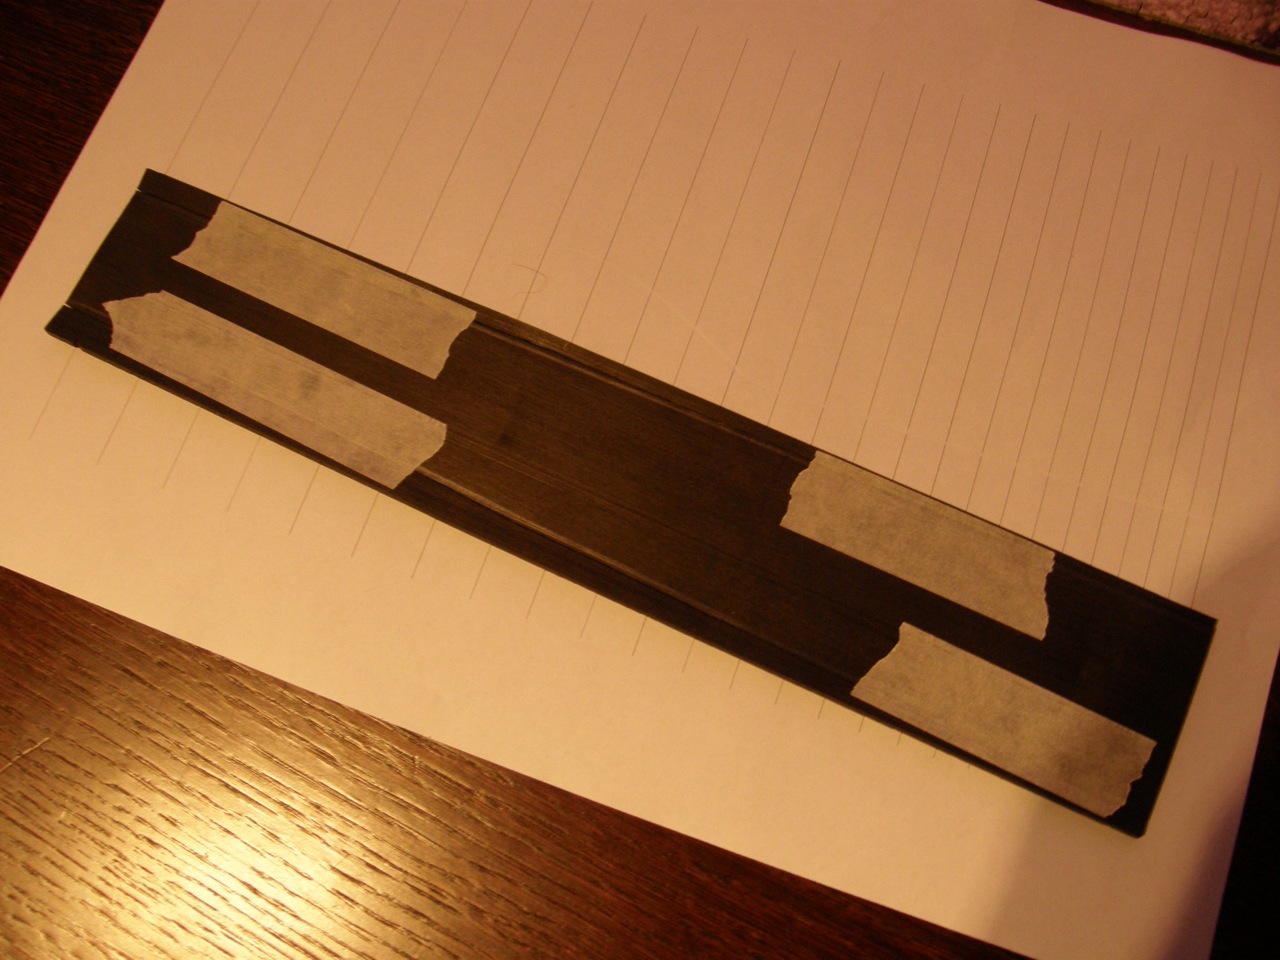
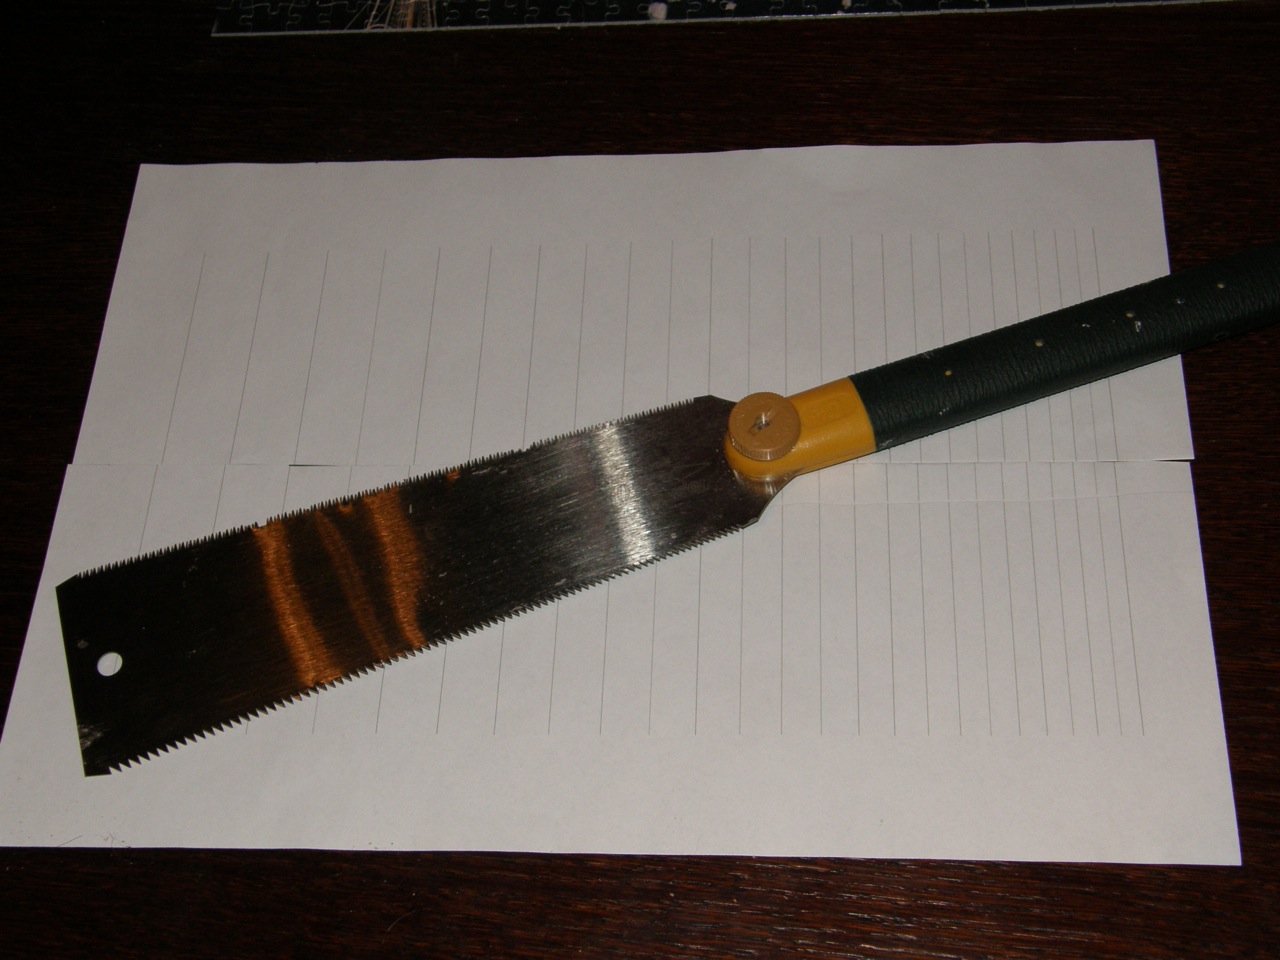
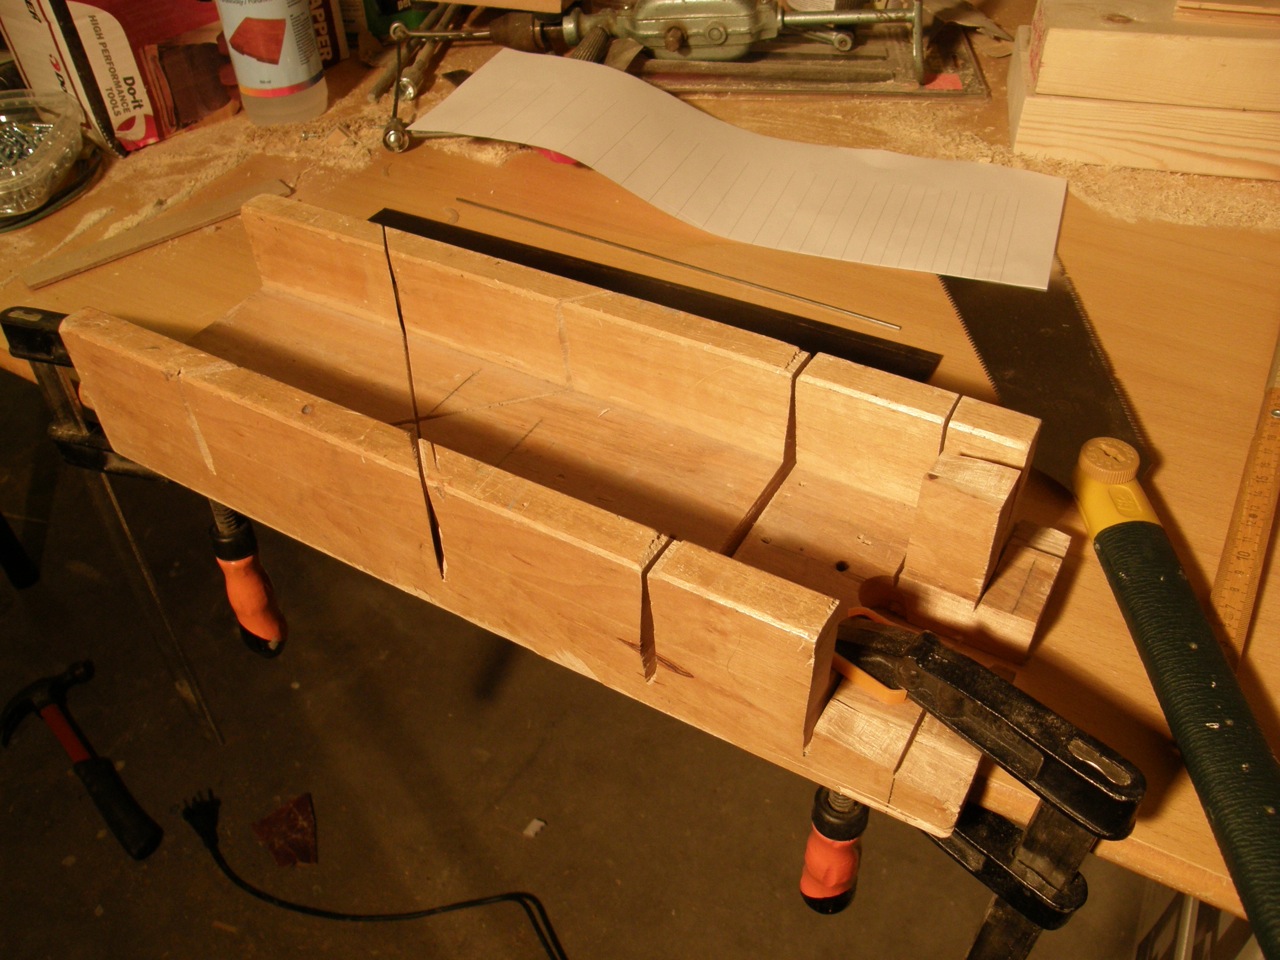
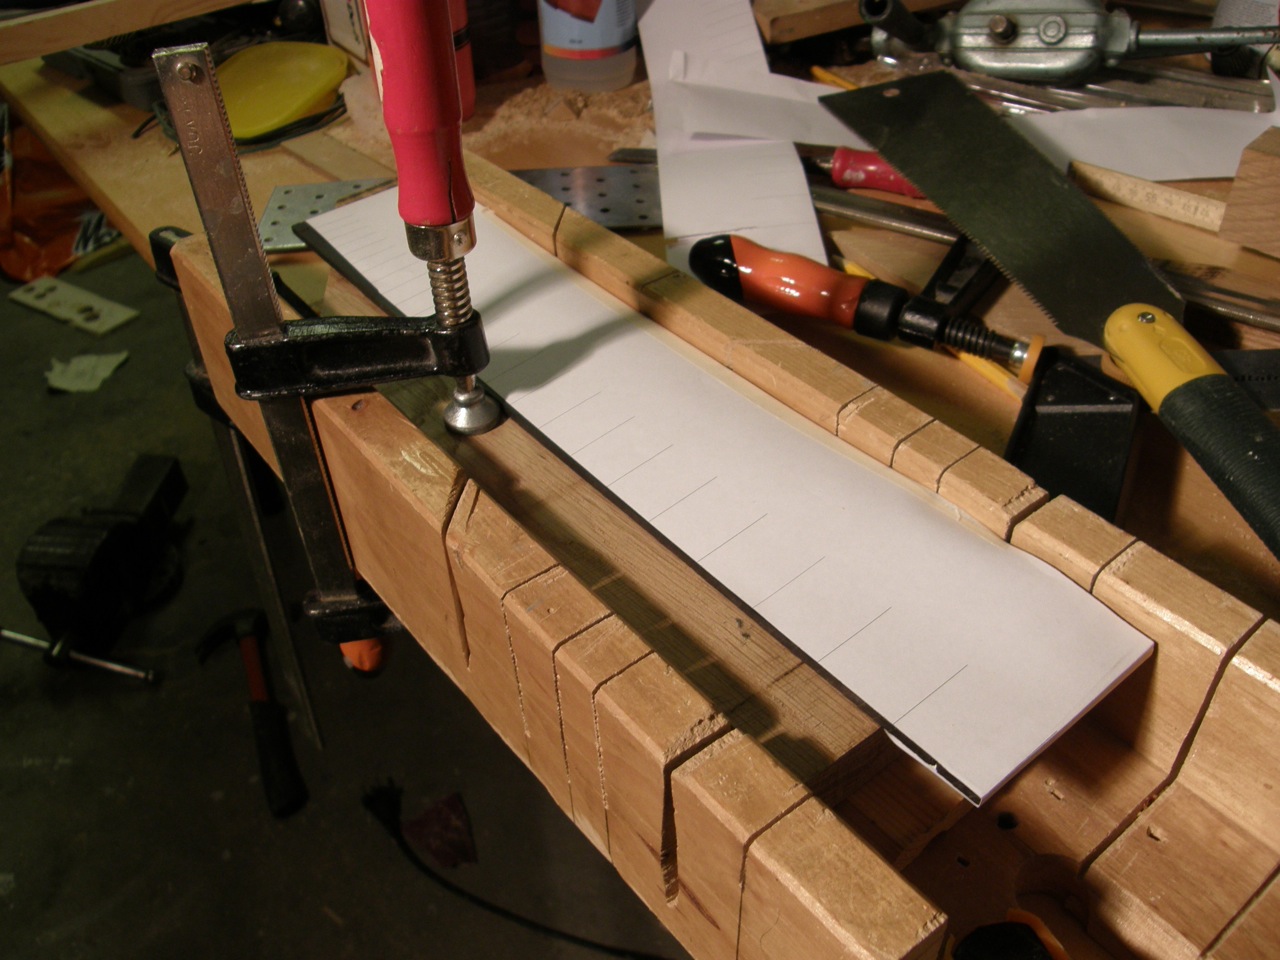
I then began to work with the fretboard, earlier this week I found a mitre box in the basement. (otherwise I would have made one myself; in fact I even began with this before finding it). My first step today was to make a new slot in it, with the right thickness for the Japanese saw; I borrowed the saw earlier today.
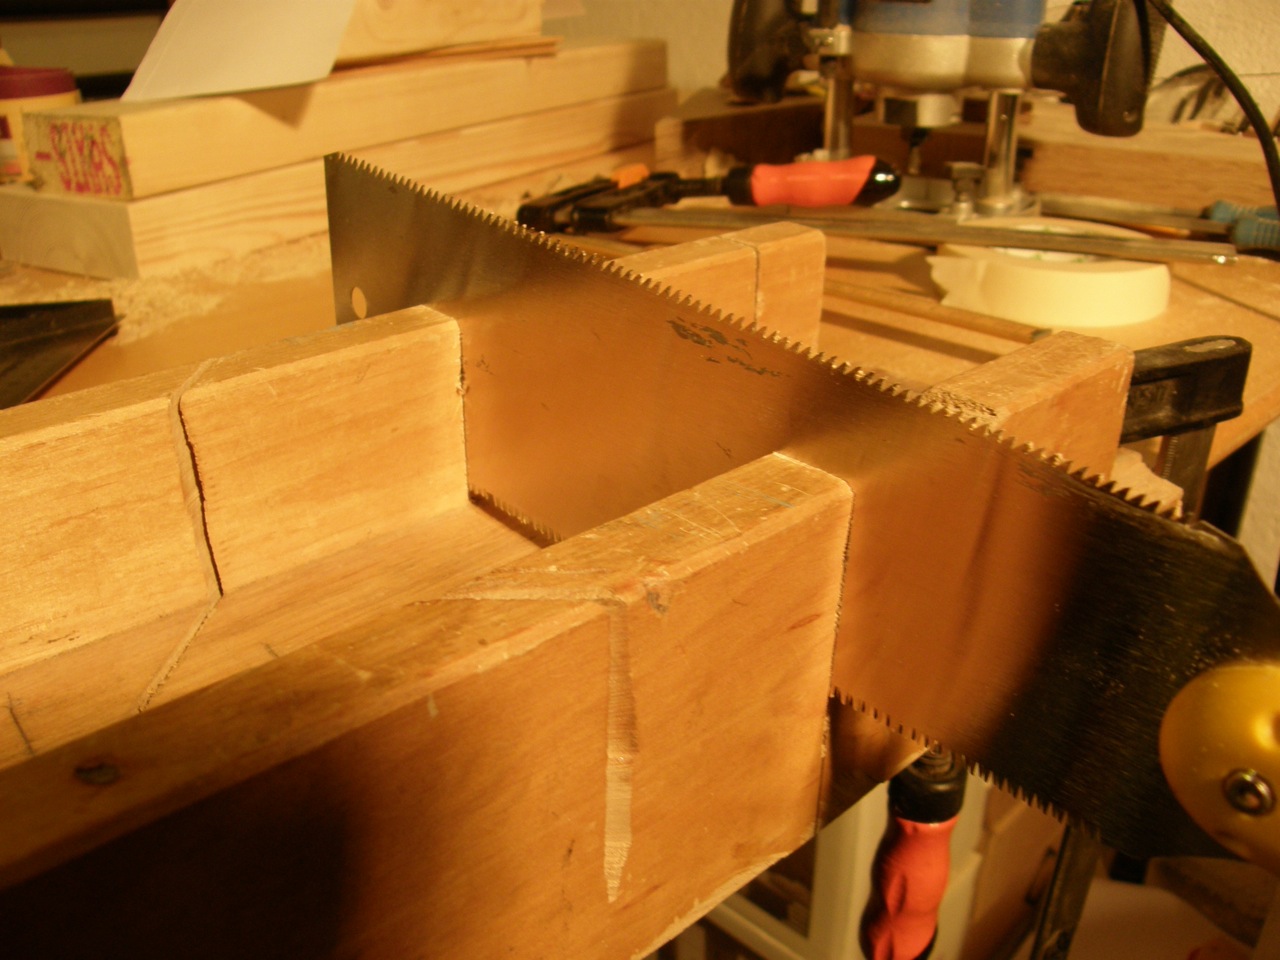
I then moved on to train a bit on how to use it and made sure that I knew what I was doing. Then I started with the fretboard, I used the paper tactic it went well and the first fret slot is in place. But I believe that it is a bit more time consuming than the normal technique so I will use this for the rest of the fret slots.
Here are some pictures: