


The Body
This is my work log of how work with the body progressed:
When doing this, do not forget to think about the neck too. There are many things to keep in mind, one example is how the distance of the neck effects the location of the bridge. I made both the body and the neck at the same time.
Before you commence with this you will need to choose what dimensions you want for your neck, you should also consider if you want to use a truss rod or not. I decided the dimensions during the work, but I do not recommend it.
18th of January:
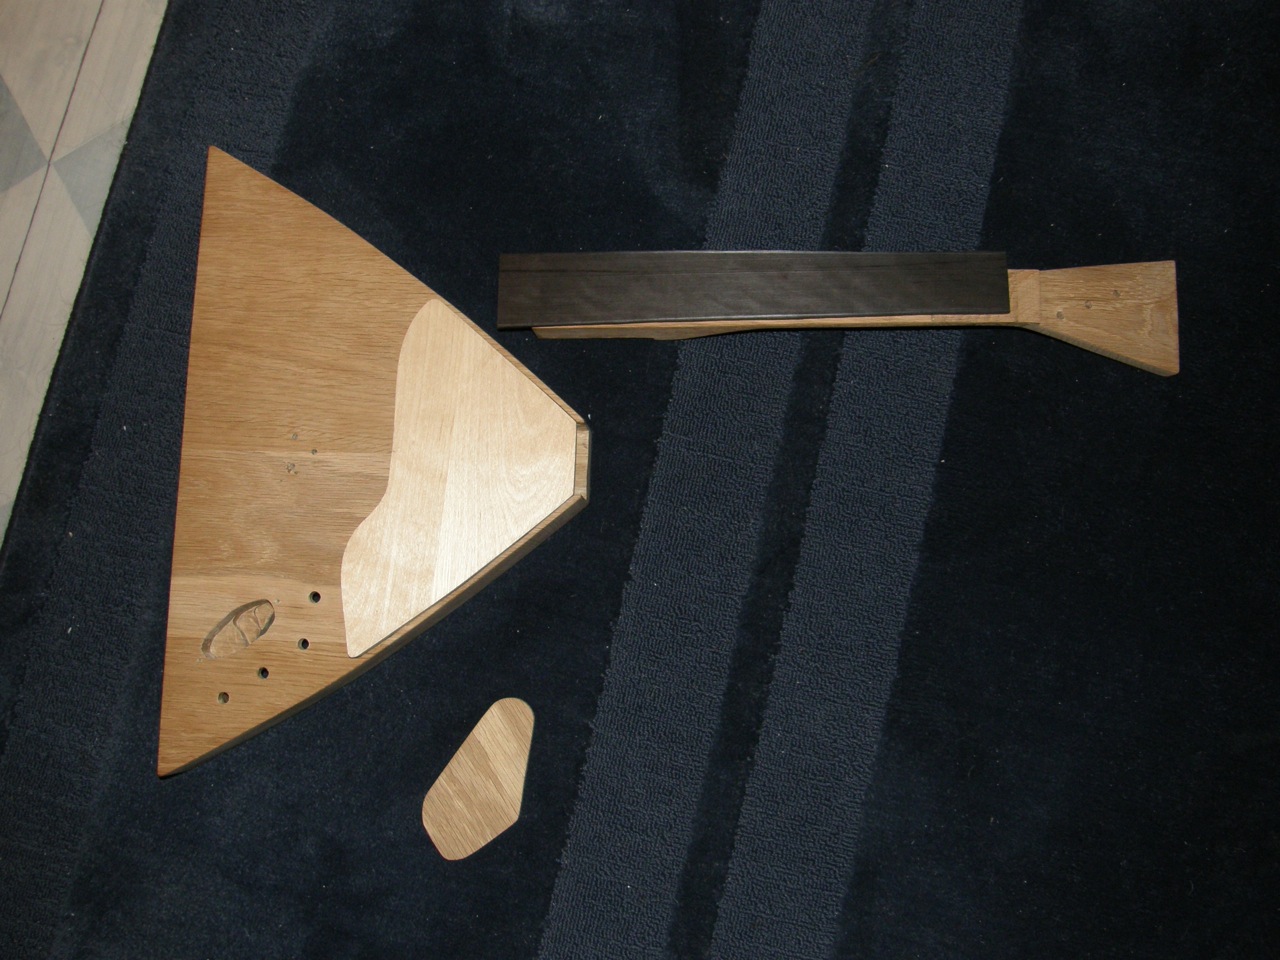
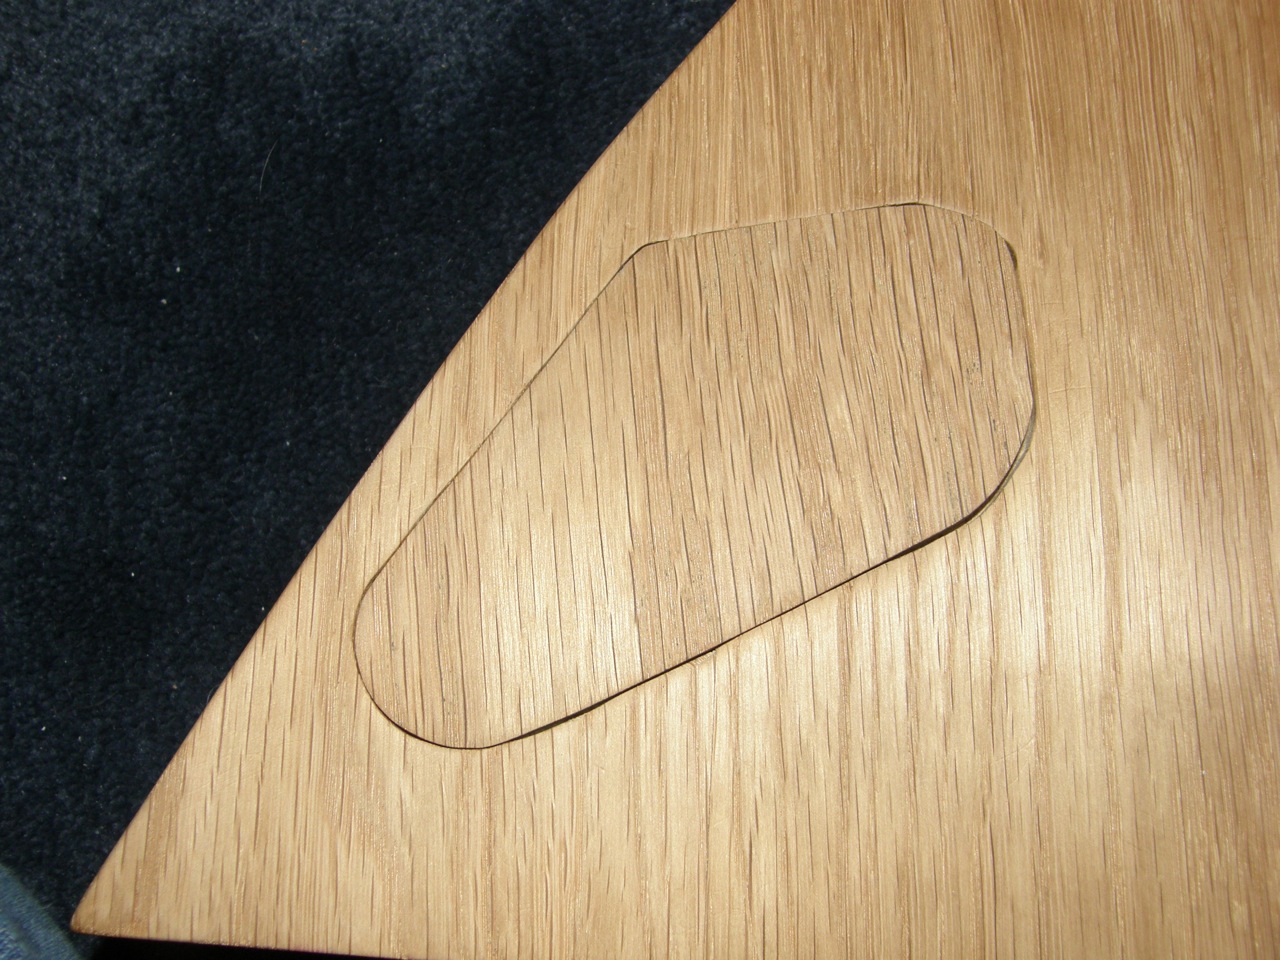
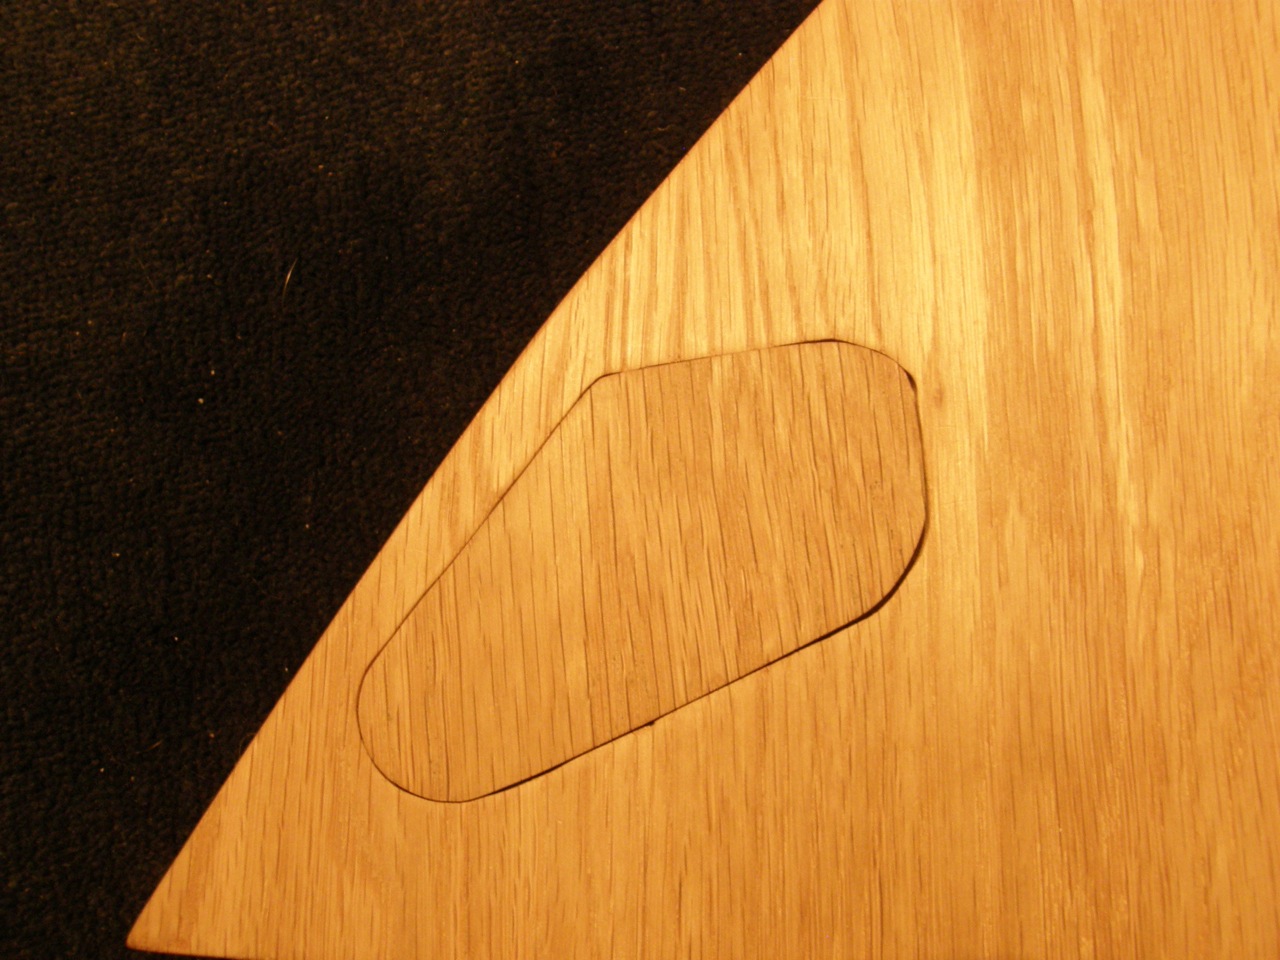
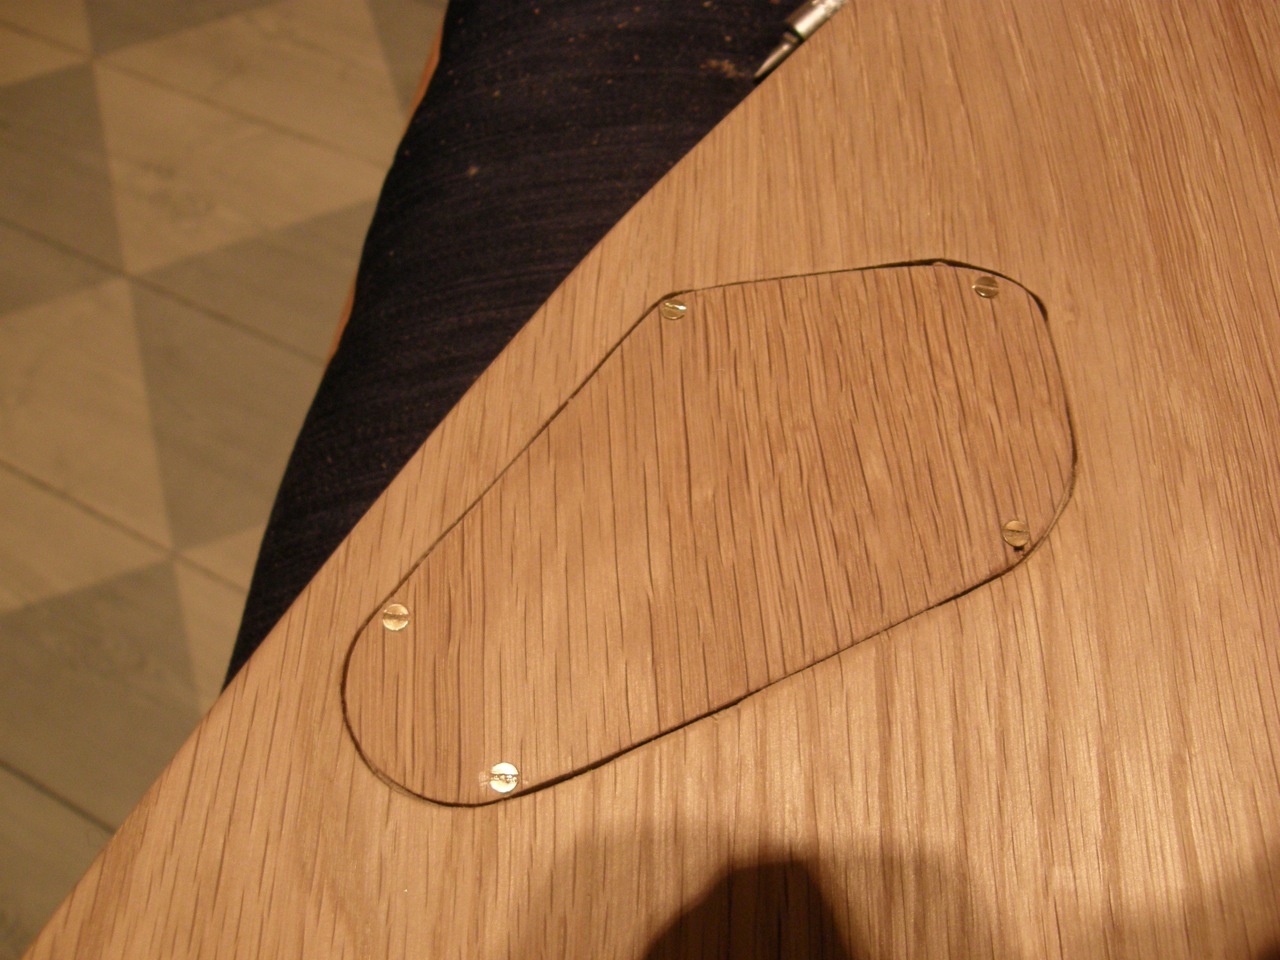
Today I have worked in the woodwork, the cover for the cavity has been made, I did this with the help from my template and a grinding machine. The wood was taken from a bit of planed wood, but I will have to reduce its thickness a little bit so that it does not stand out. I am going to attach it to the body using five screws. (The number is is only for the appearance.)
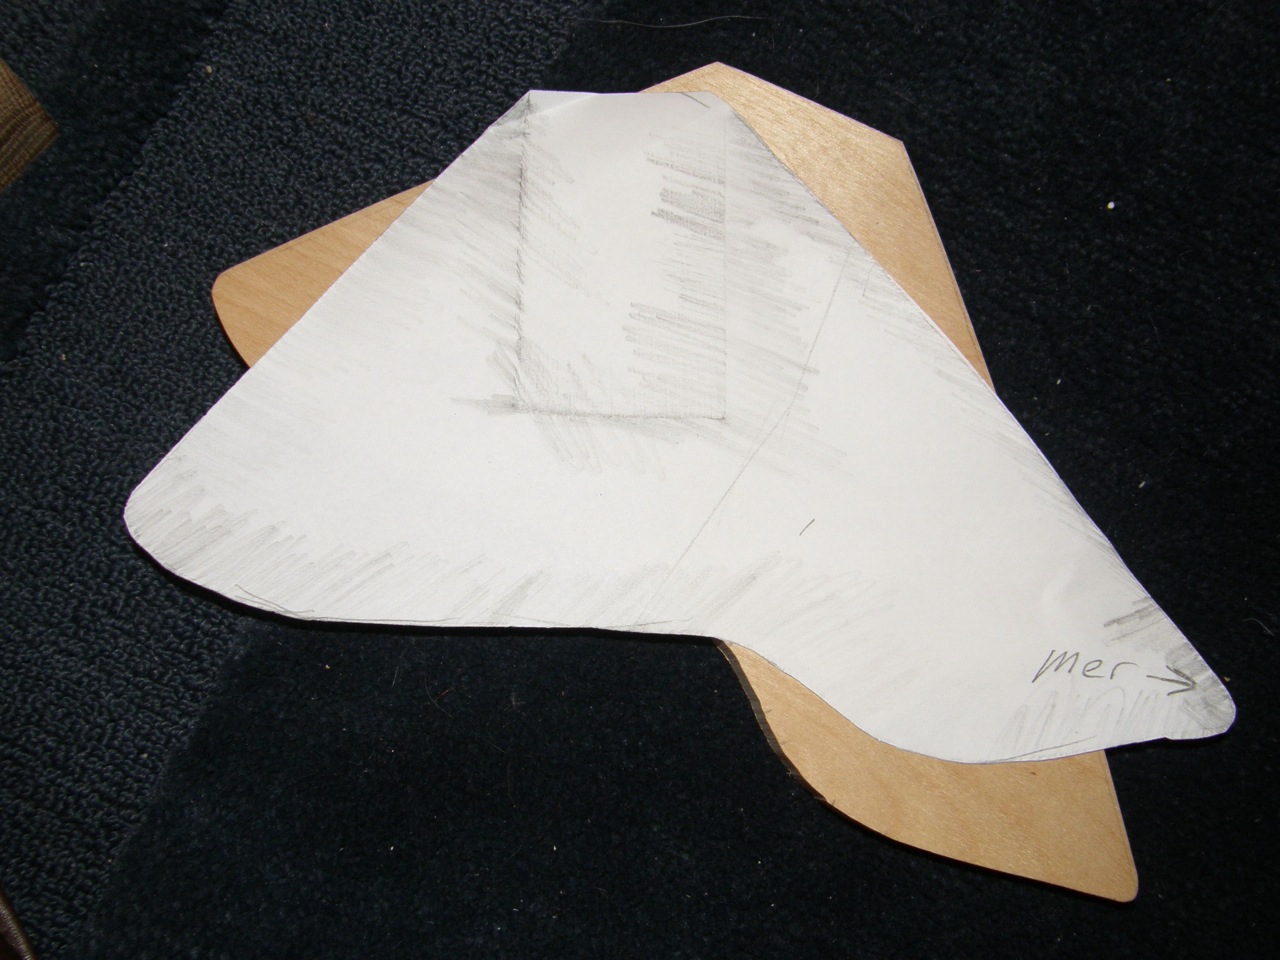
The birch for the pickguard has also been planed, the wood had bent a bit... I did not use the template that I began to make, instead I made a paper template that I cut out using a scissor. I then drew lines on the wood, after this I simply cut out a rough shape using a machine saw. The last step was in short to use a grinding machine to make it fit. (It is not fully completed yet, I still have to fix the curve.)
I believe that I have decided that I want the pickguard to be in a lighter color than the oak body. (Earlier wanted a darker one). To be sure to get the correct color I will test it on some extra bits that got left over from the making of the pickguard.
Here are some pictures:

19th of January:
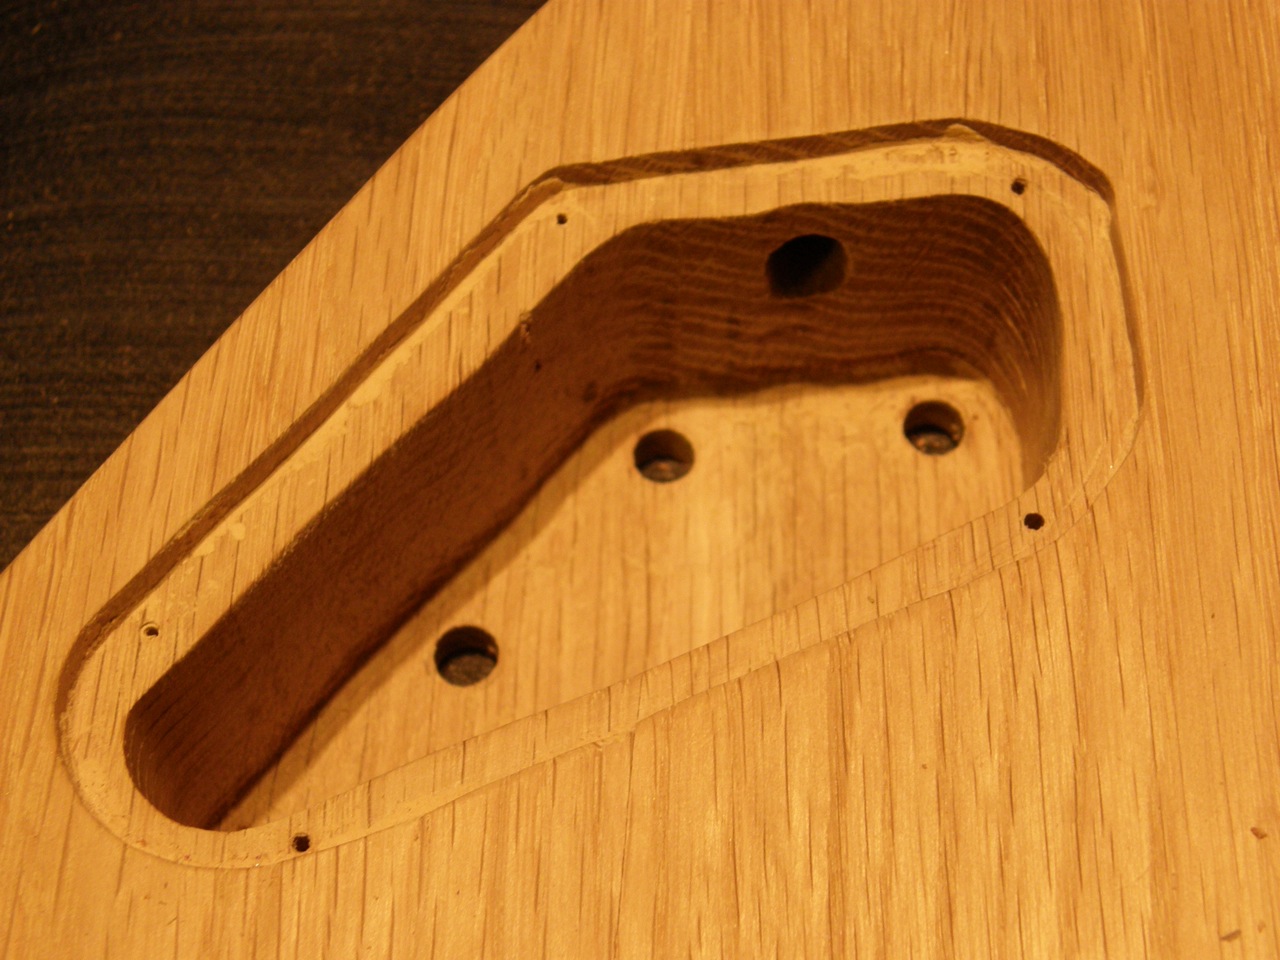
Today I have worked with the cavity cover and with the pickguard.
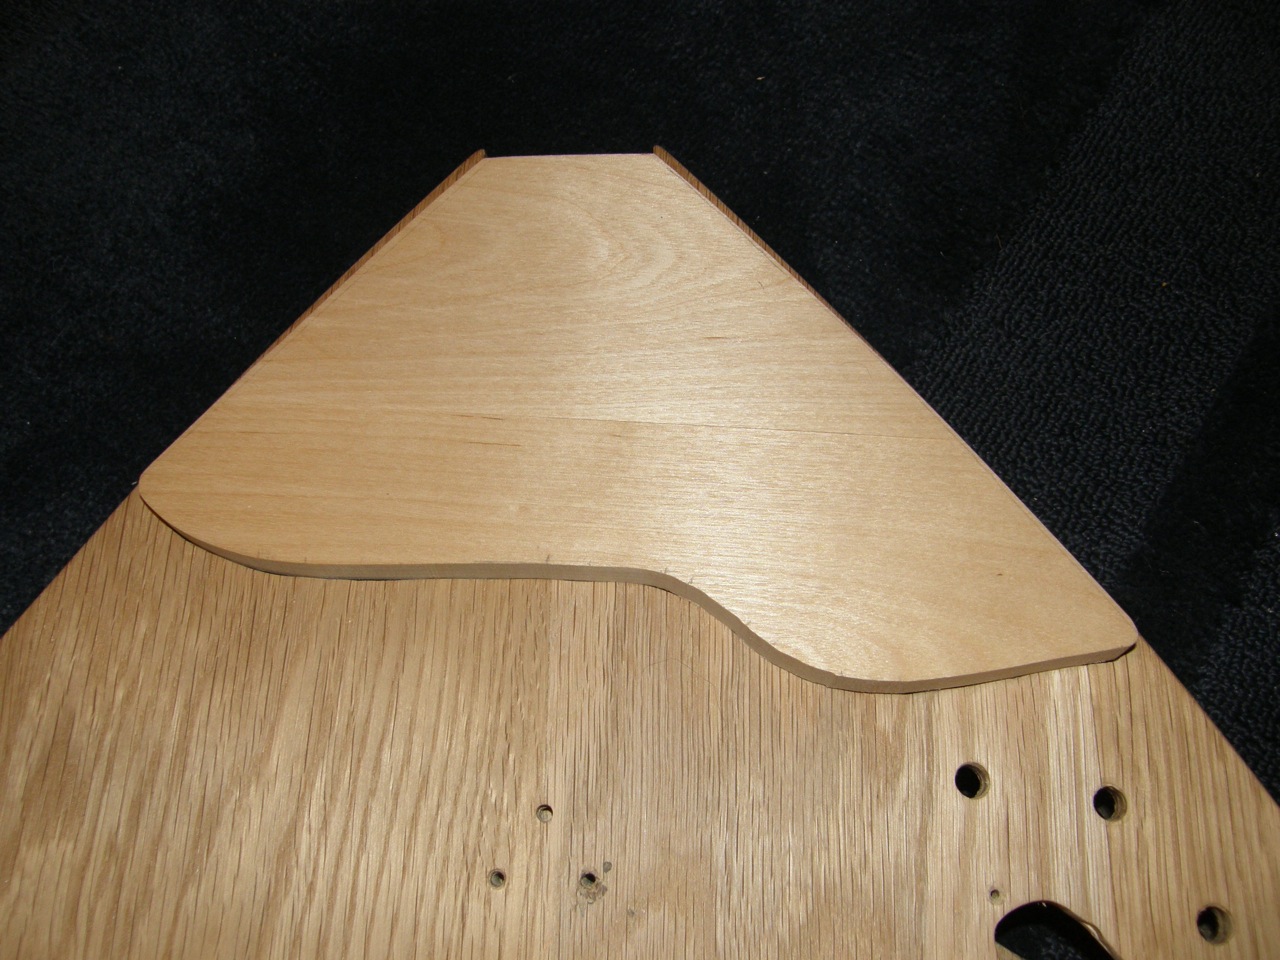
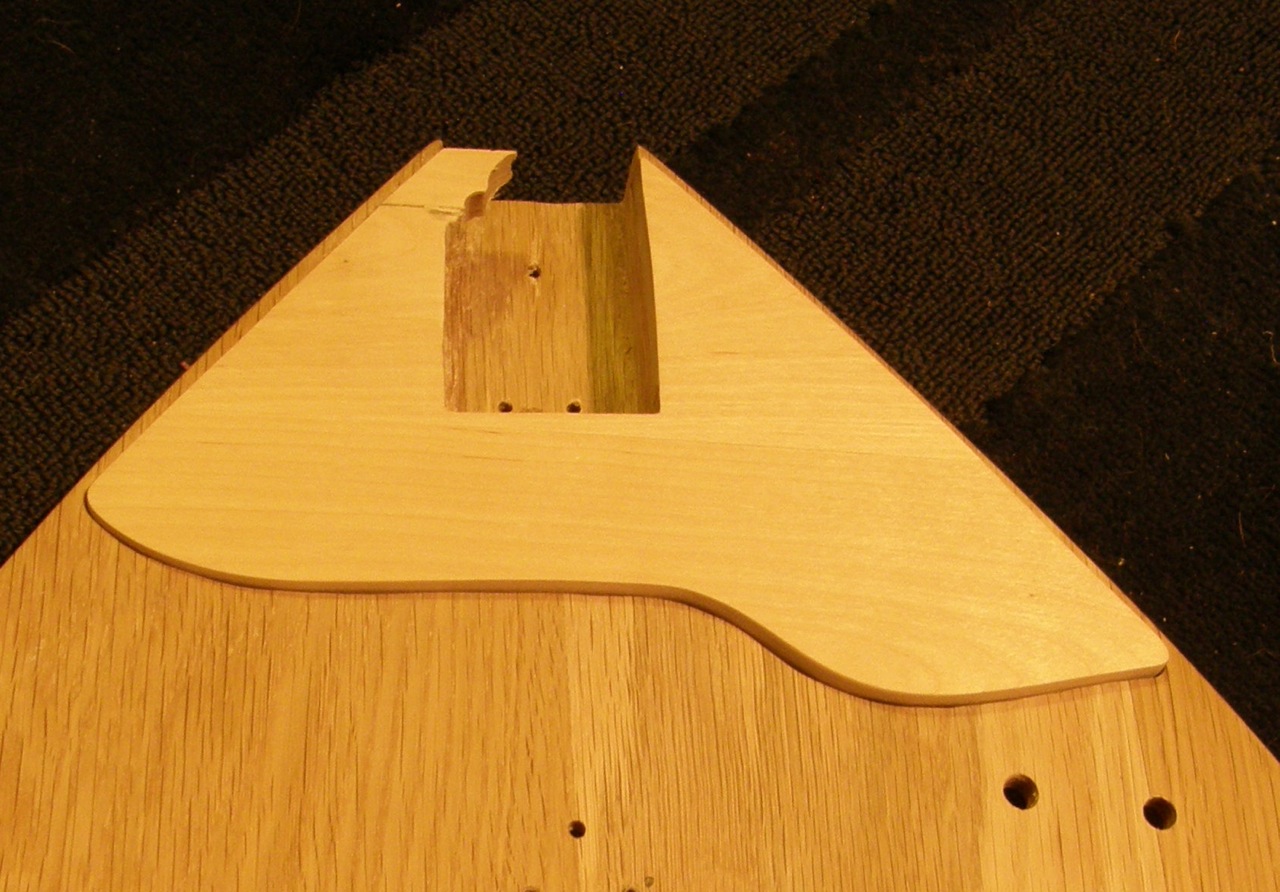
I have used sand paper on the pickguard so that it fits into the body, and I have also begun to route it so that both the neck and the pickguard can be attached simultaneously to the body. When doing this a piece of the birch loosened, so I had to glue it back...
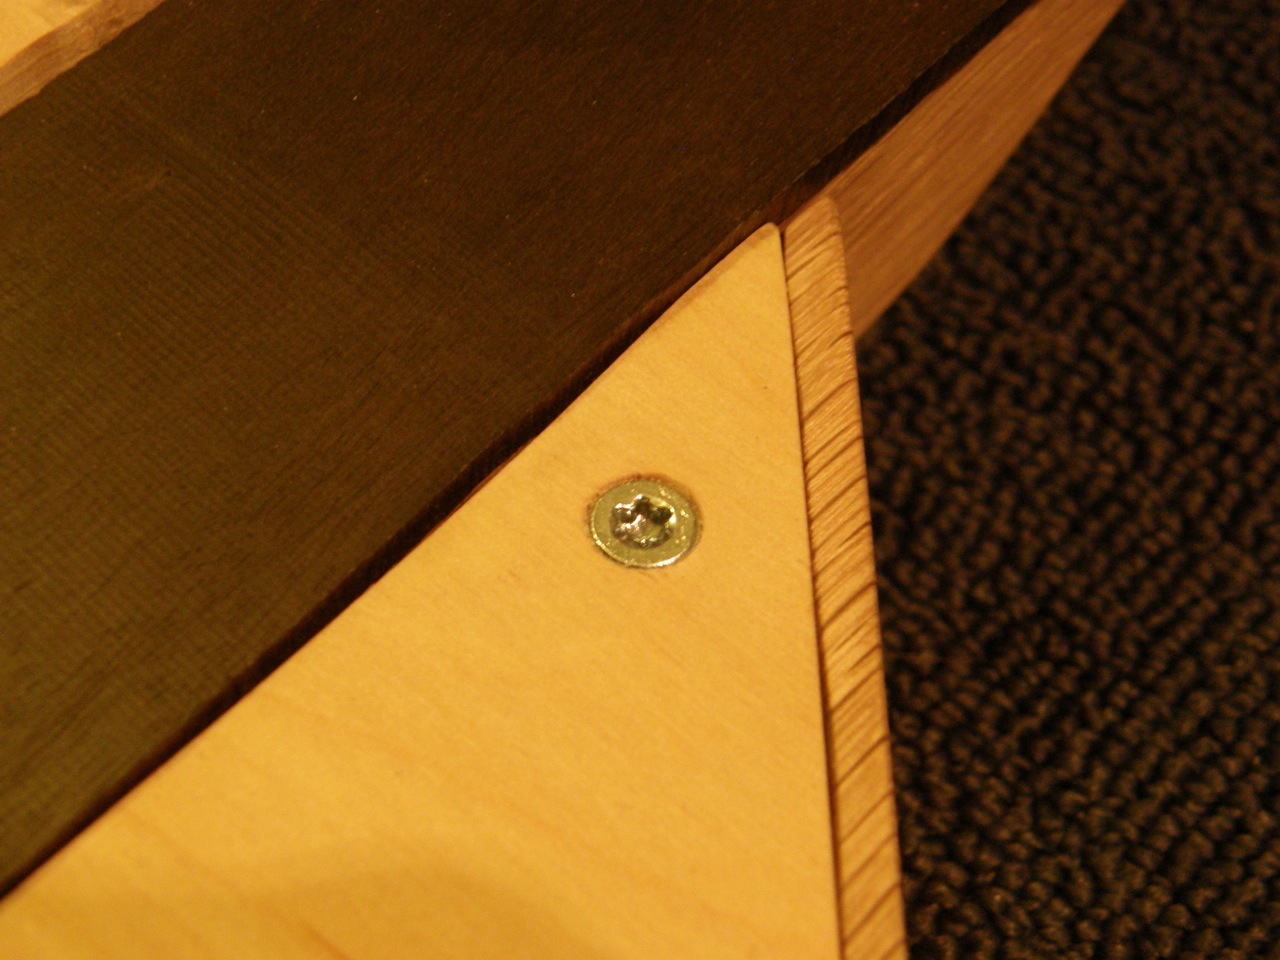
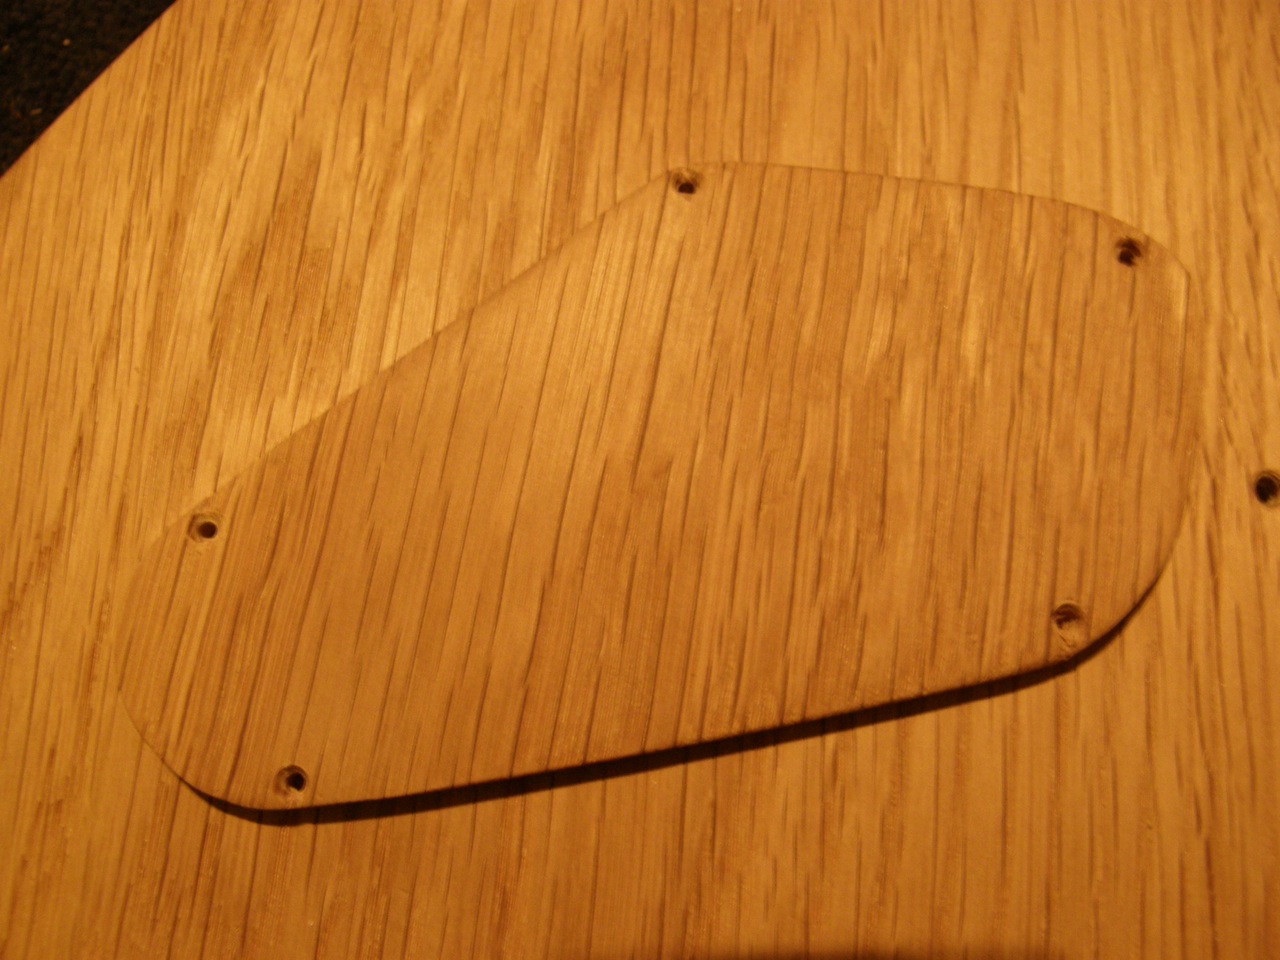
I have also fixed the thickness of the cavity cover and drilled five holes in it and the body. The size of the holes are two millimeters, I am going to use the same screws, which I have to attach the tuning machines.
Here are some pictures:
I have also decided to route the cable channel in the body and not in the pickguard, my reasoning for this has to do with the part that broke away from the pickguard.
20th of January:
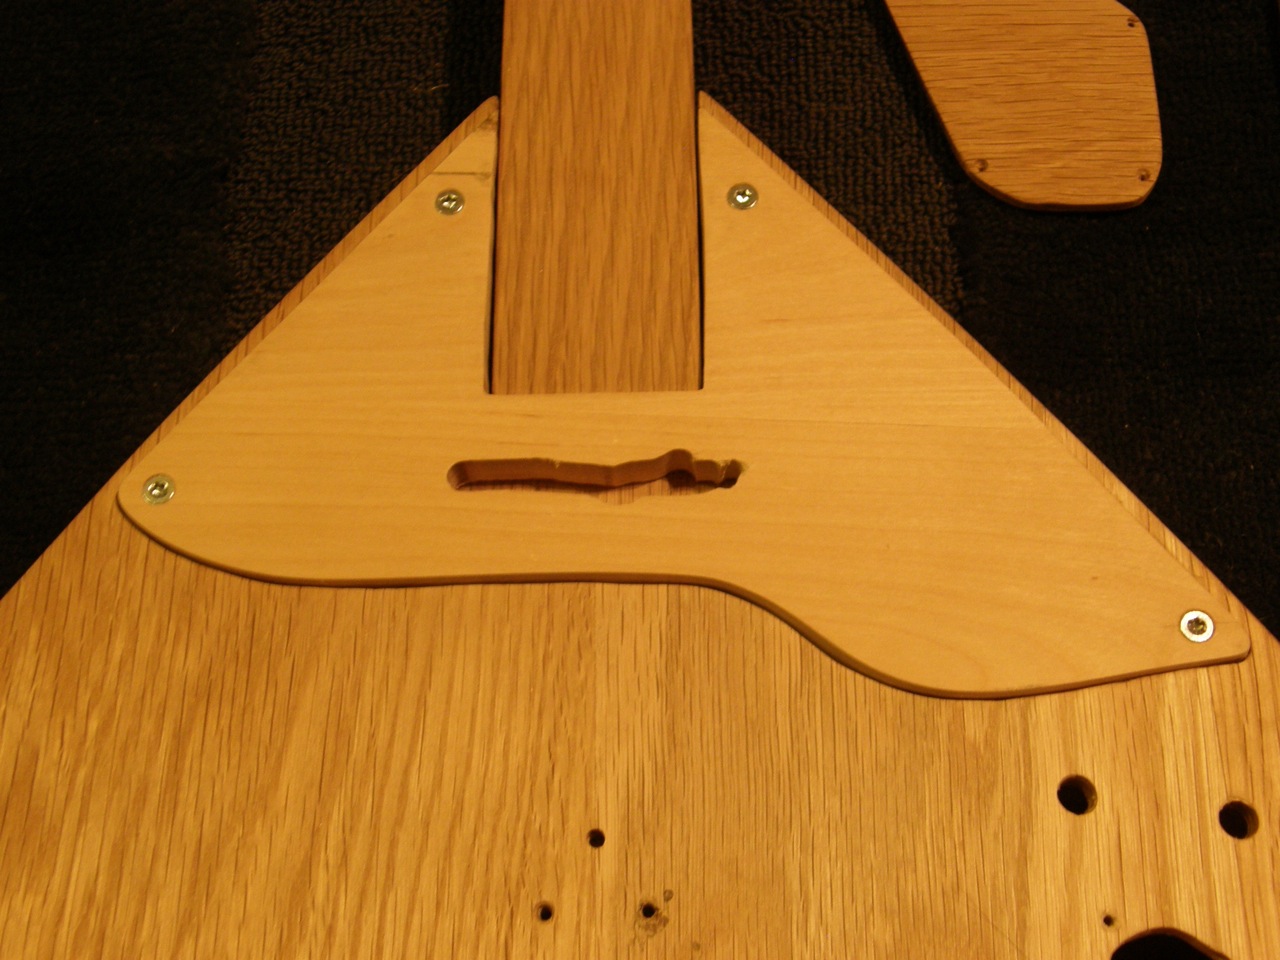
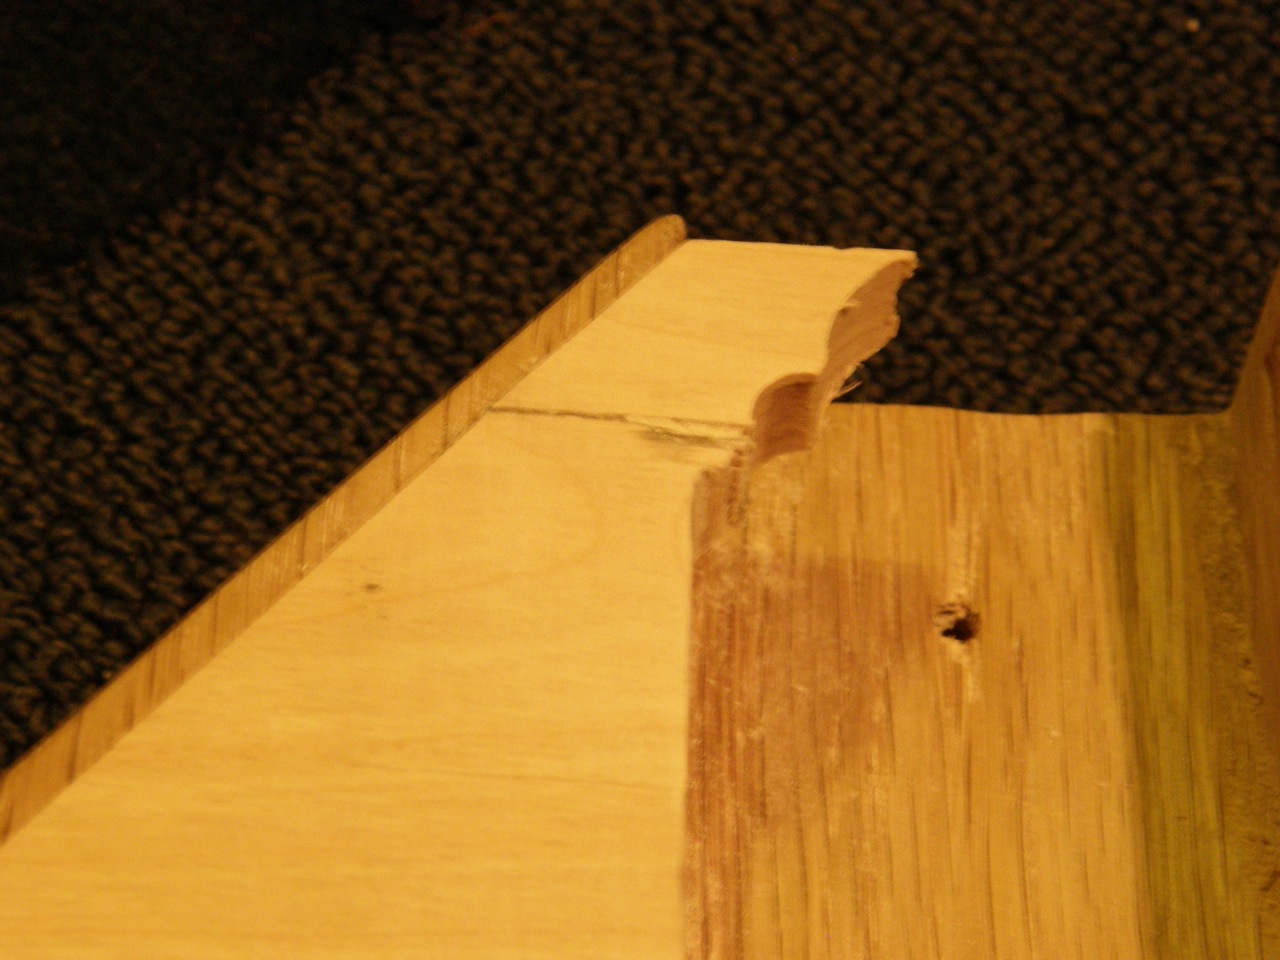
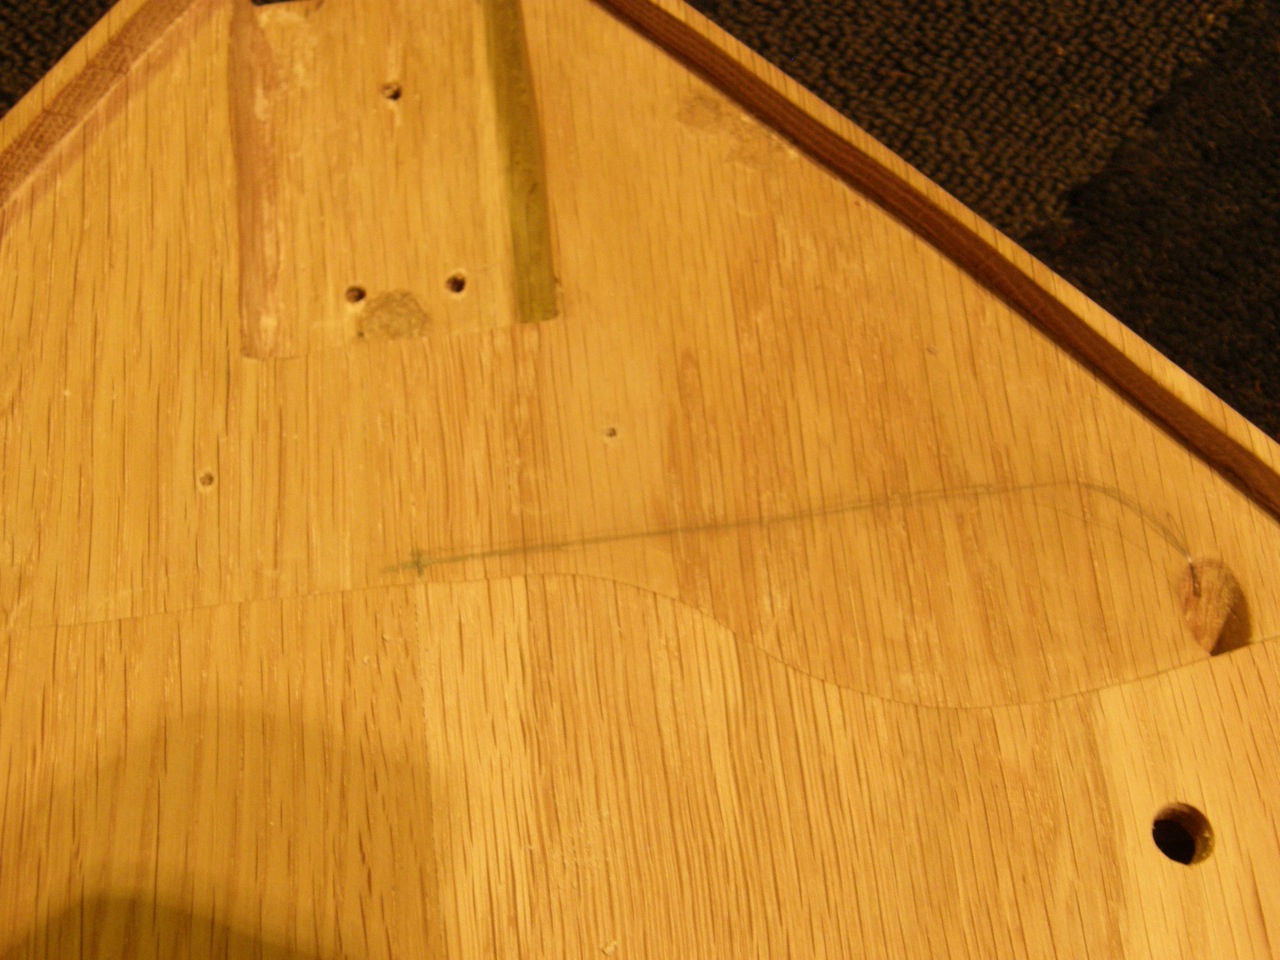
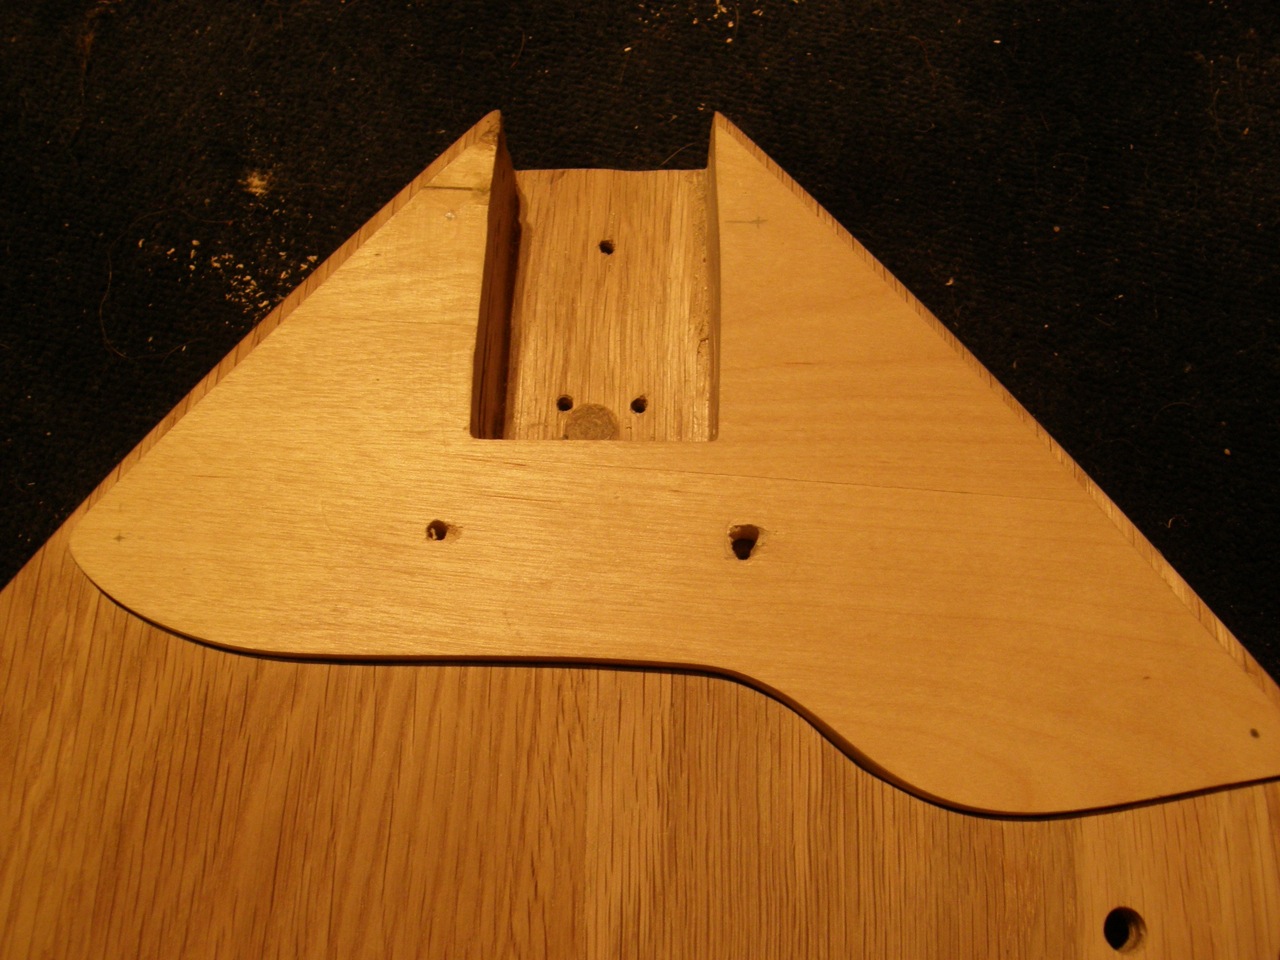
Today I have routed away the last bit so that the neck fits, but I will have to improve the appearance a bit where a bit loosened. I have also found which screws I am going to attach the pickguard with and I have marked the places for them, I have also began to look at the location of the pickup, and I have begun to drill so that I can attach the two screws before I start routing.
Other than this I have also lowered the screws on the control cavity cover, and I have also noticed that the neck plate is to big to place below the pickguard. Instead I believe that I will try to find a smaller metal piece and attach it inside the control cavity, on the inside of the cover.
Here are some pictures:

21st of January:
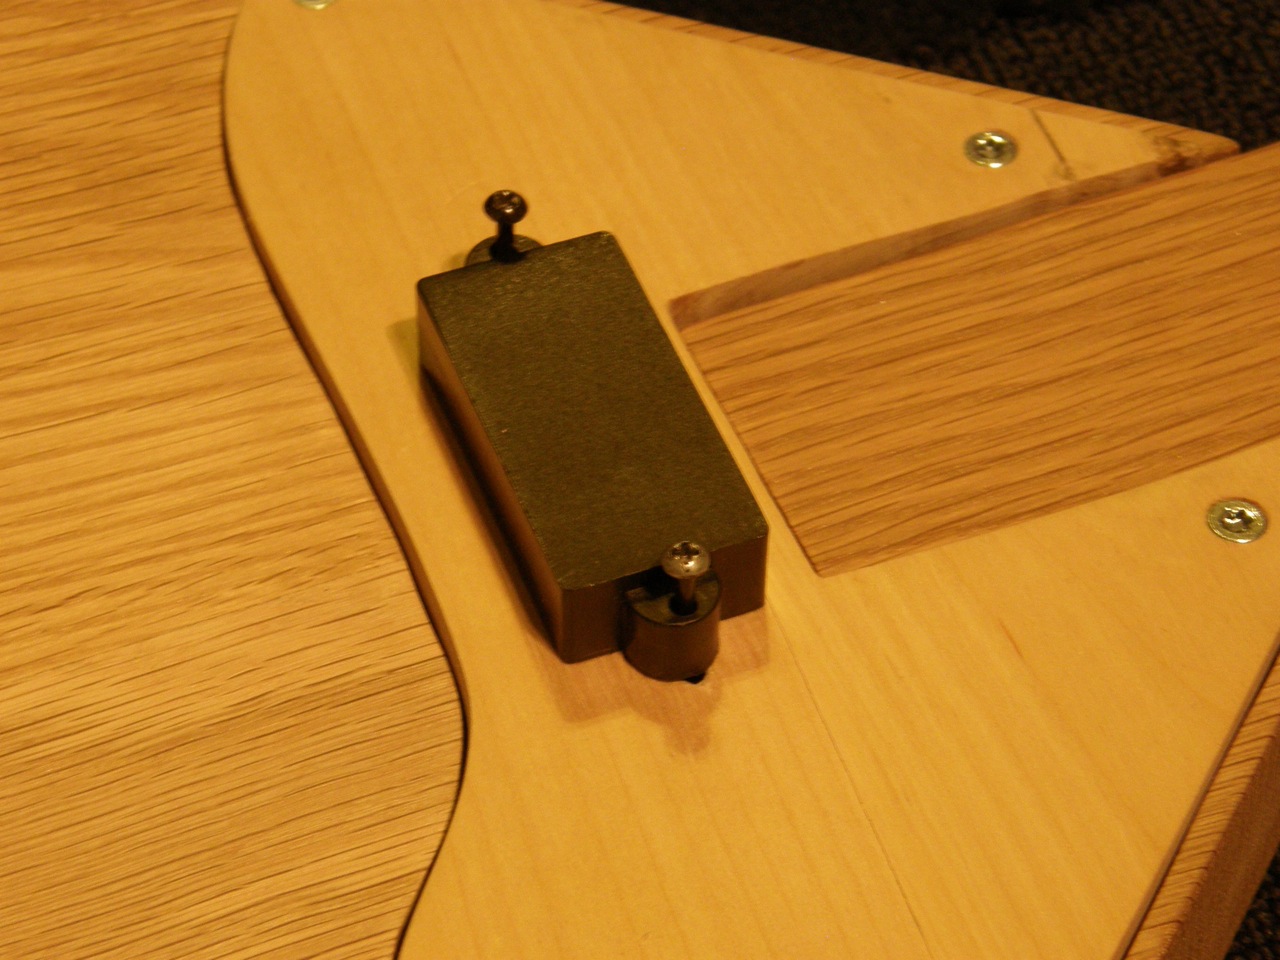
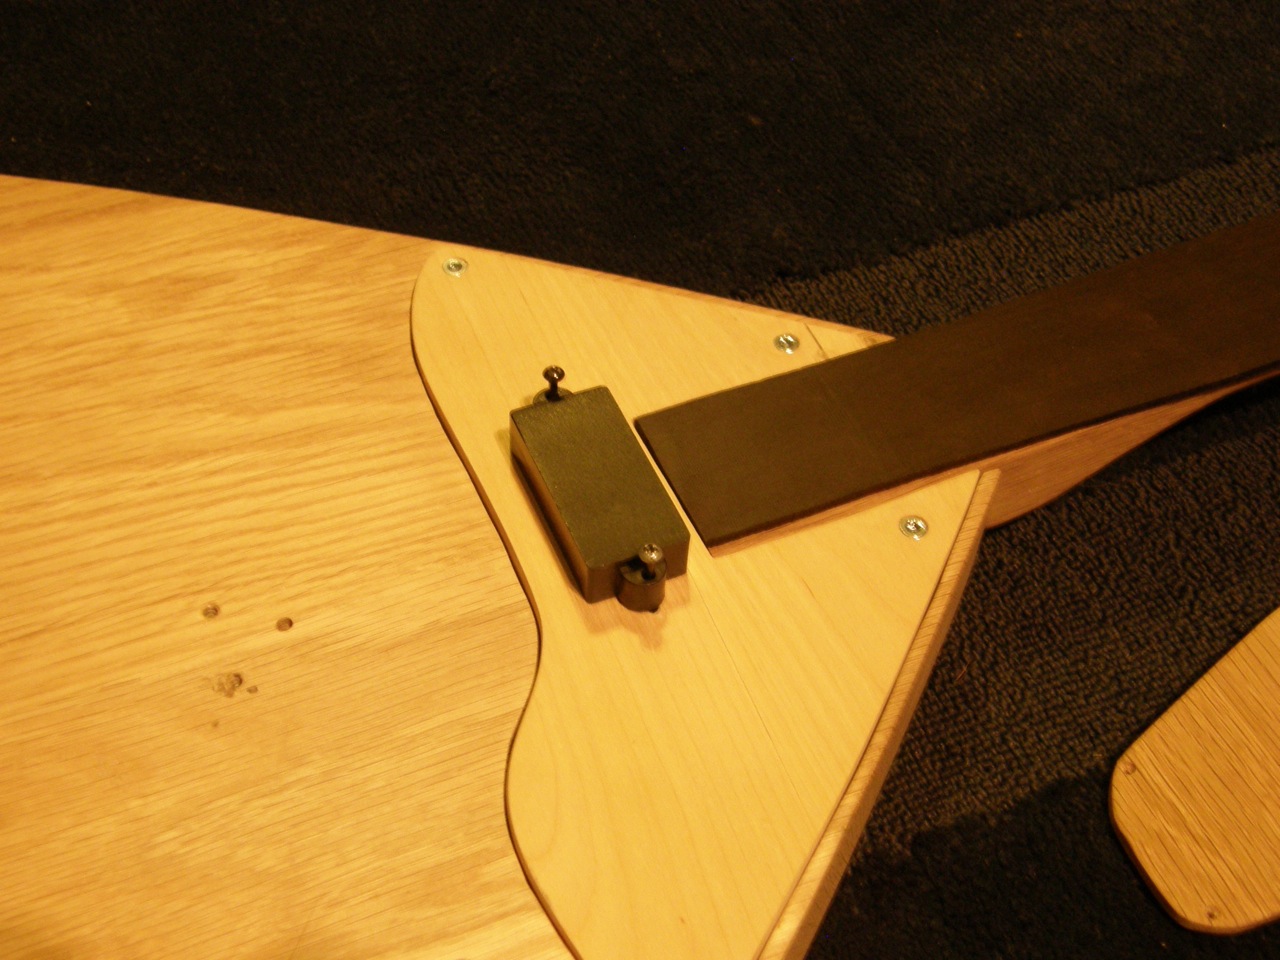
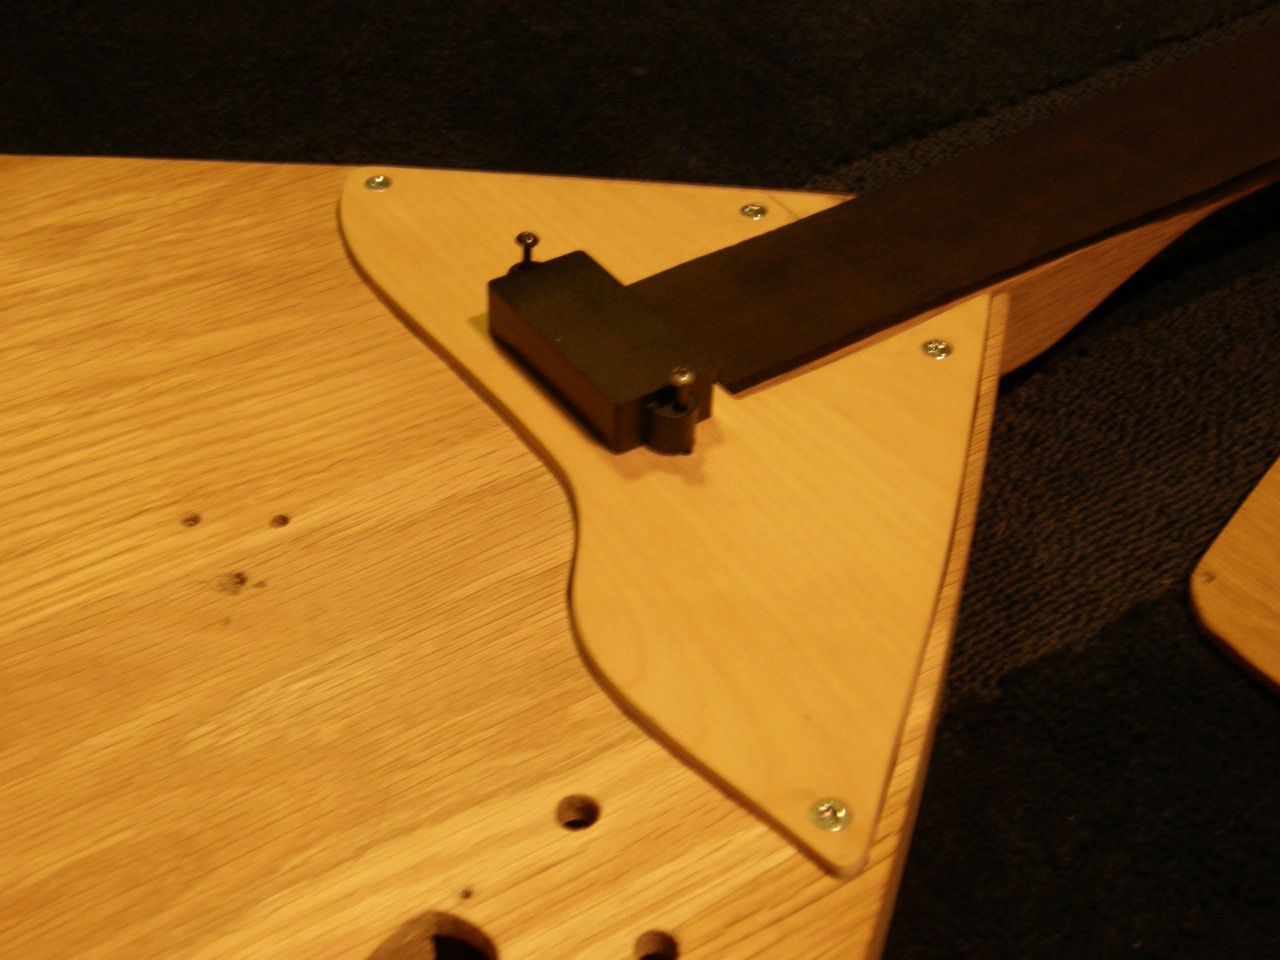
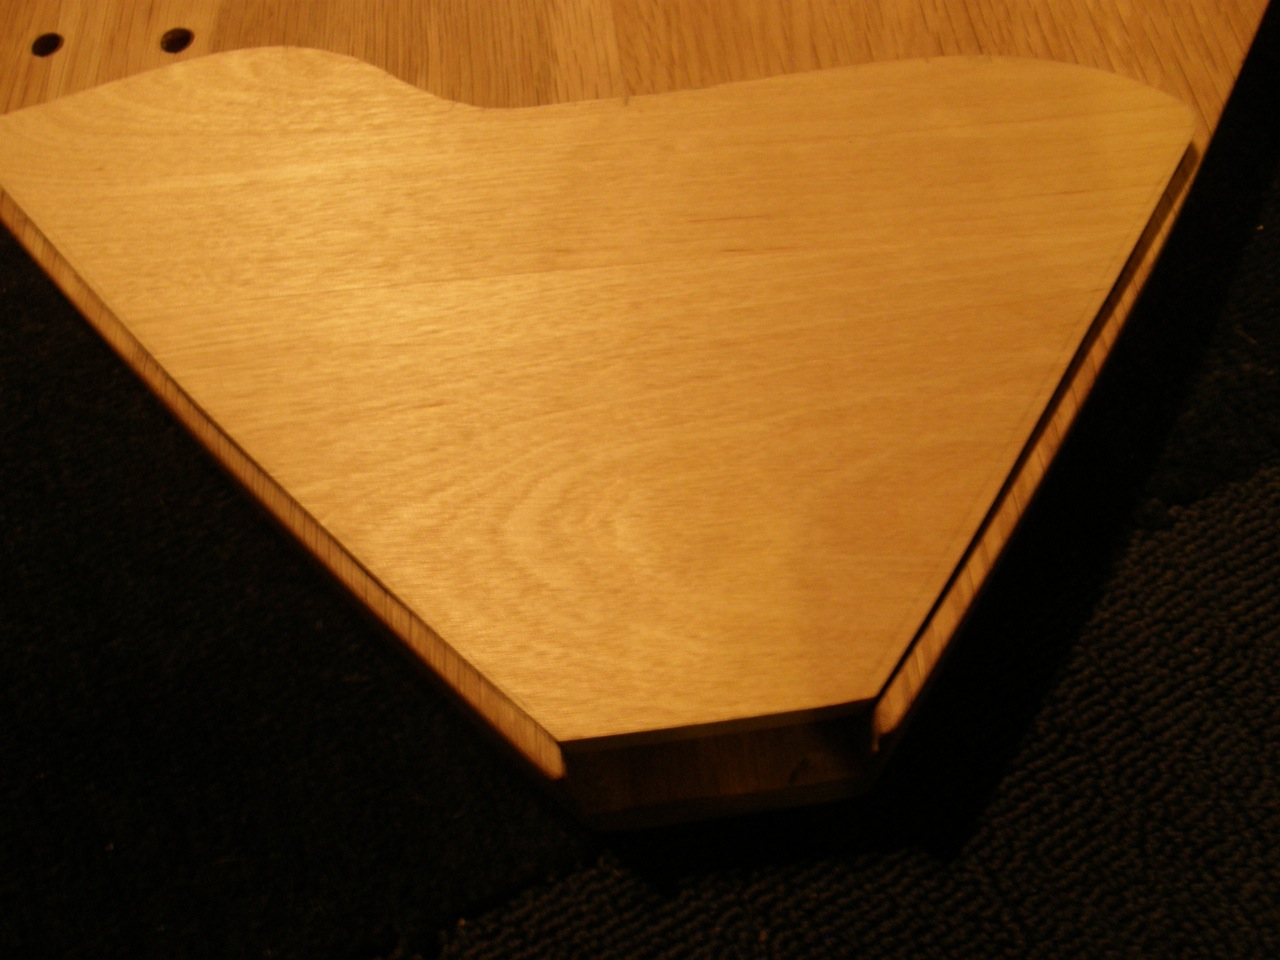
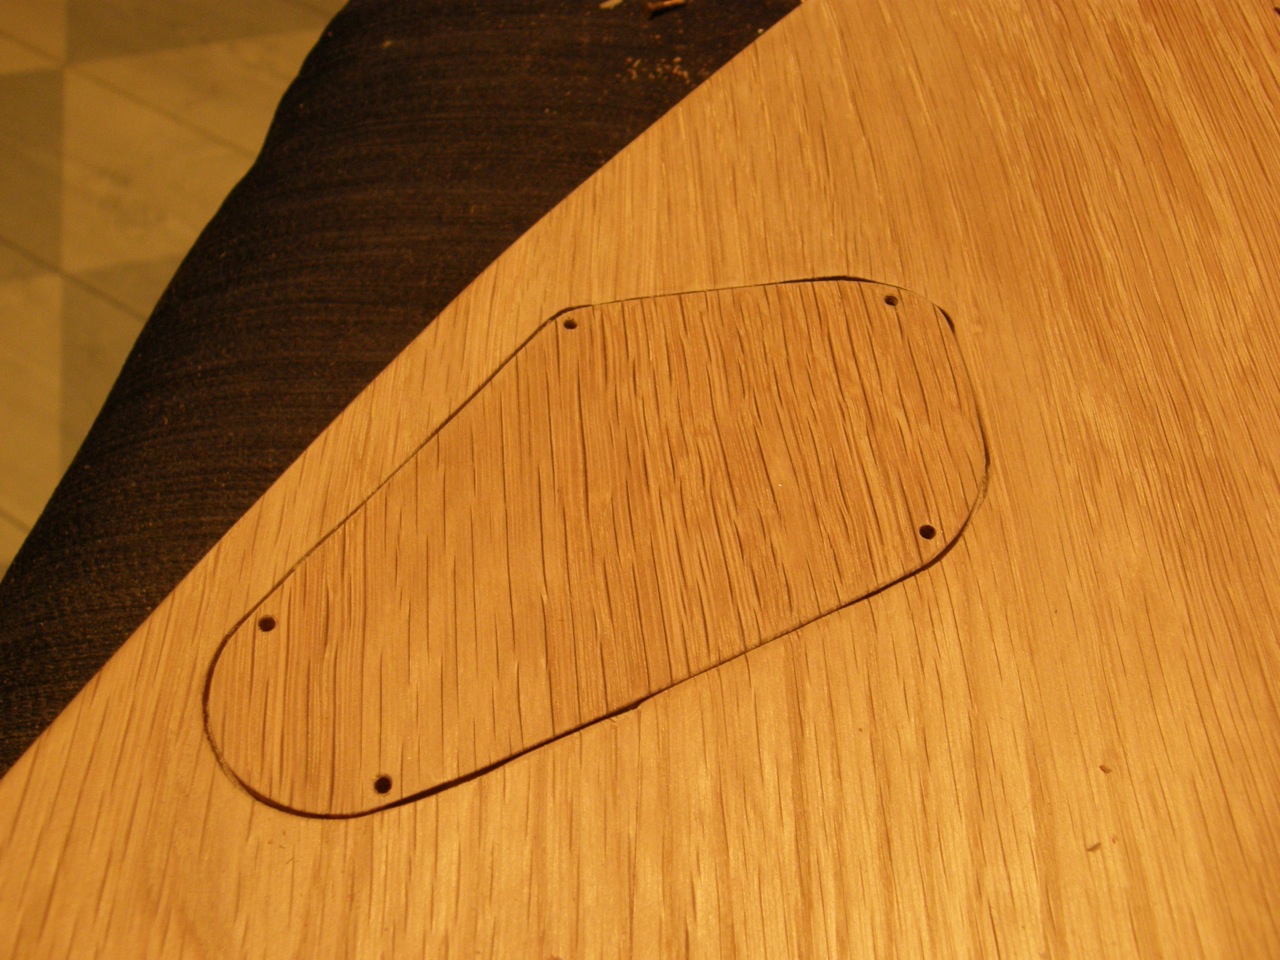
Today I have worked with the pickguard, I have drilled holes for the four screws and I have also attach the screws. (They have also been lowered). Then I have continued with the location of the pickup. I have also adjusted the size of the pickguard a bit, so that it is easier to detach from the body.
The pictures: