


The Body
This is my work log of how work with the body progressed:
When doing this, do not forget to think about the neck too. There are many things to keep in mind, one example is how the distance of the neck effects the location of the bridge. I made both the body and the neck at the same time.
Before you commence with this you will need to choose what dimensions you want for your neck, you should also consider if you want to use a truss rod or not. I decided the dimensions during the work, but I do not recommend it.
22nd of January:
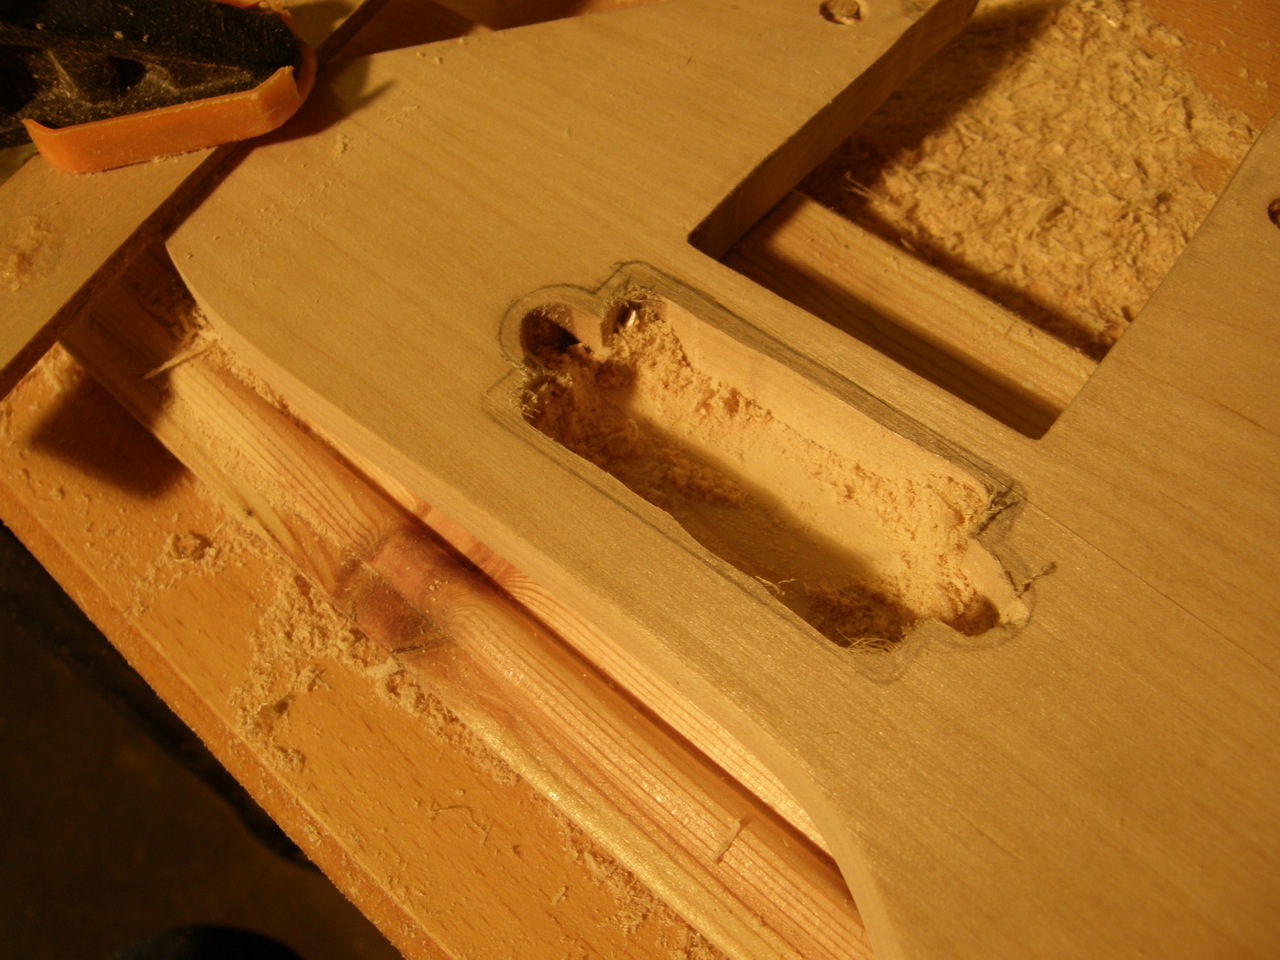
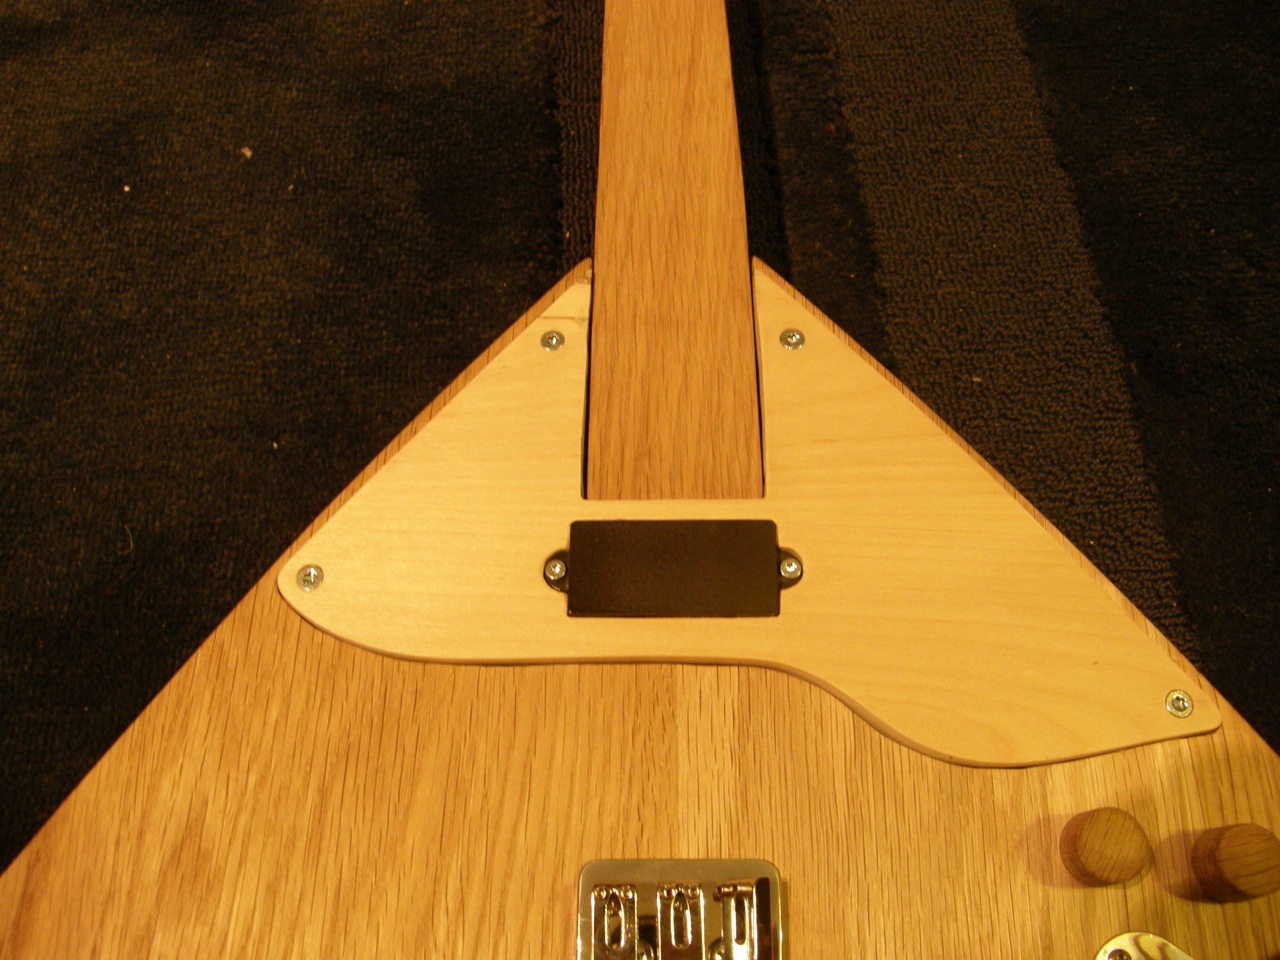
Today I have worked with the
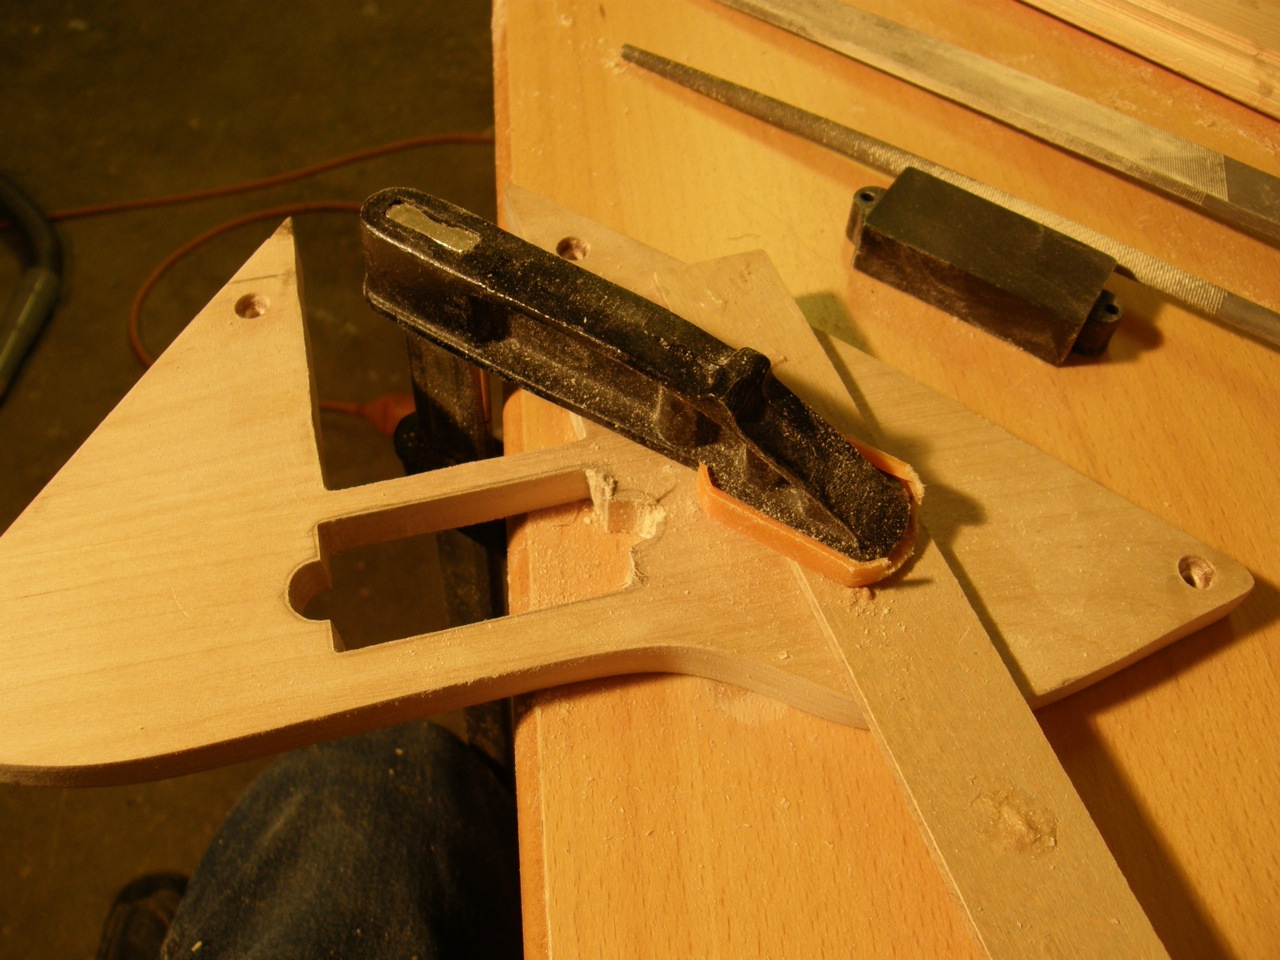
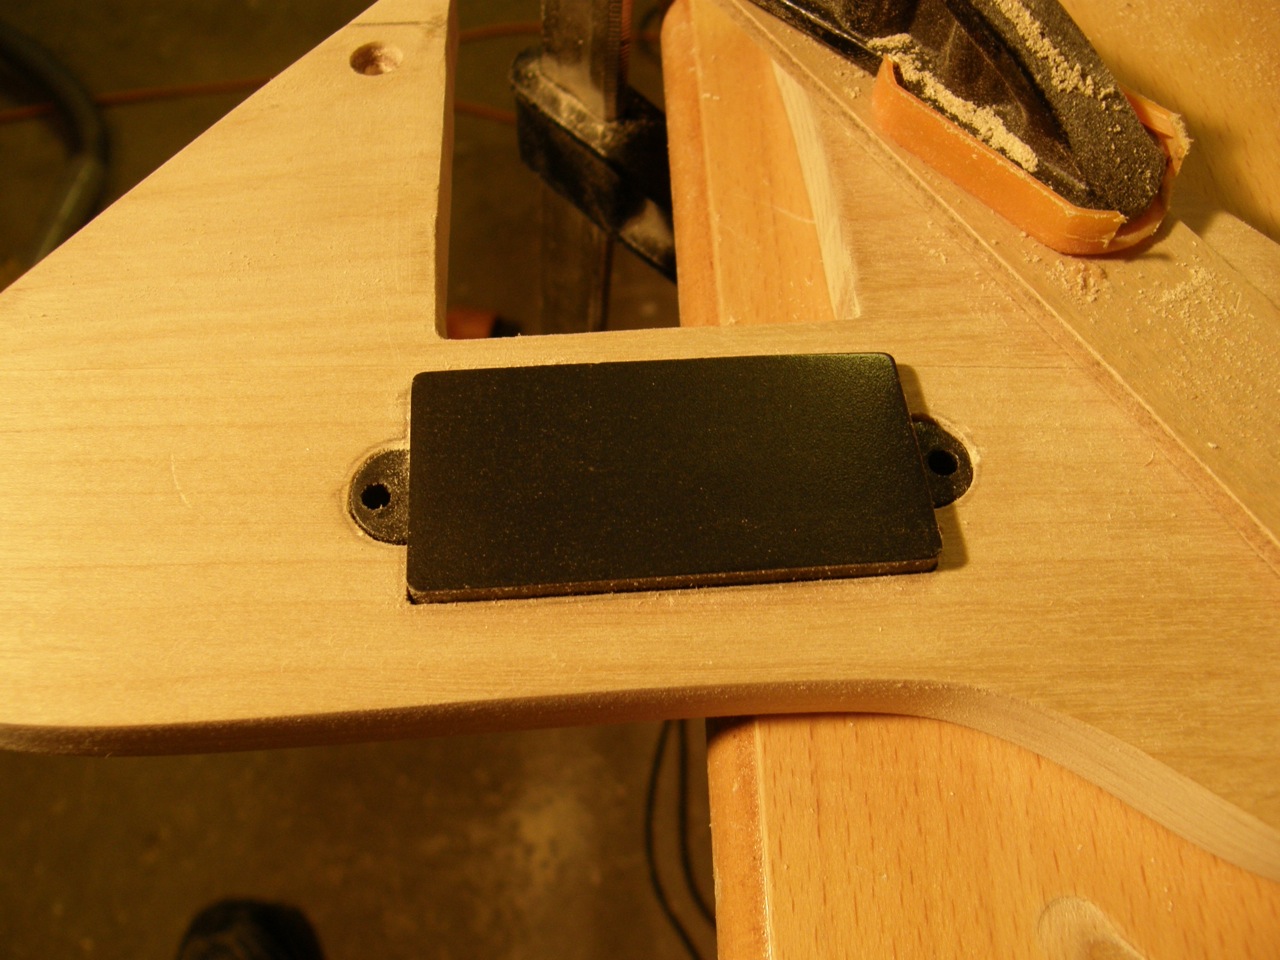
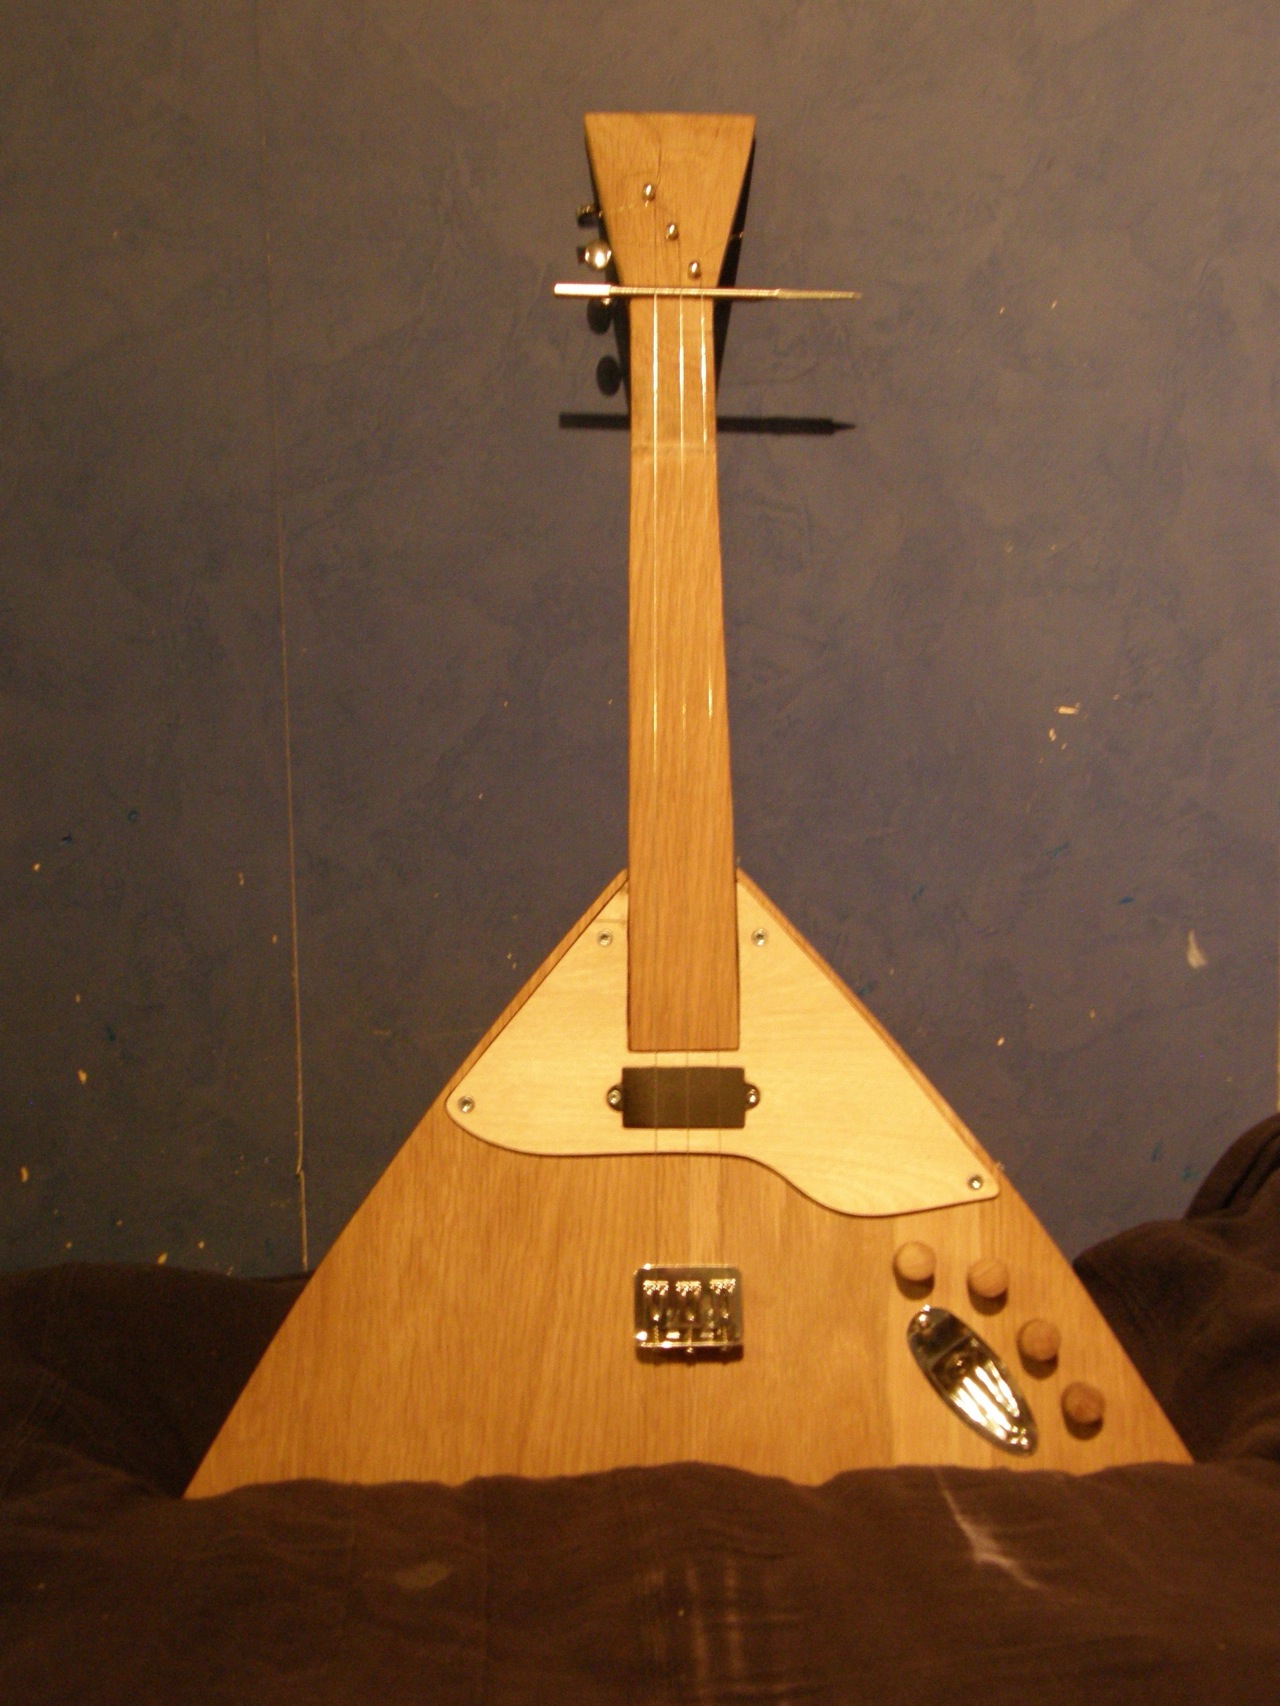
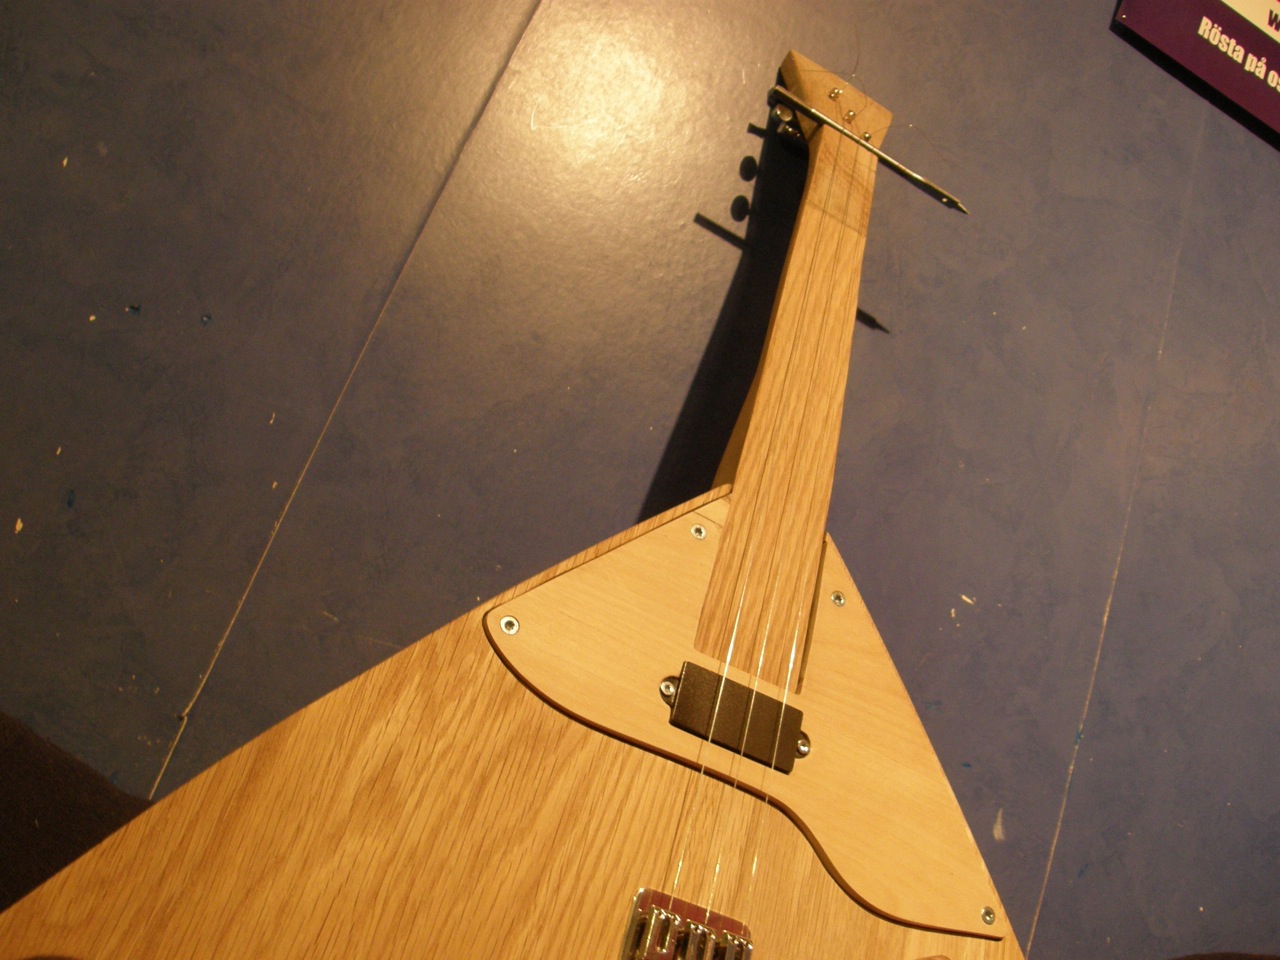
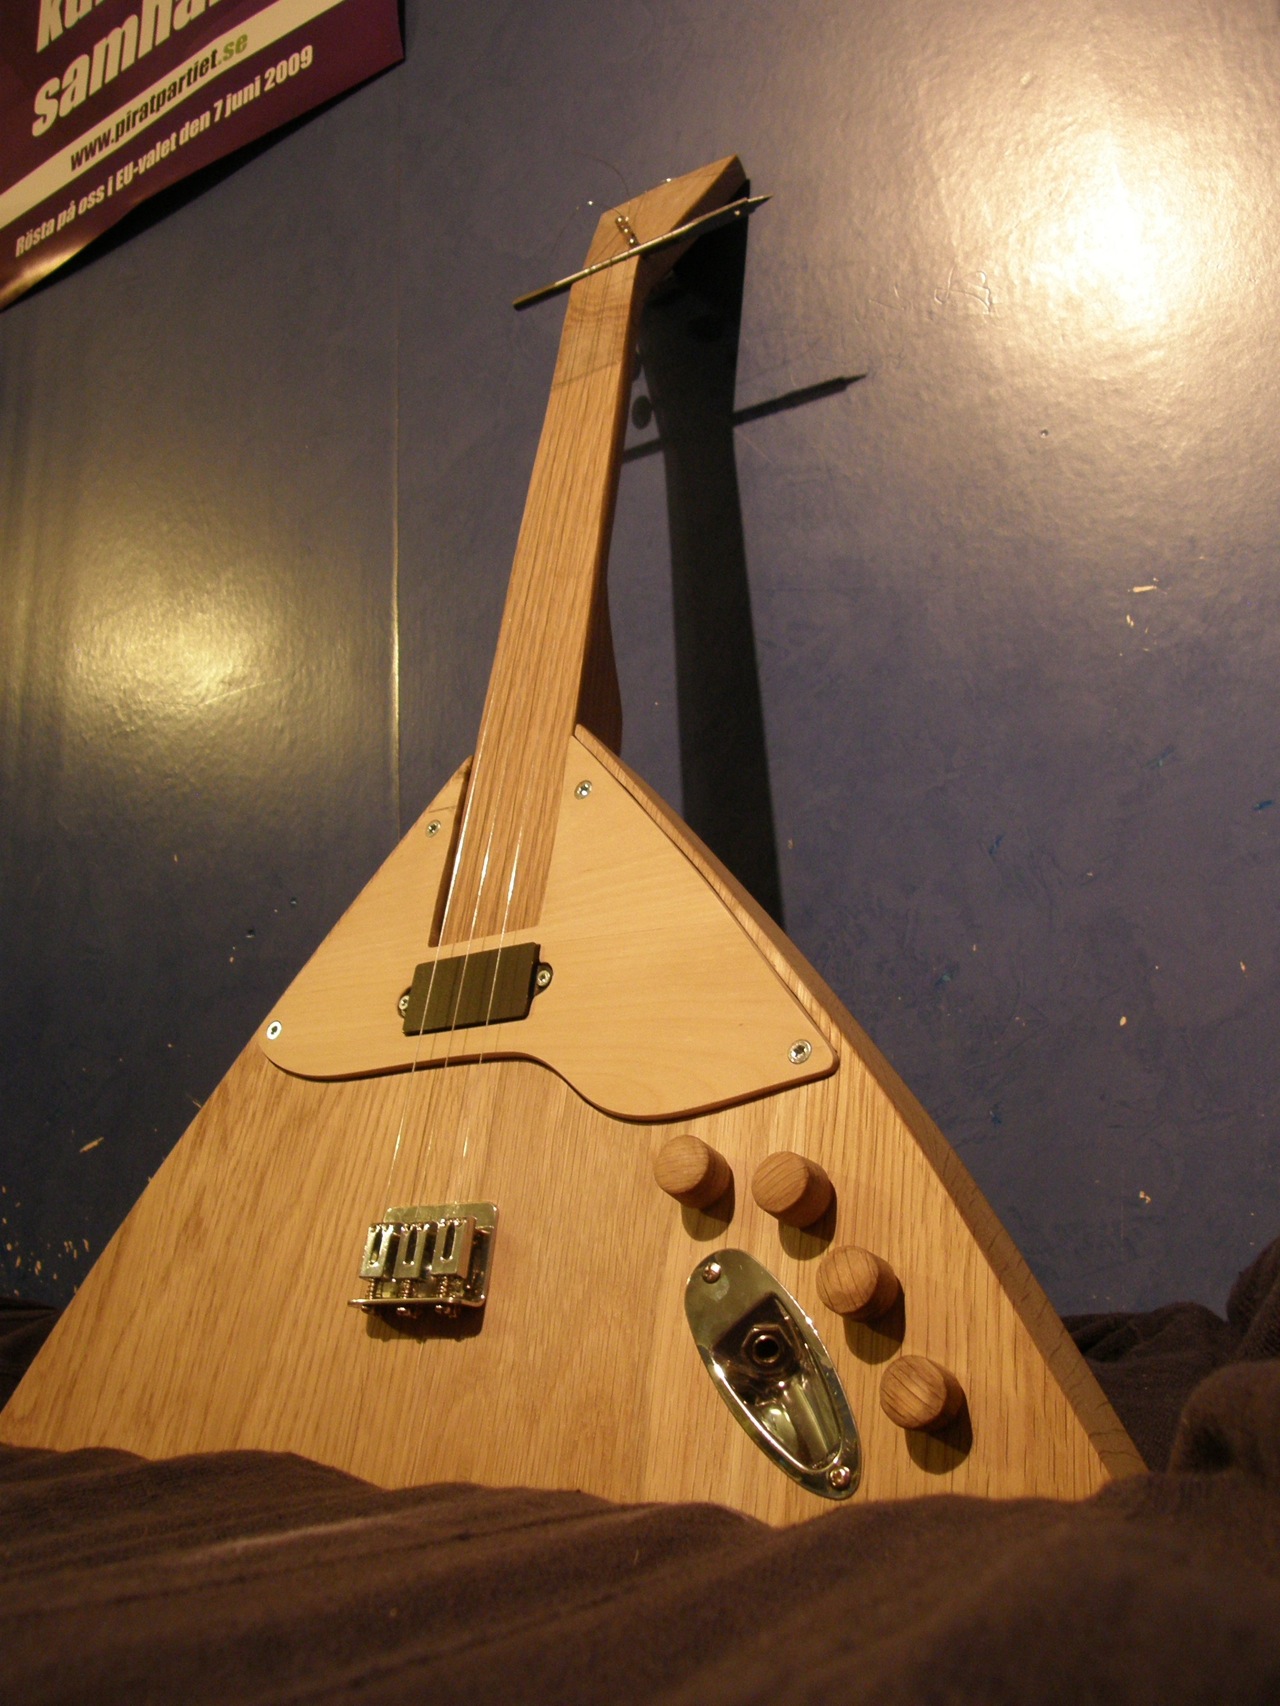
the pickguard and the placement of the pickup. I began with making a sketch of the pickup on it, then I used the router to make a rough hole for the pickup, then I used a couple of files to get the right size.
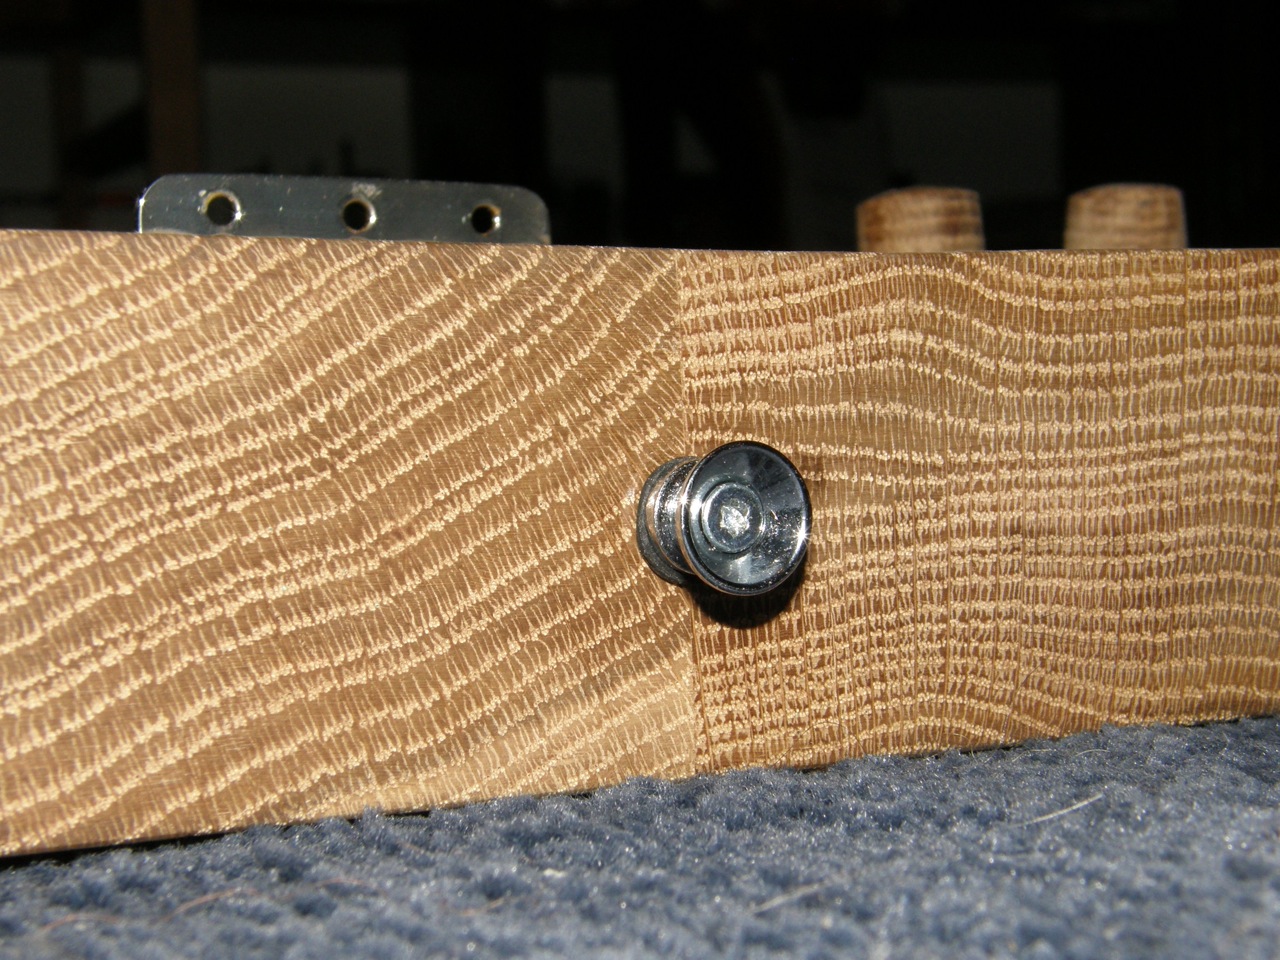
After this I tried to find new screws for the pickup since the ones I got when I bought them are weak and scratched, I found a couple of torx screws that will work and by using them I am guarantied not to damage them while attaching them.
I have also tested to string the instrument up, and everything went fine, it really feels like a real instrument now. The neck seem to stand the pressure without any trouble at all. (I used a 10mm drill as the nut).
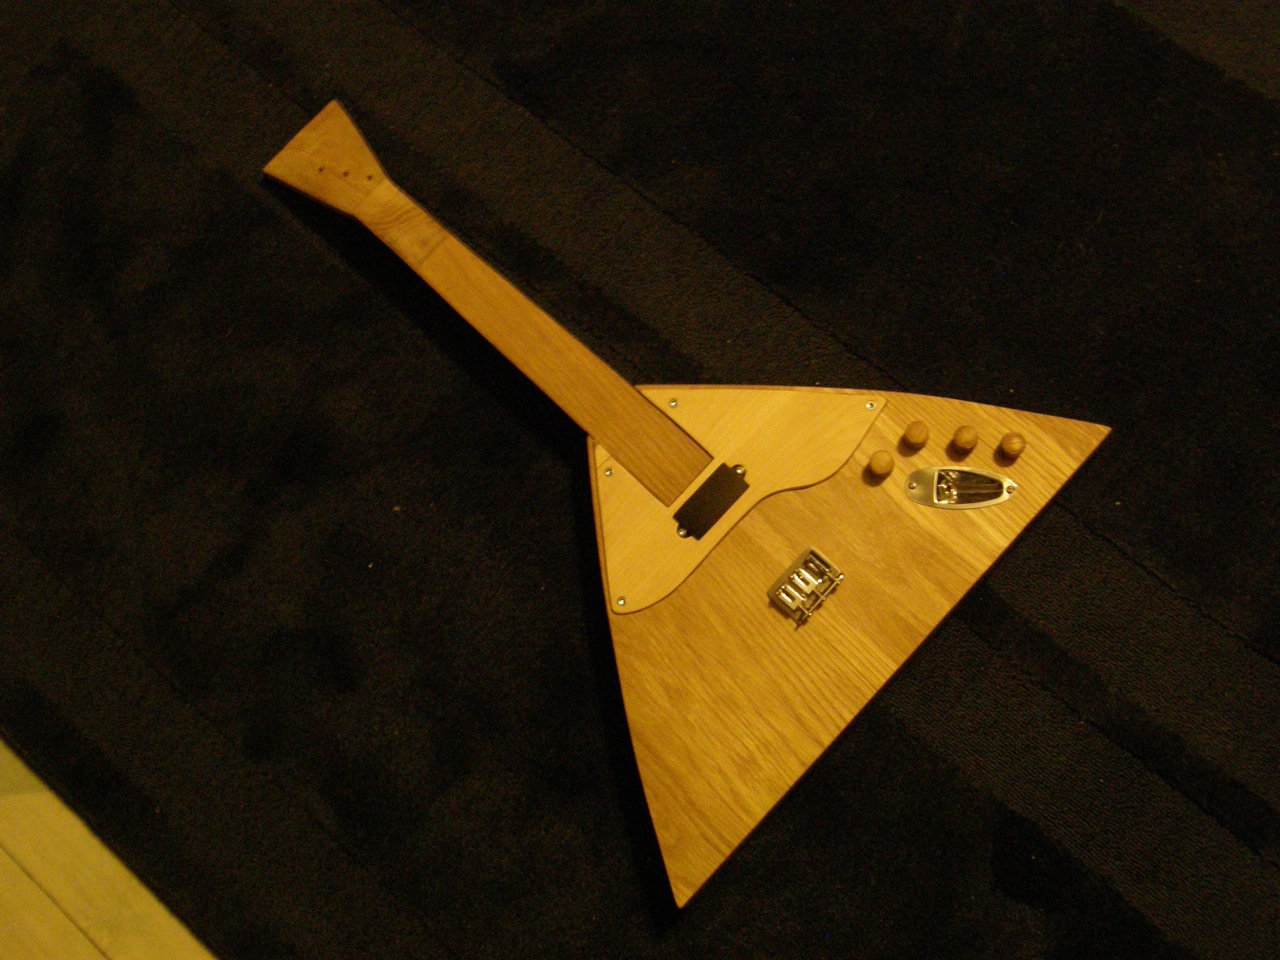
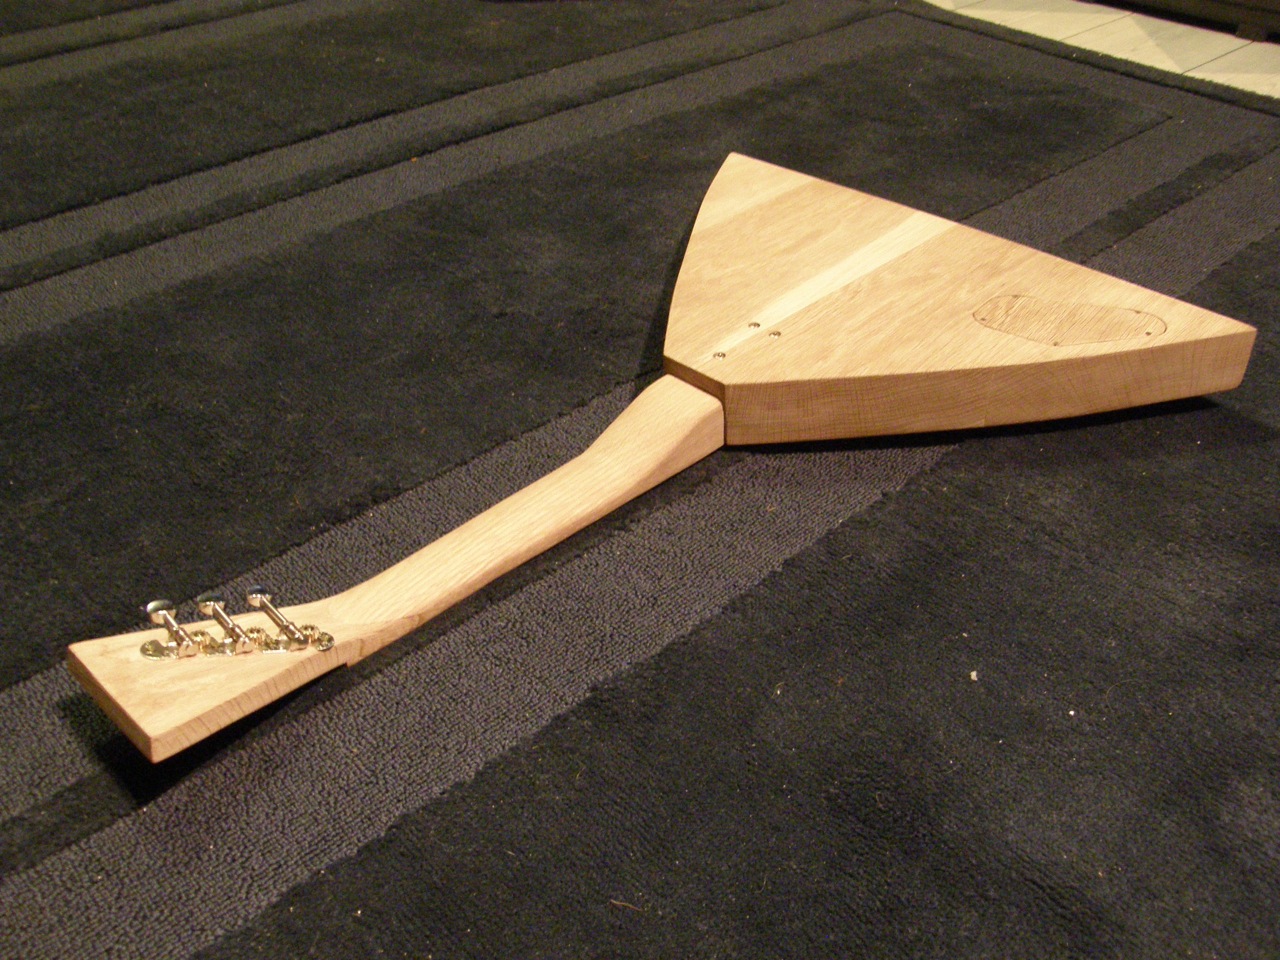
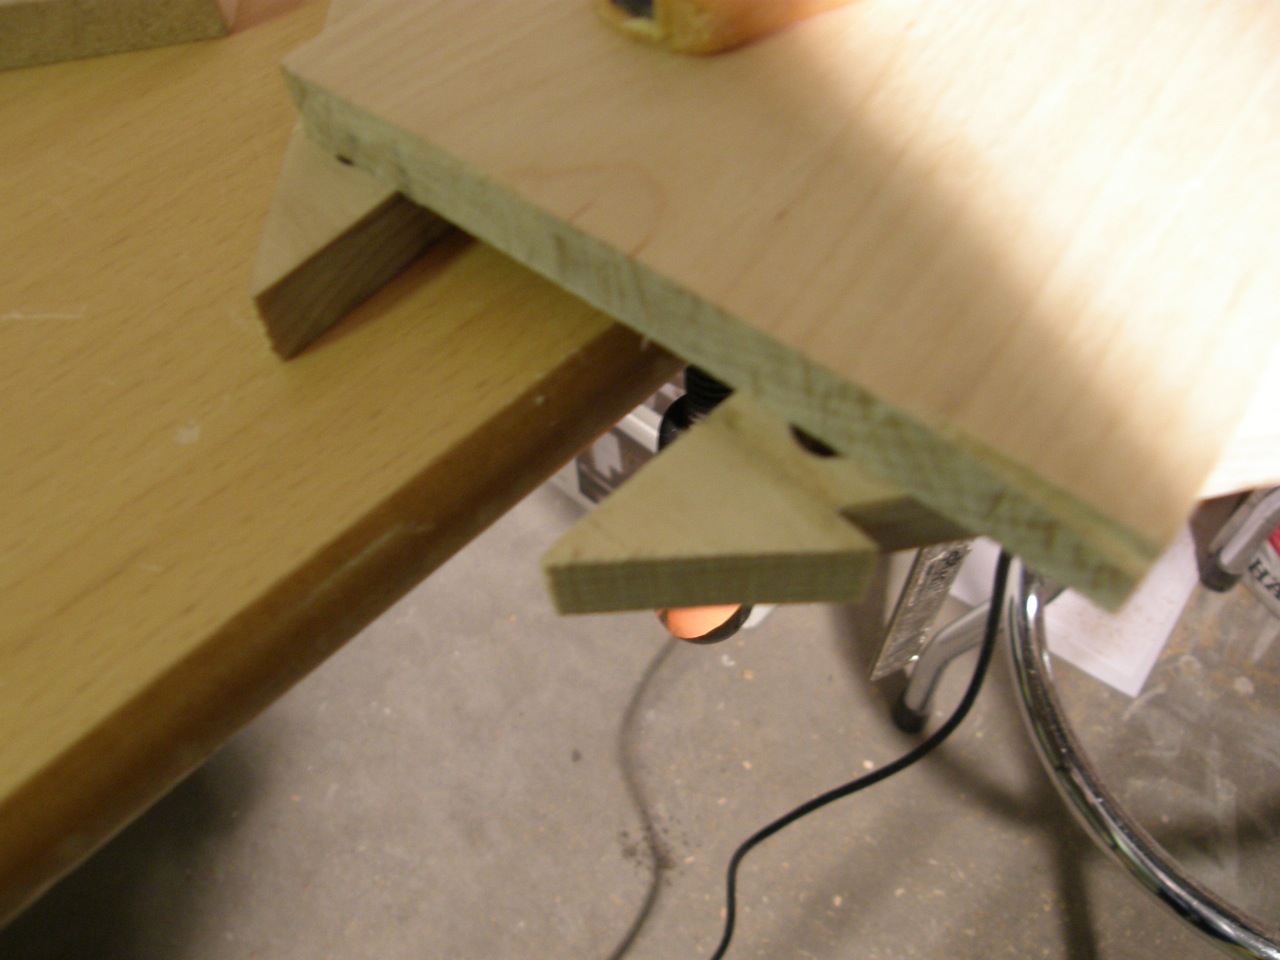
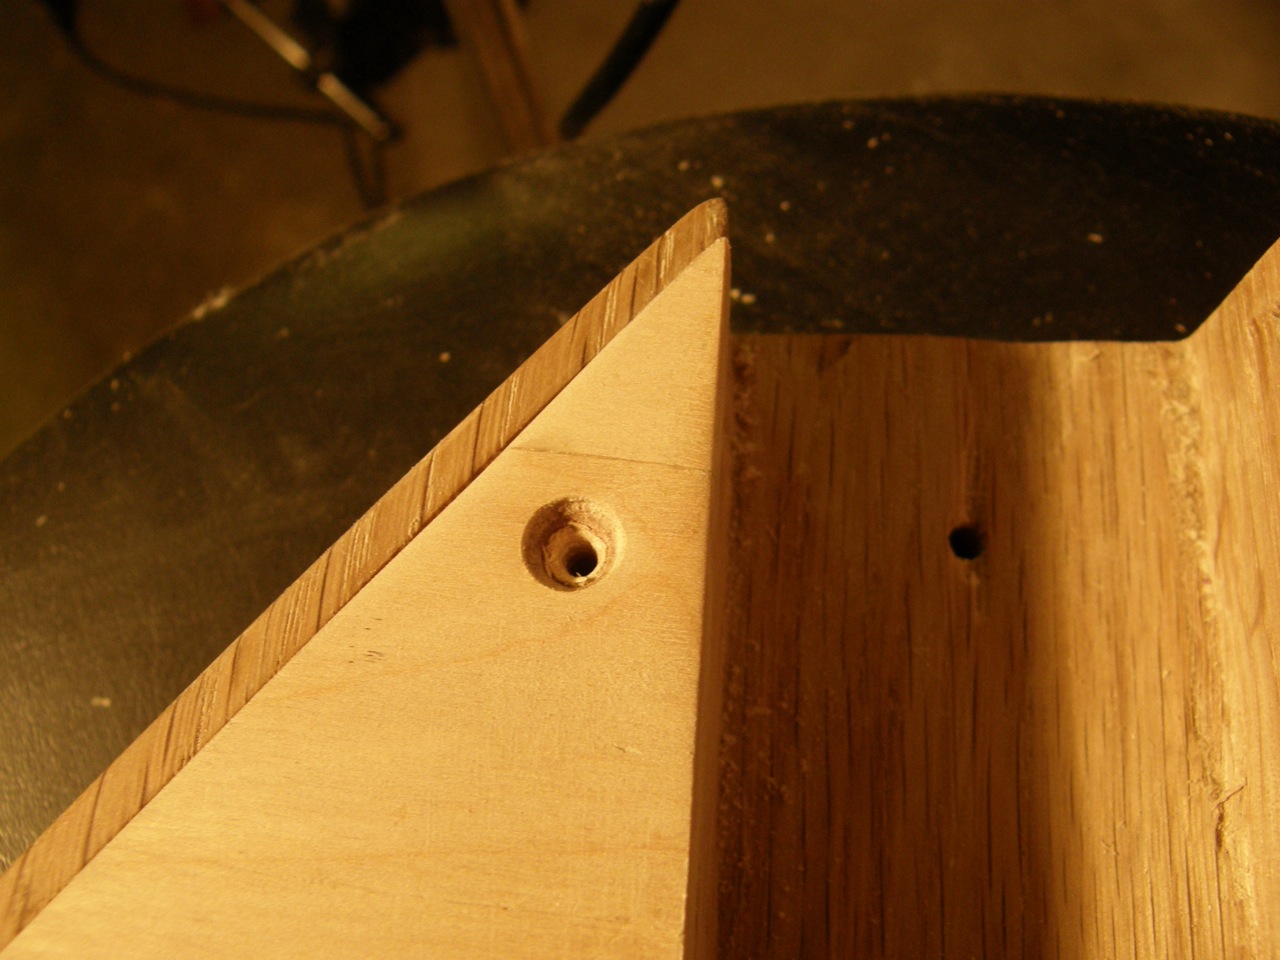
Here are some pictures that I took during the work: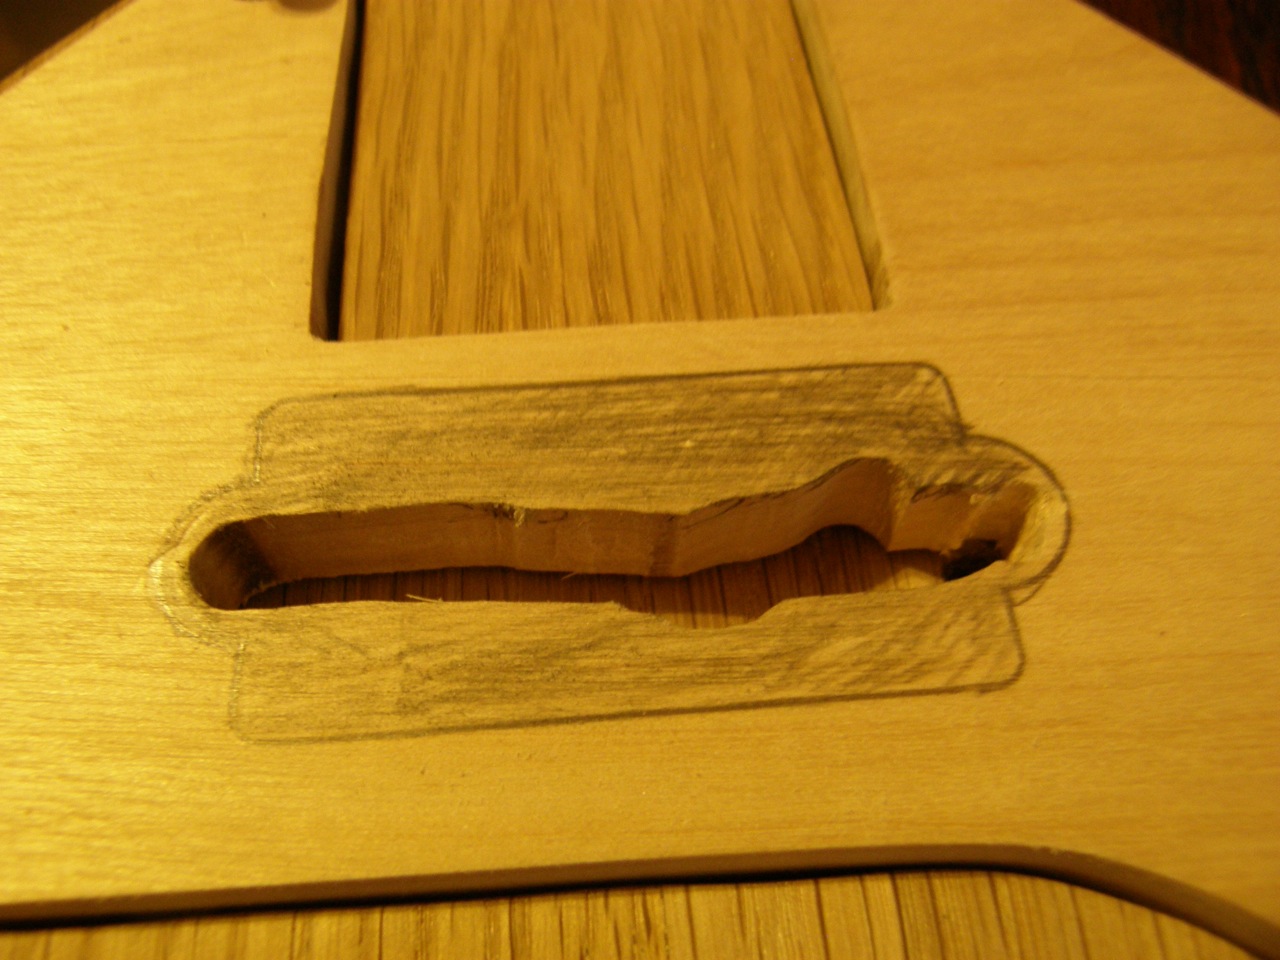
Here are some pictures of the whole balalajka: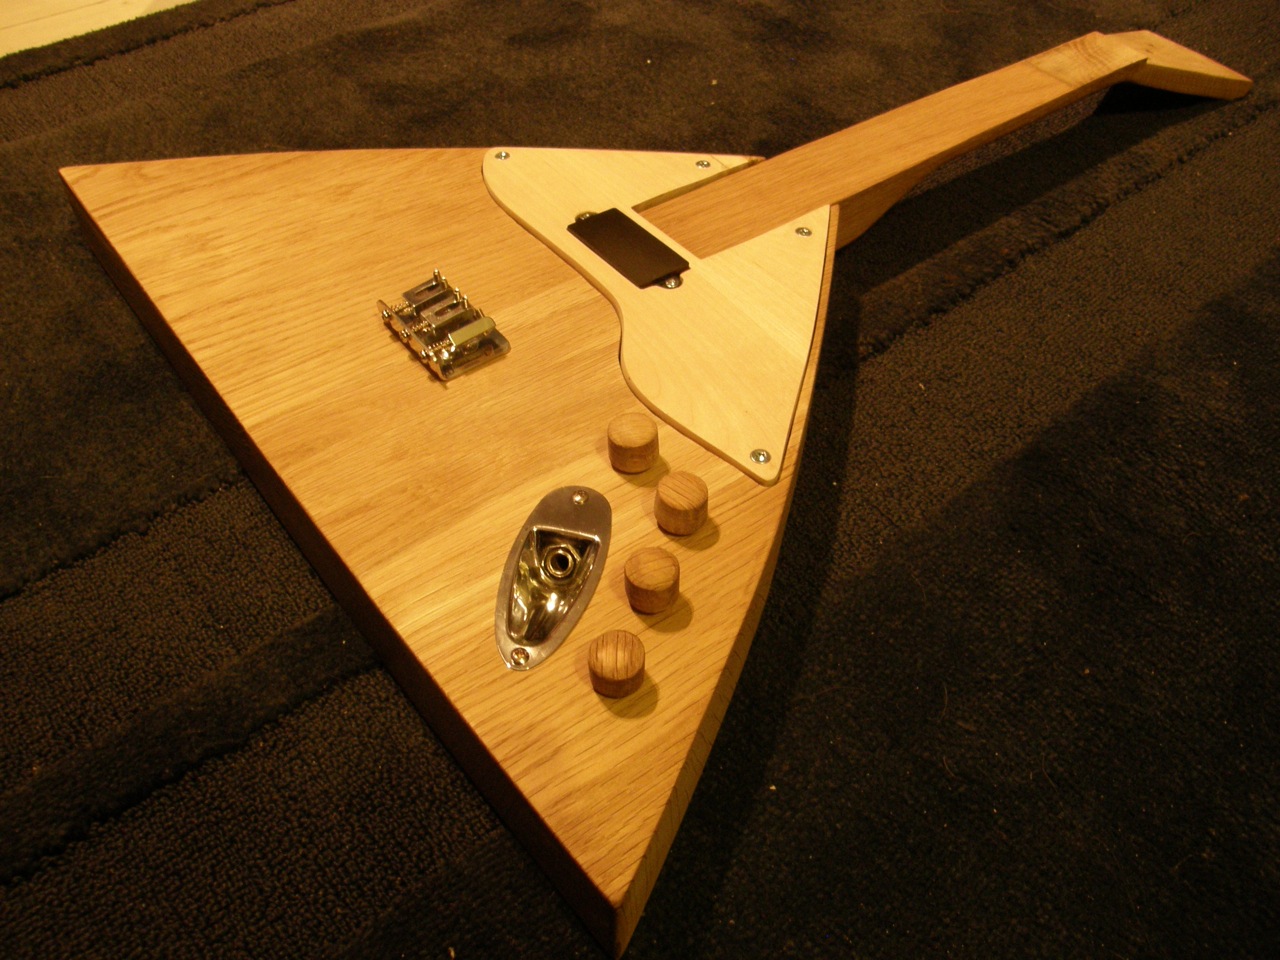
I am going to try to improve the appearance of the pickguard where it was damaged, so this will also take some time. I have a plan on how to do this the best way. The other thing that I have left with the body is the strap lock and the nameplate that will be placed on the inside of the control cavity cover.
23rd of January:
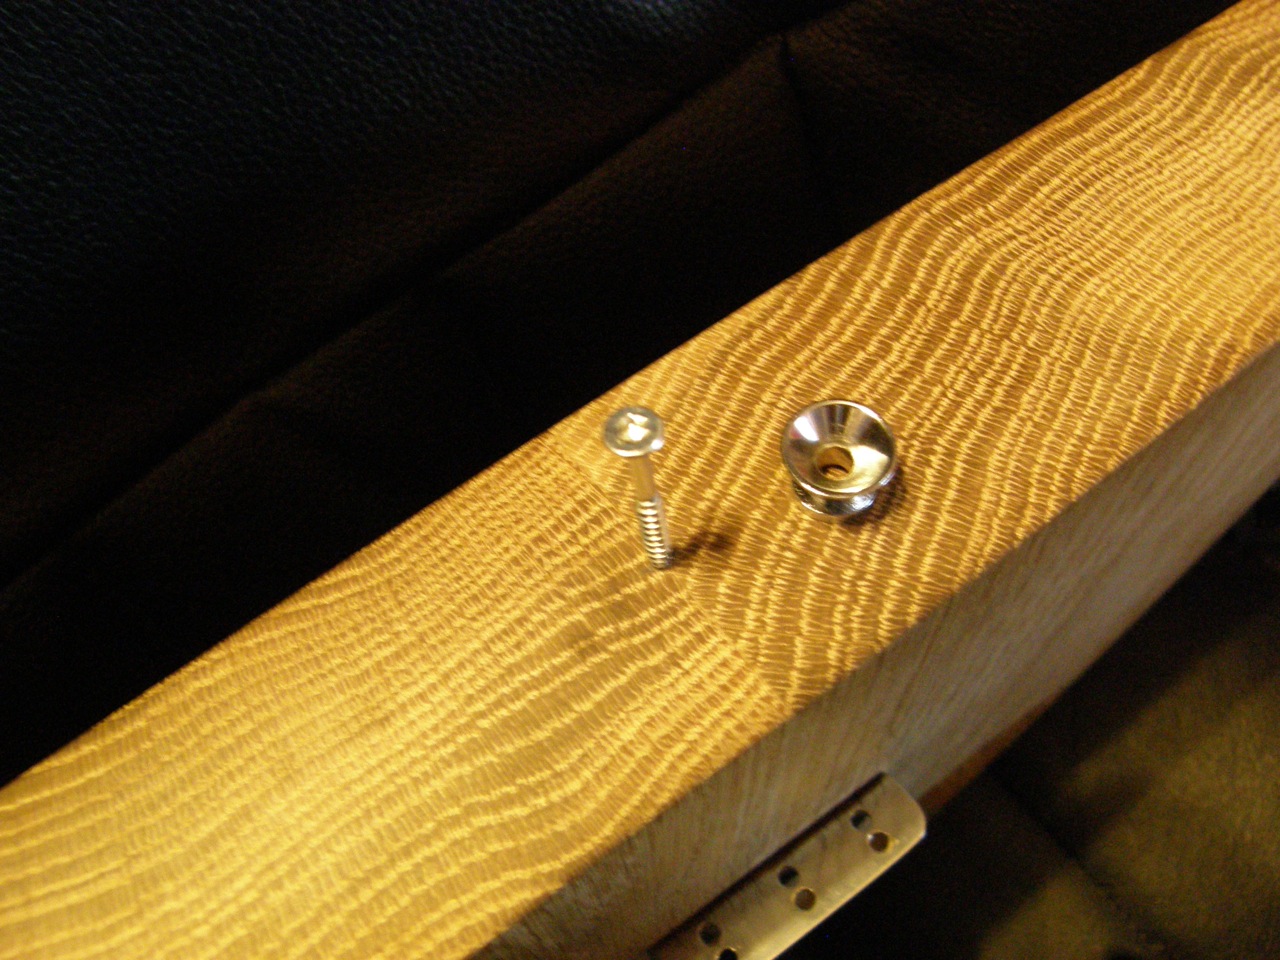
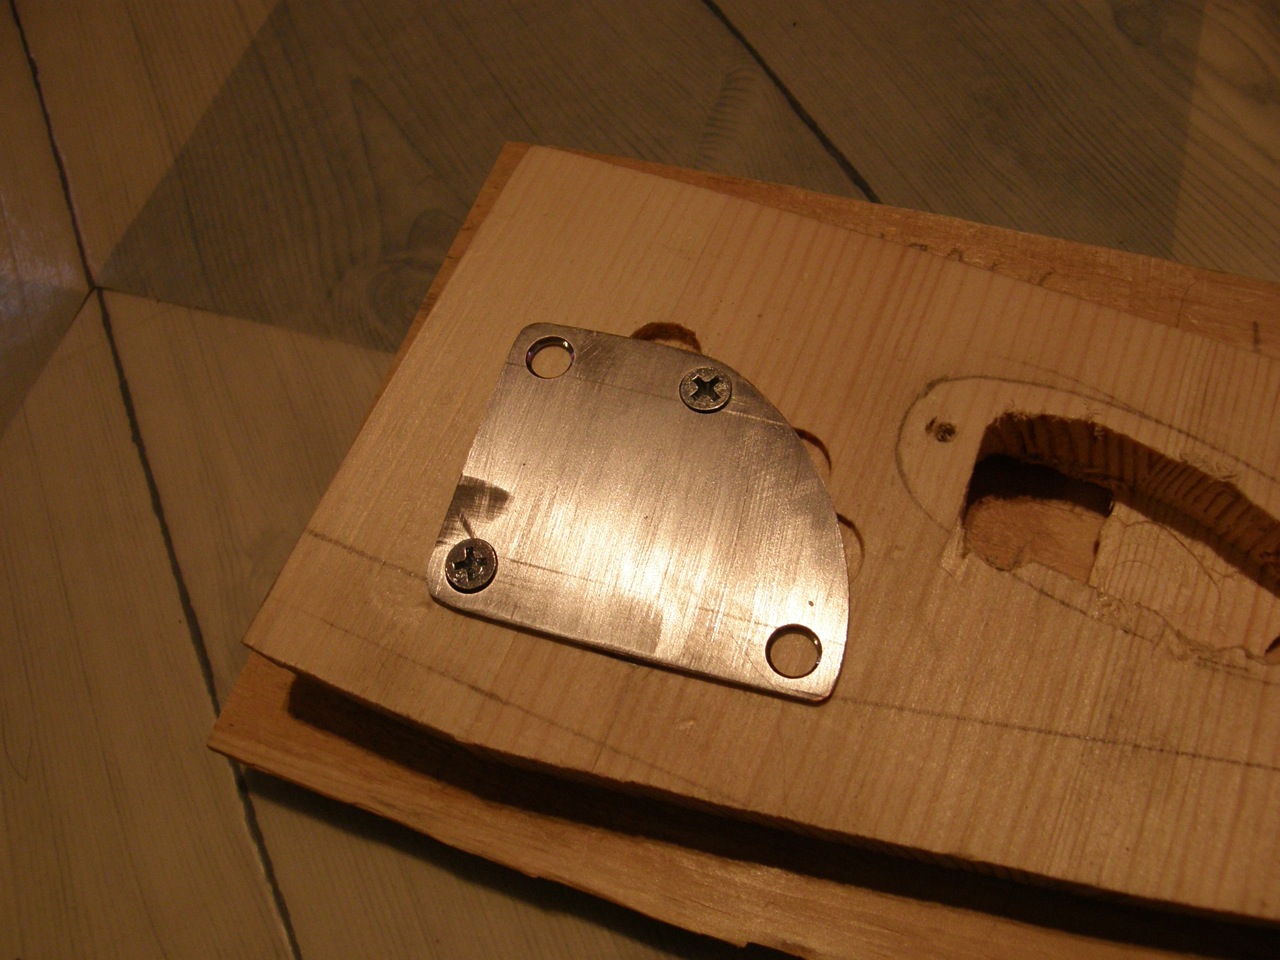
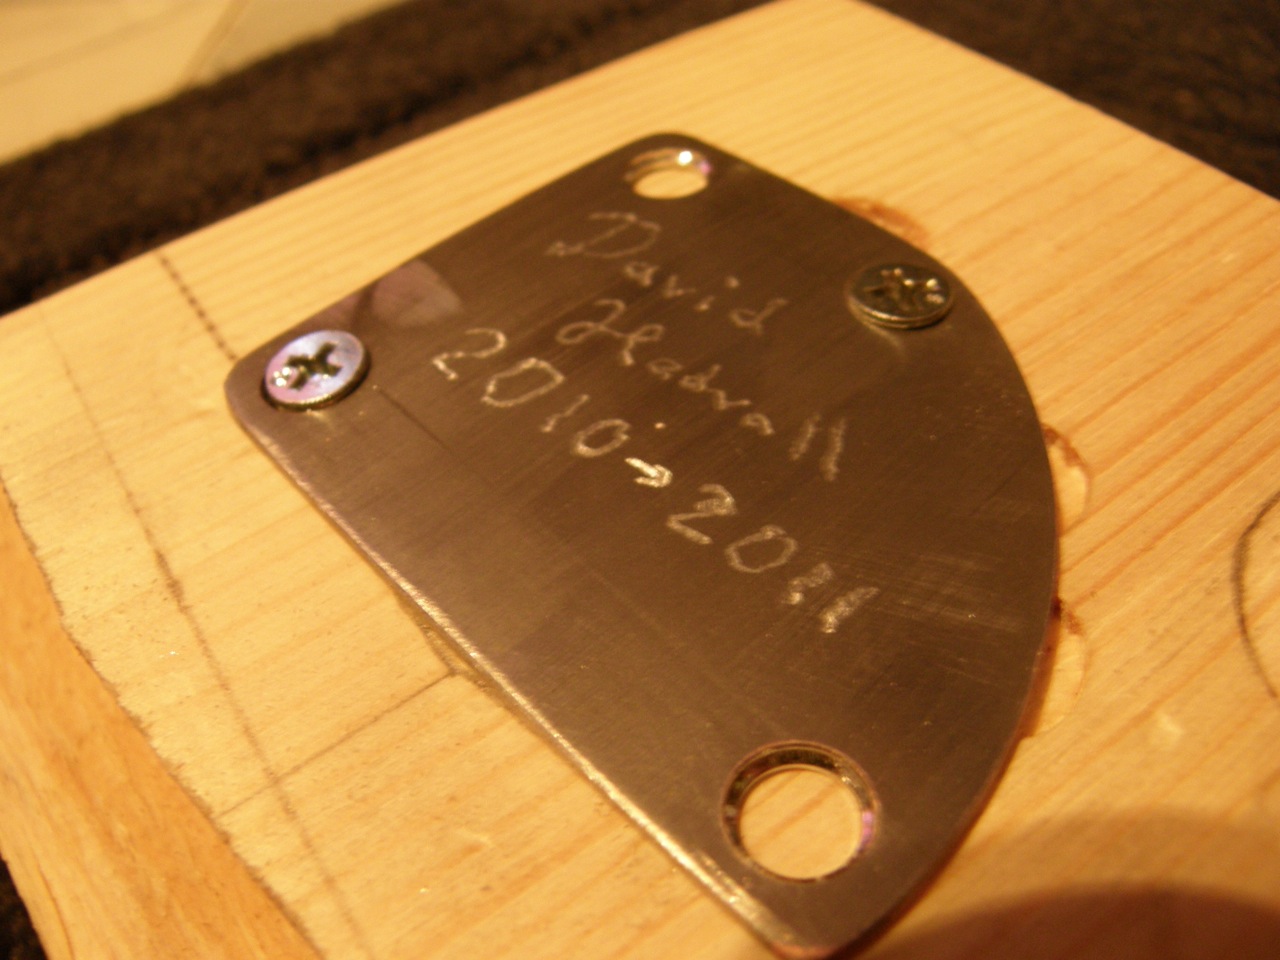
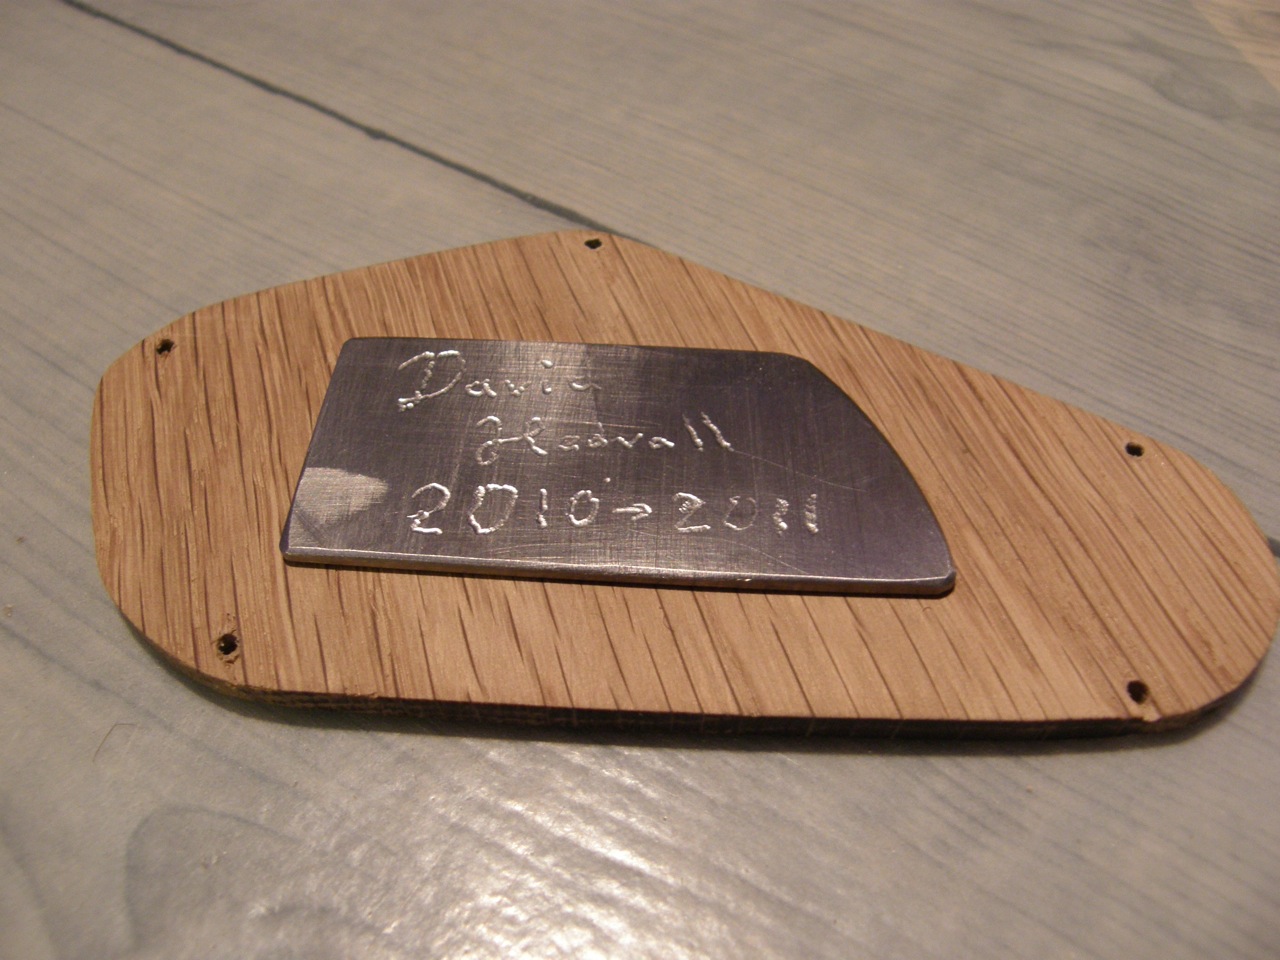
Today I have worked with the last steps of the body, I have oiled two small pieces of birch to see what color they get, I have also replaced the damage wood on the pickguard. Then I moved on to attach a shoulder-strap mount at the bottom of the body, then I have worked with the nameplate.
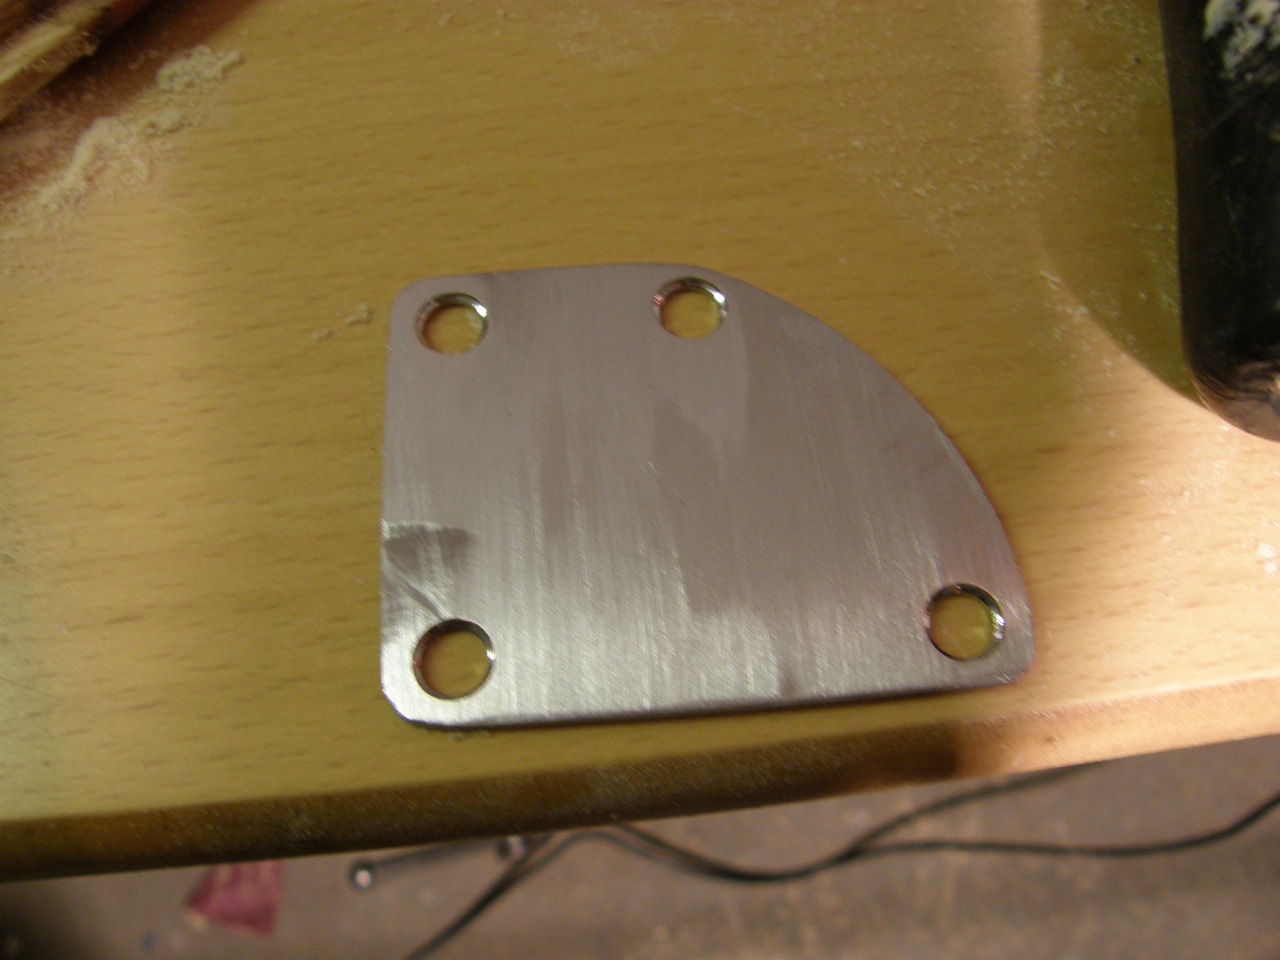
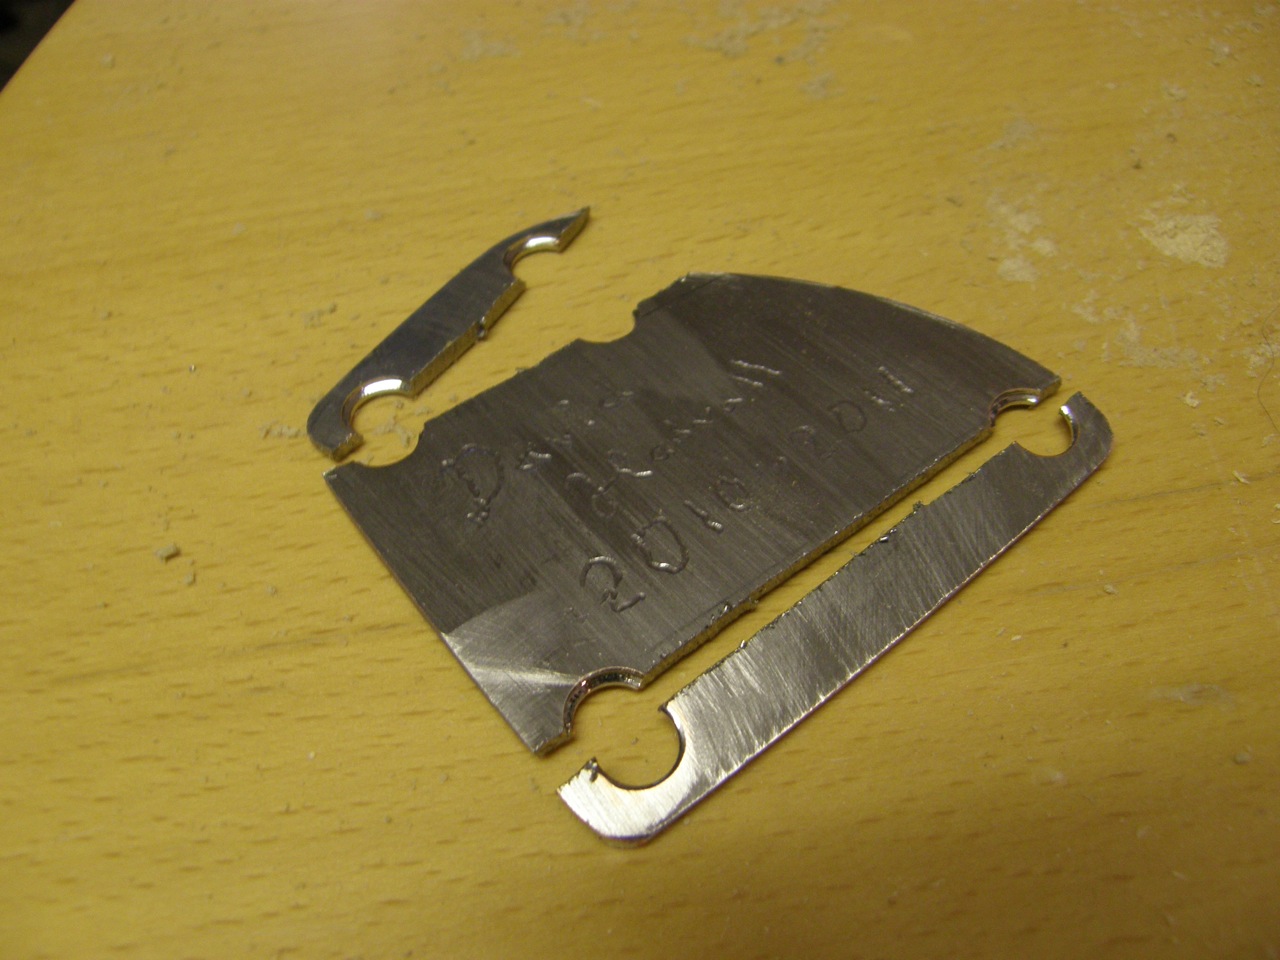
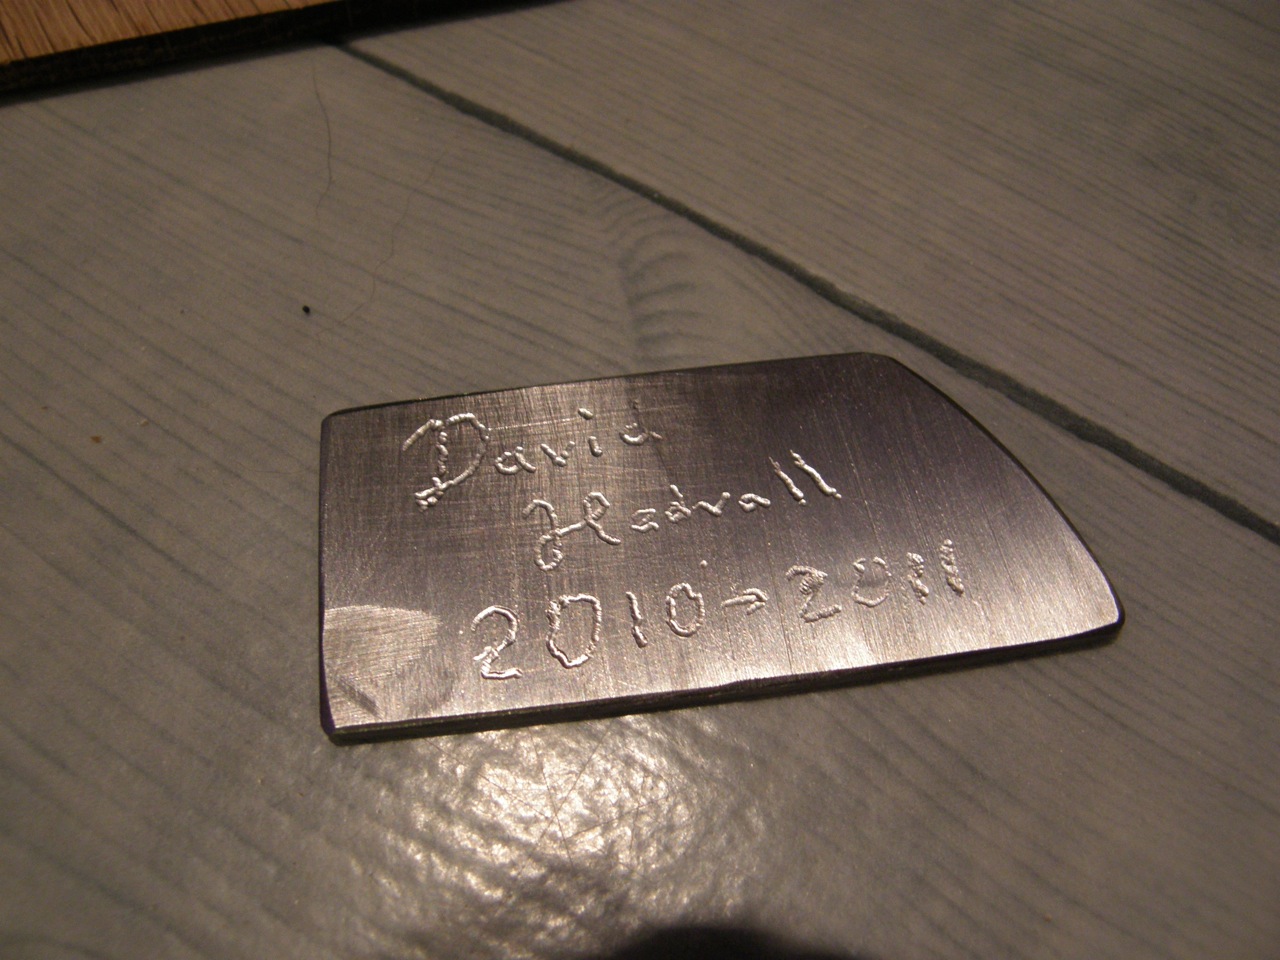
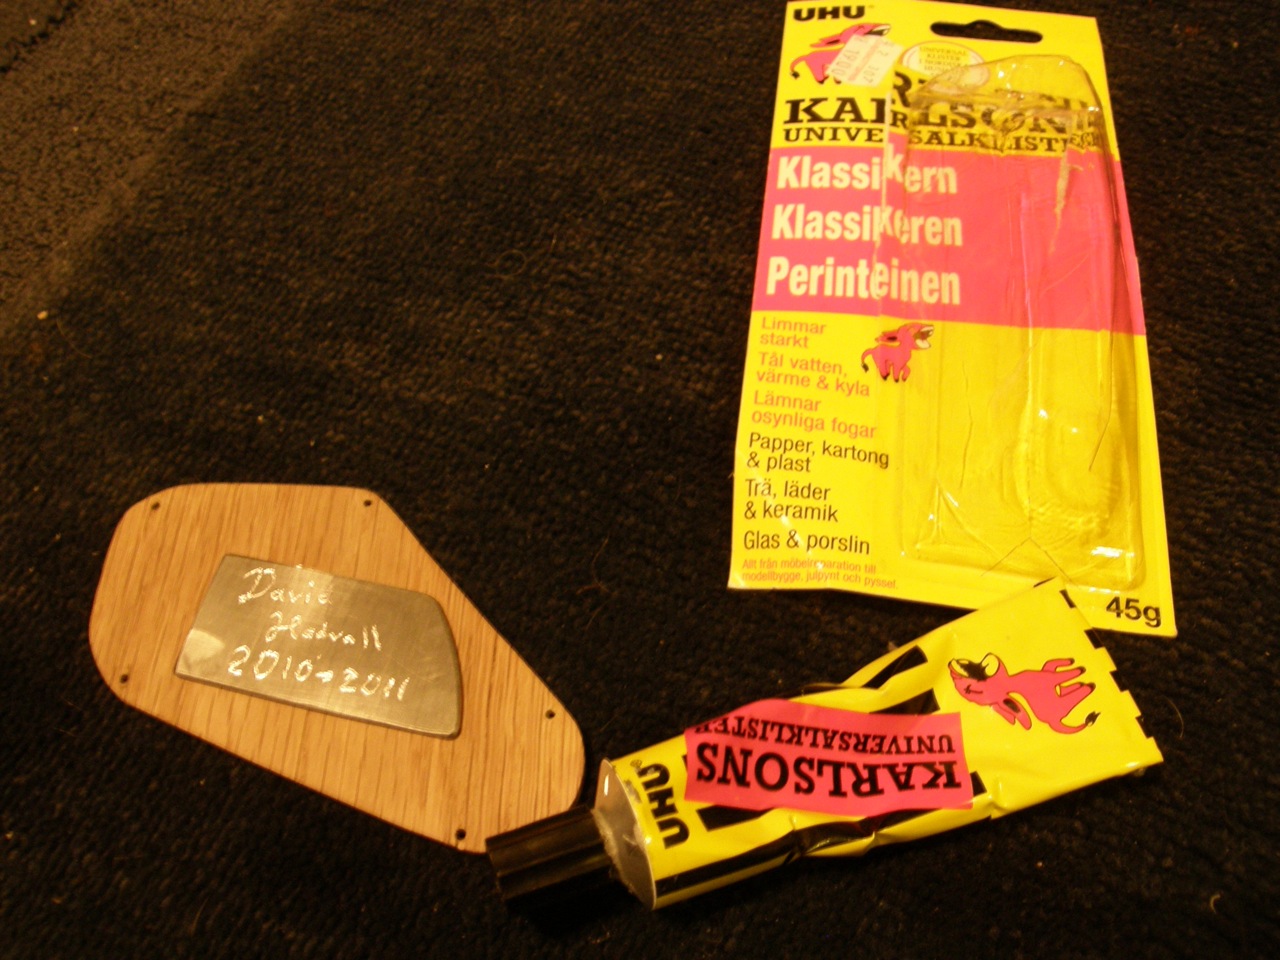
I have used the neck plate that I got earlier, and reduced the size of it, it is now much smaller and it fits in the control cavity. I used a metal saw and the grinding machine, I also grinded the surface of the plate so that the old engraving disappeared. I have also made a new engraving and the nameplate have been glued to the cover.
I choose to use a torx screw for the shoulder-strap mount instead of the regular screw that I got when I bought it. This is of practical reasons.
Here are some pictures:
Now all that I have left with the body is to oil it, but I will wait with this until the neck also is finished.