


The Body
This is my work log of how work with the body progressed:
When doing this, do not forget to think about the neck too. There are many things to keep in mind, one example is how the distance of the neck effects the location of the bridge. I made both the body and the neck at the same time.
Before you commence with this you will need to choose what dimensions you want for your neck, you should also consider if you want to use a truss rod or not. I decided the dimensions during the work, but I do not recommend it.
13th of November:
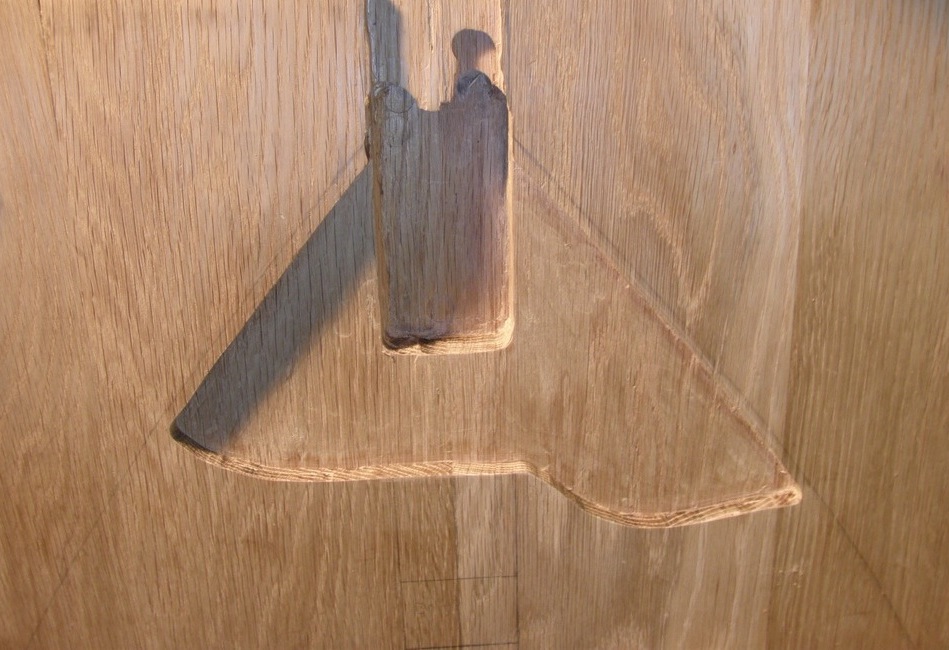
Today I continued with the neck socket, and I believe that I have finished it now. It is 2,8 cm deep. I will probably have to adjust it later since the neck of the balalajka should not be straight, compared to the body.
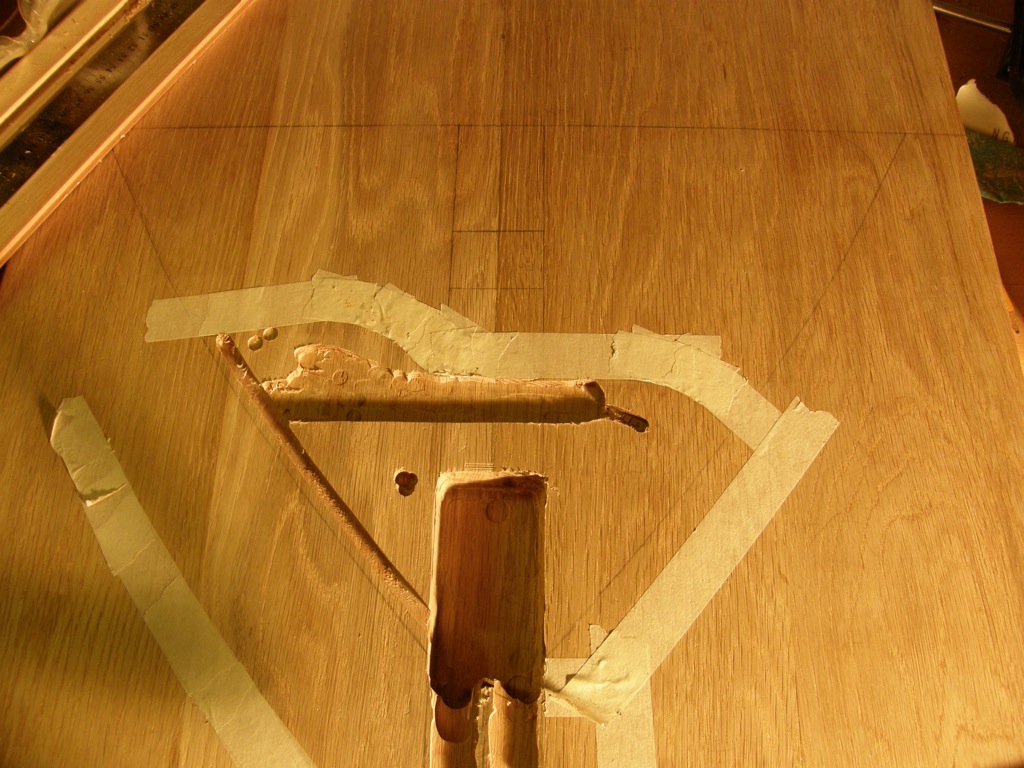
The reason to the little mark in the socket is that the cutter on the router got a bit loose when I was working, and I have not done anything about this as I anyway will have to change it later... (According to "Building the Balalaika" the neck should be angled 2° away from the body if I remember it correctly). I will try to finish the pickguard tomorrow...
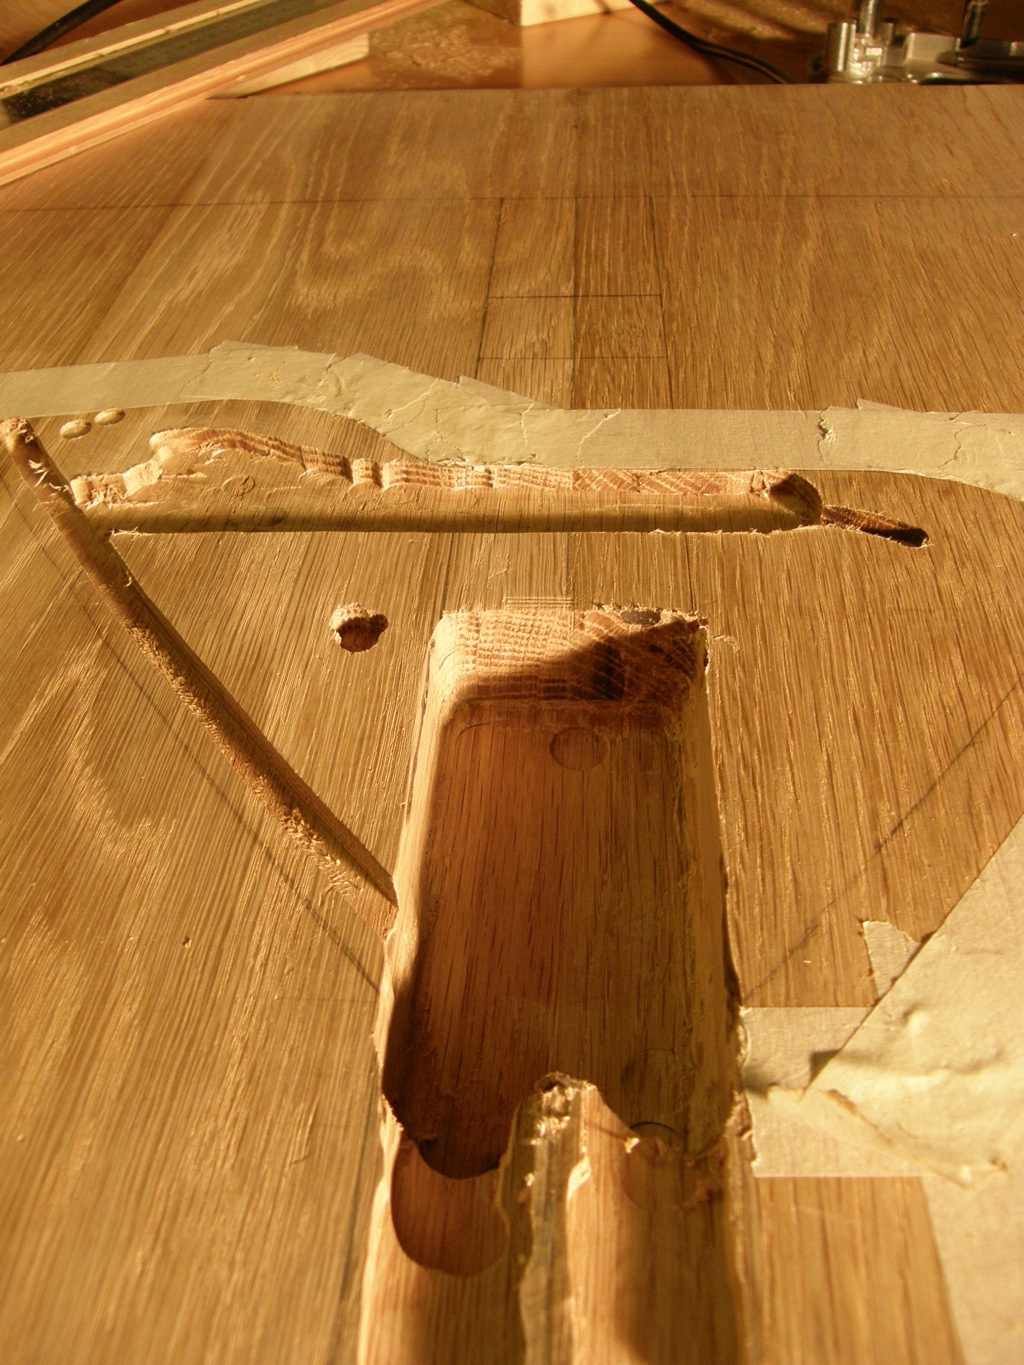
14th of November:
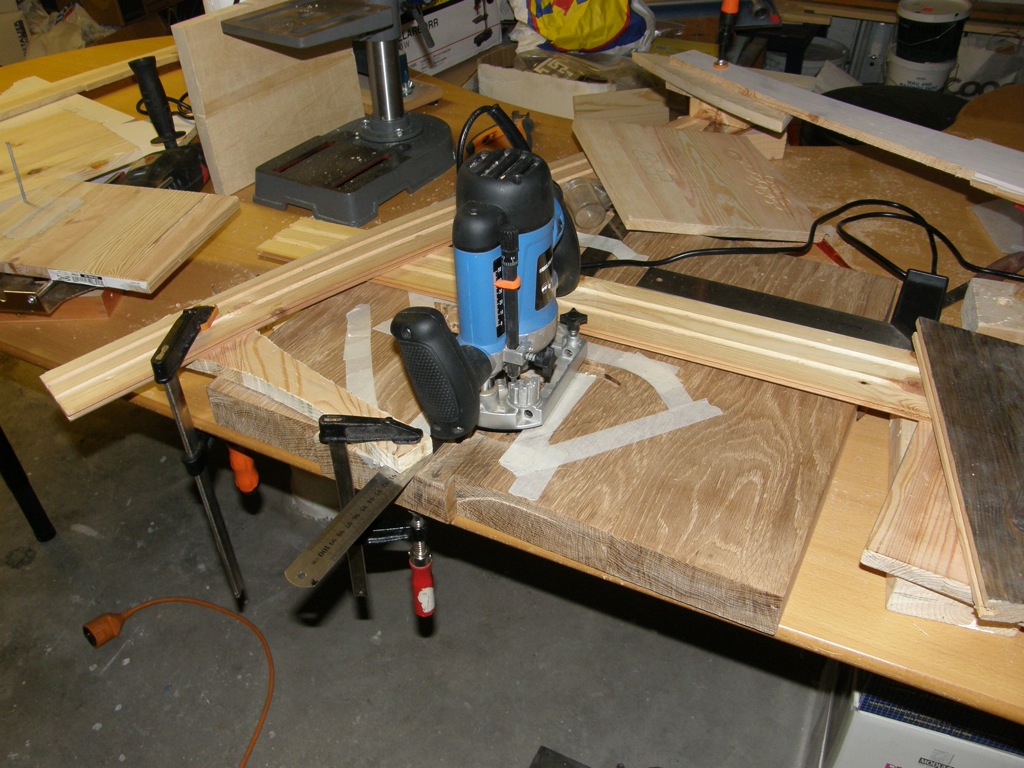
Today I finished with routing the pickguard, I also improved the neck socket a bit.
Here are some pictures:

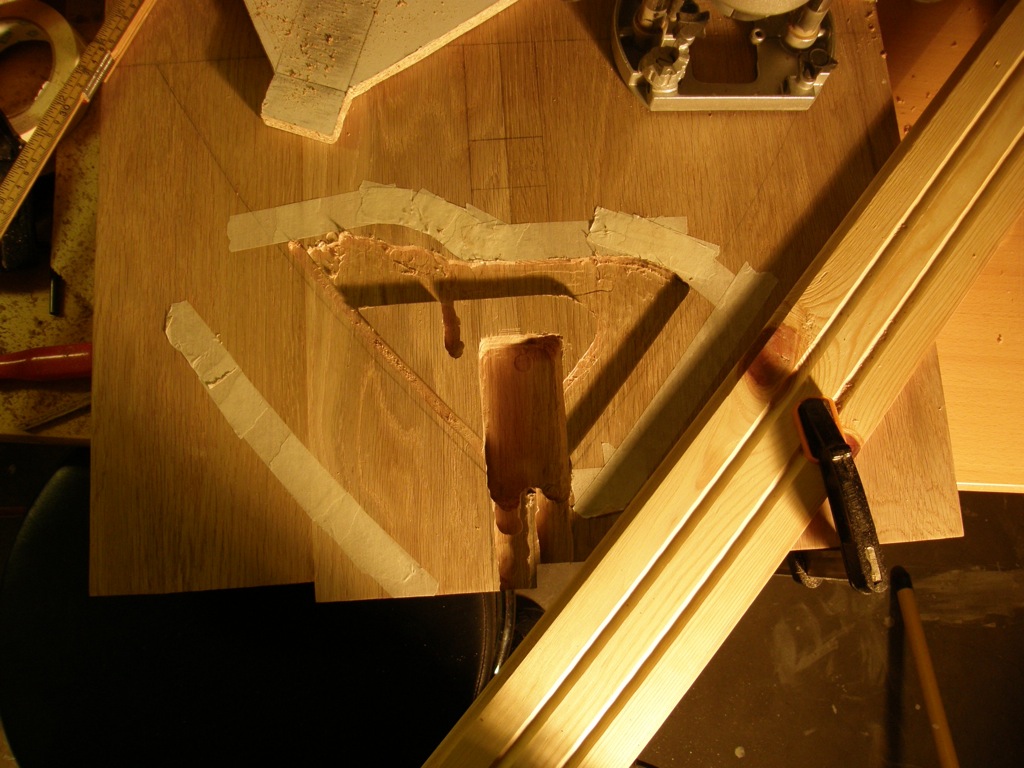
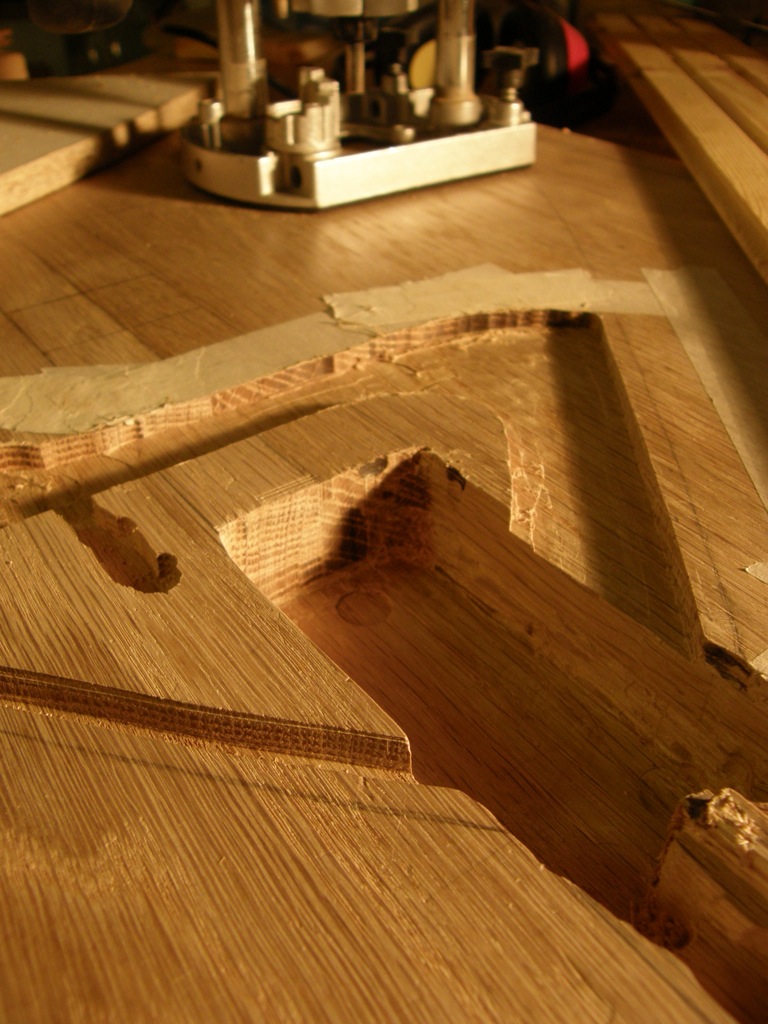
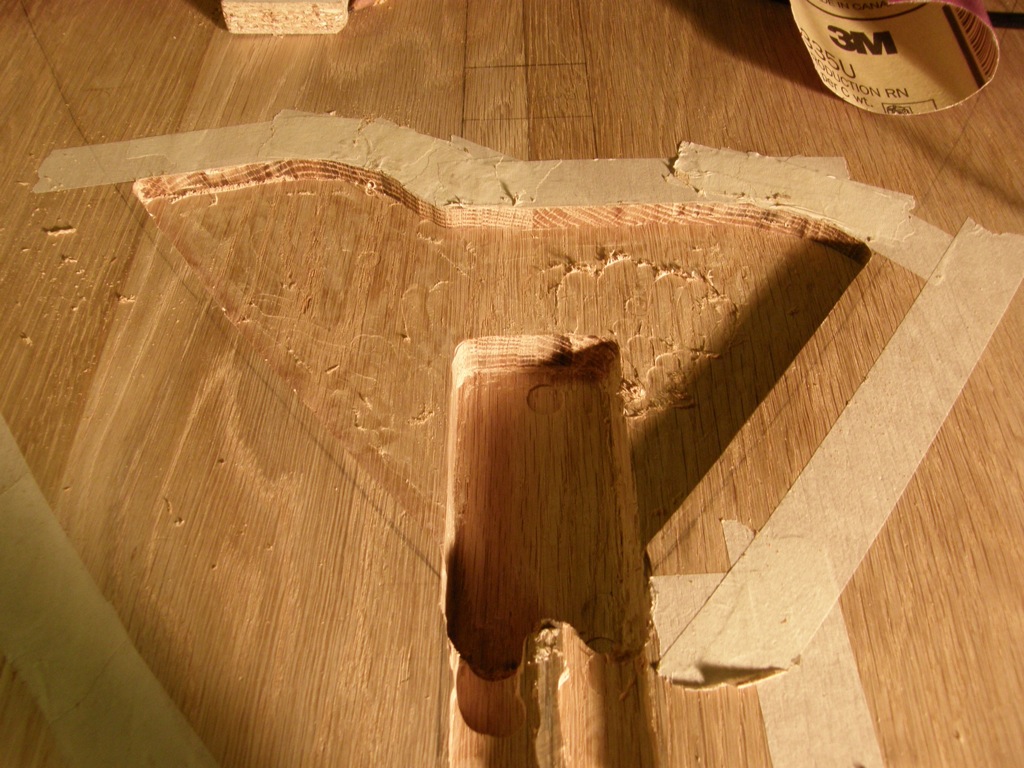
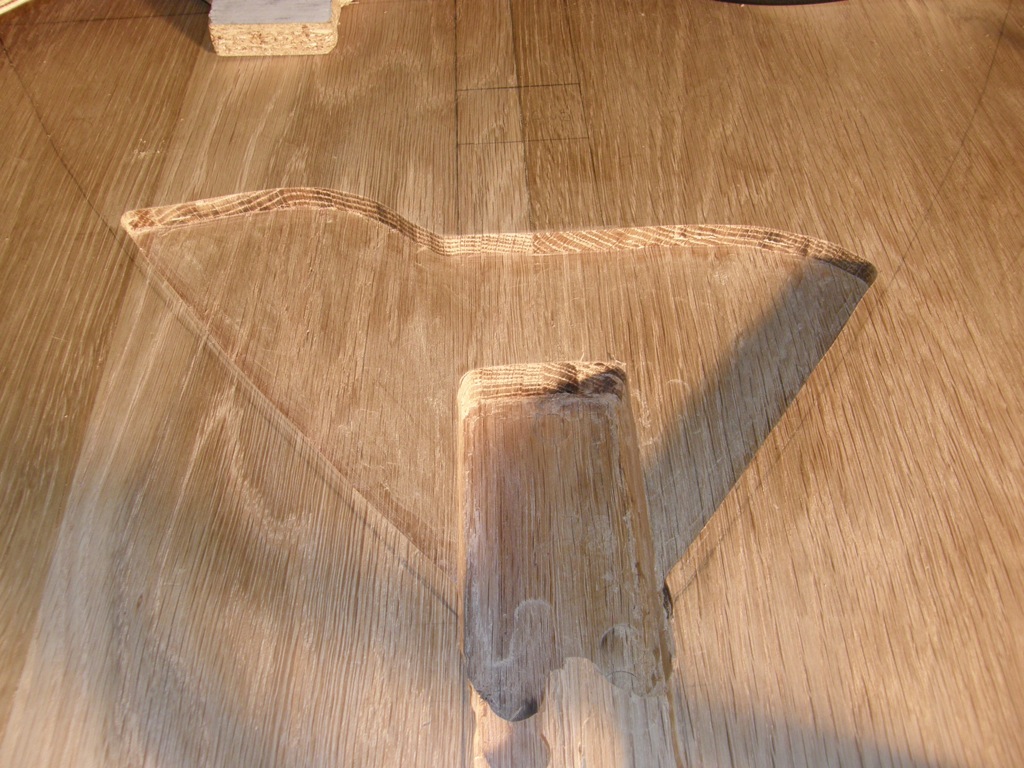
It was much easier to work with the router on free-hand mode instead... Overall I am happy with the result. There are some small damages, but they should not be visible when I am done with the balalajka...
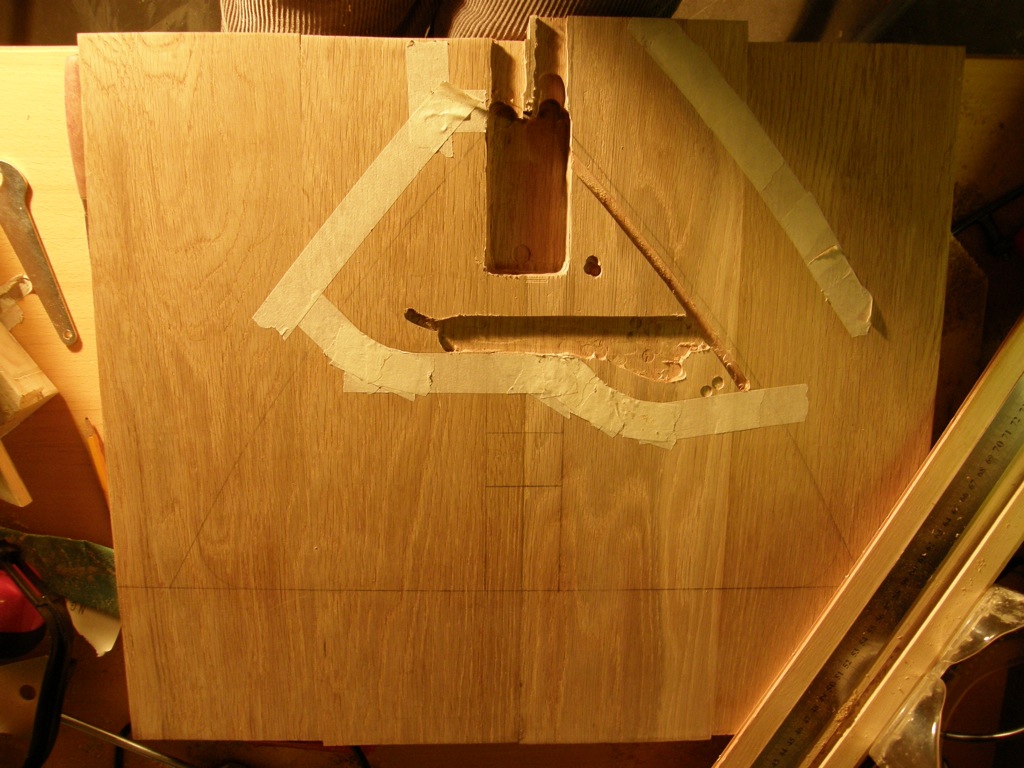
15th of November:
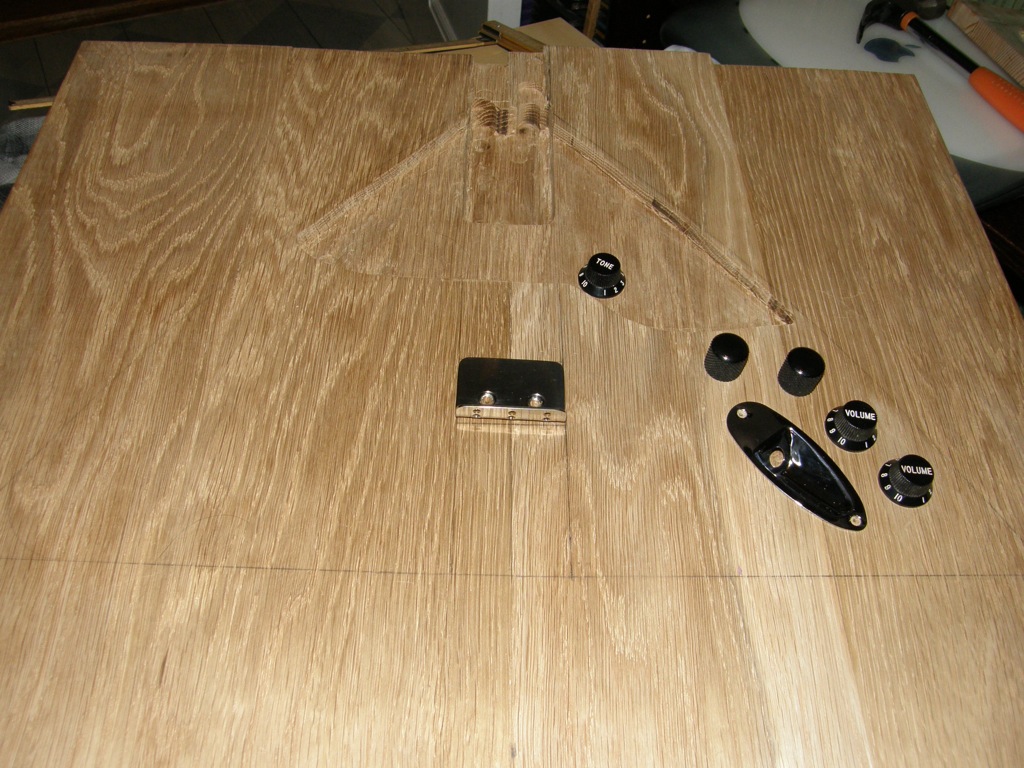
Today I marked the location of the knobs and the socket. I have decided to go with four knobs. If I end up using only two potentiometers I could connect both one volume and one tune to each...
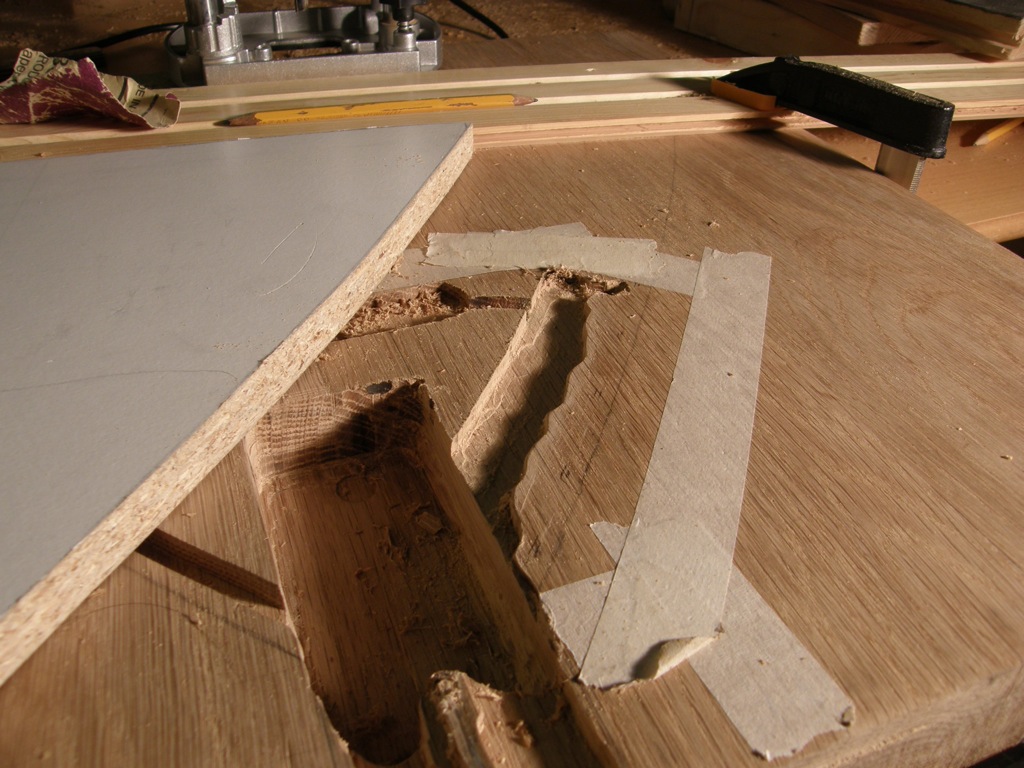
17th of November:
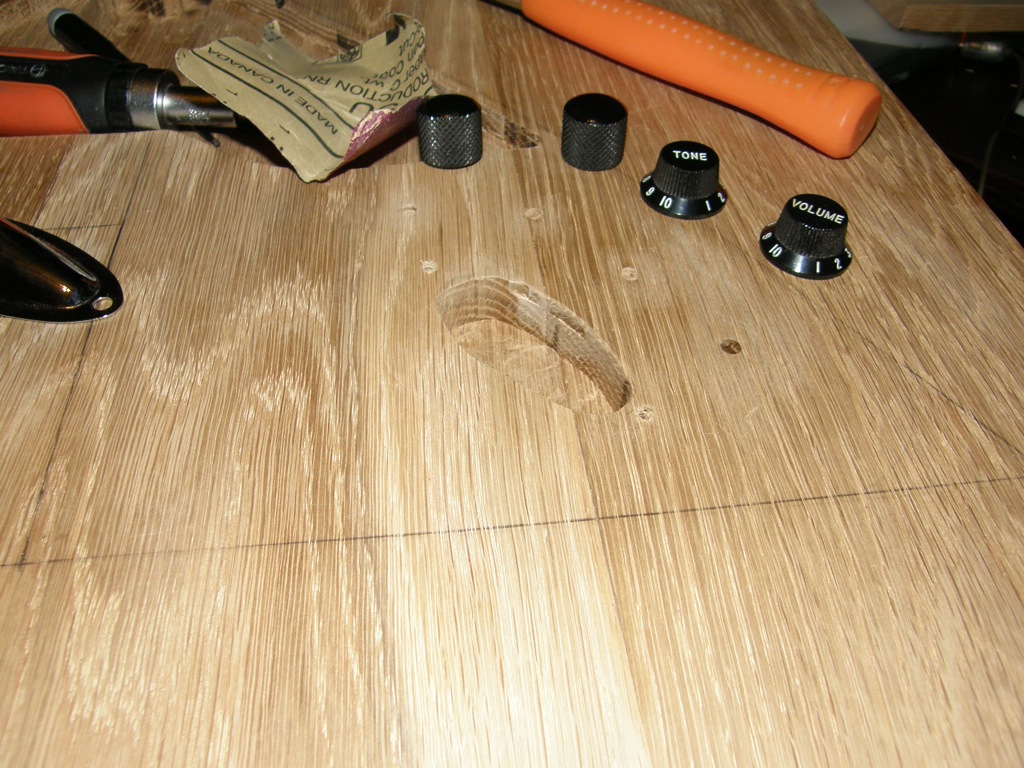
Today I started drilling the holes for the potentiometers, I also used the router to fix the input jack. I also started fastening the bridge, but one of the screws got broken, so I will have to find a way to remove it... I will probably wait until the body have been sawed out, and then I will use the pillar drill and try to destroy the broken screw.
Here are some pictures of the result: