The Body
This is my work log of how work with the body progressed:
When doing this, do not forget to think about the neck too. There are many things to keep in mind, one example is how the distance of the neck effects the location of the bridge. I made both the body and the neck at the same time.
Before you commence with this you will need to choose what dimensions you want for your neck, you should also consider if you want to use a truss rod or not. I decided the dimensions during the work, but I do not recommend it.
5th of November:
Today I used the dimensions that I decided yesterday to draw lines on both the body and the neck. Sadly, the lines that I made on the body earlier were not completely straight so I had to redo them, but they should be good now.
I made sure that both of the sides were exactly the same. I used the template to make the first side...
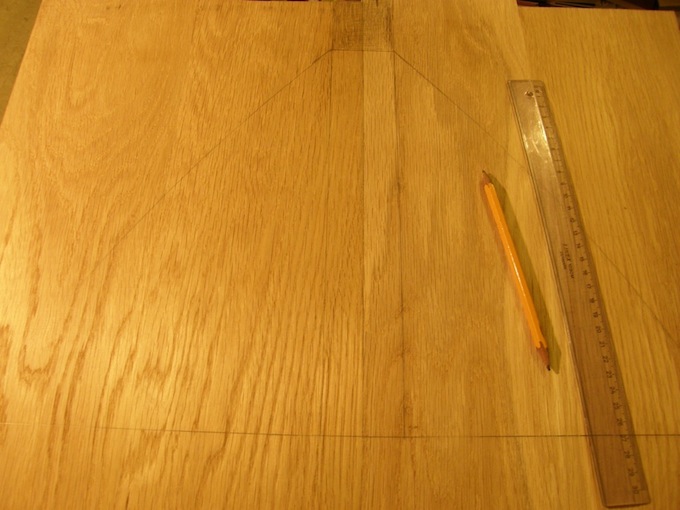
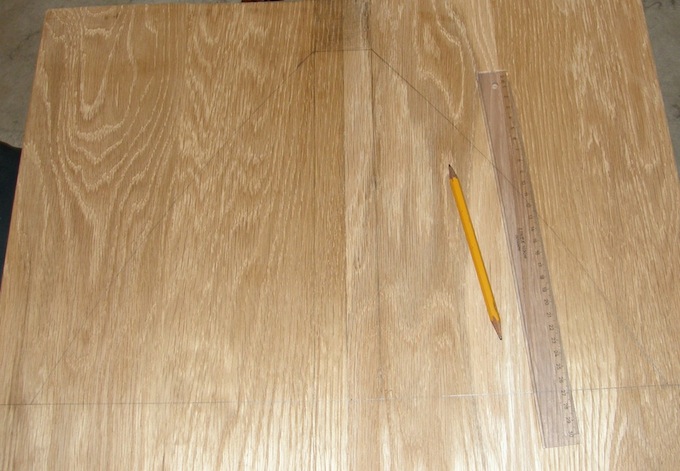
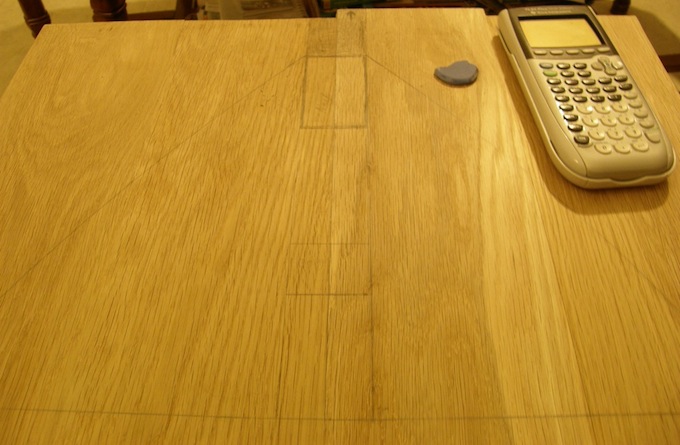
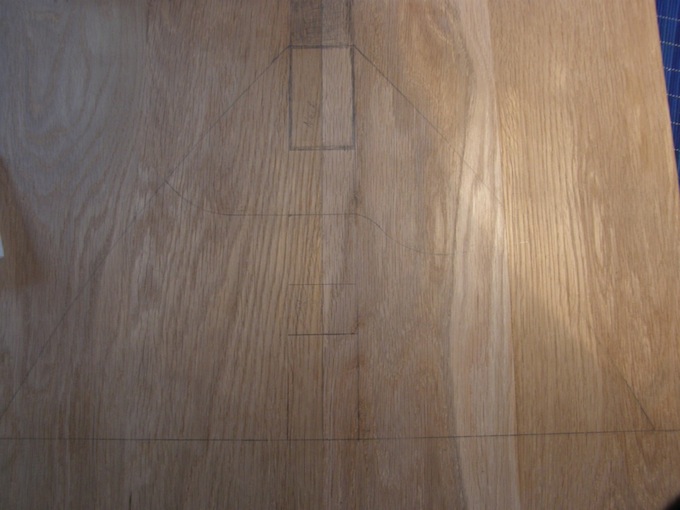
Here is a picture after I had added the location for the bridge and the neck...
6th of November:
Today I have researched how I would continue this work in the best way. I have decided to postpone the fretboard itself a while, although I will plane it when I get the possibility. I also changed the lines of the neck near the body a bit. After this I tested the router a bit...
After having tested the router, I have concluded that it probably would be much easier to use it before you cut out the body. (As long as the sides of your balalajka block straight.)
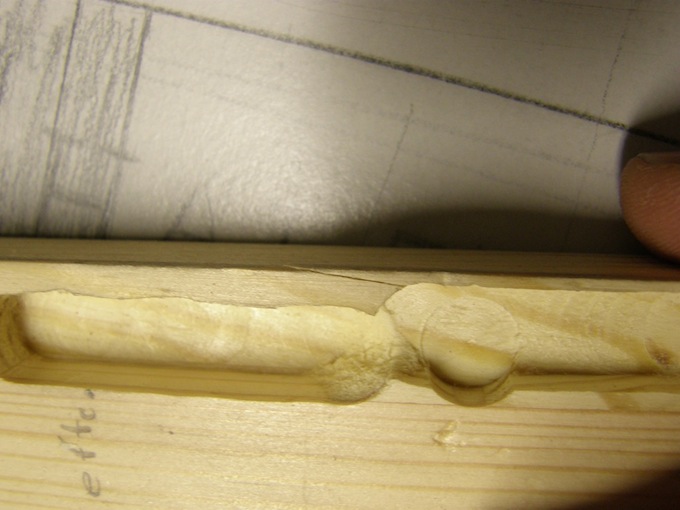
Here is a picture of my router test.
I tested both sawing after and before using the router, and both ways seem to work without any trouble...
As you can see it works without the wood cracking. (The only place were it cracked can be seen on the picture, but then I was very near the edge). Oak should even survive this better. I have realized that I have a problem with routing the pickguard, since the sides are not straight. If I were to build a completely triangular balalajka this would be a lot easier. As of now I have to find some other way to do this, I could of course route a triangular hole for the pickguard, but I do not know how that would look.
It is perhaps time that I choose the dimensions of the pickguard, but in a way the dimension of it depends on how many pickups I will use... The best way that I can think about at this moment is probably to fasten the template of the body that I made and work according to it.
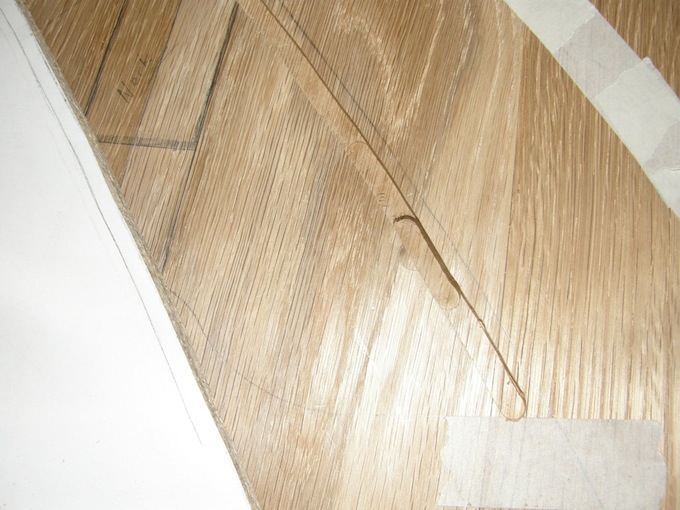
I tested it, and it went quite well, as you can see on the following picture.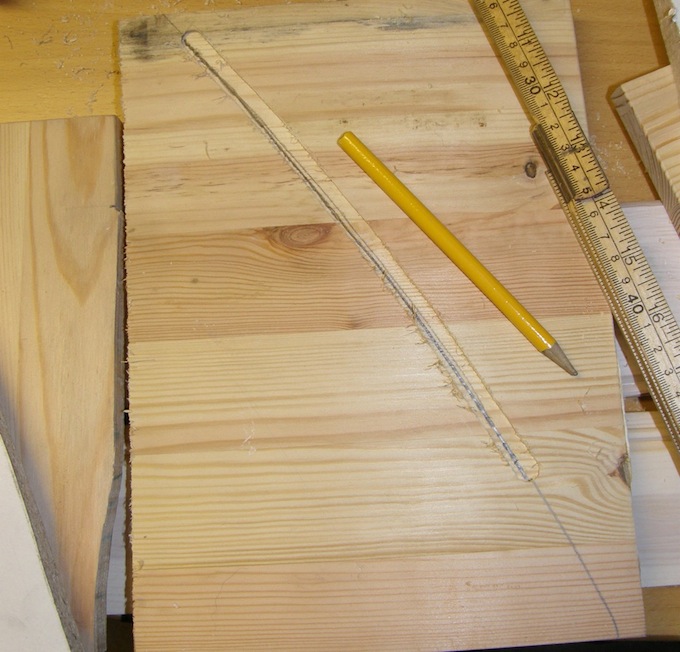
I used the same template to redraw the line after the router, and as you can see the distance from the edge is the same everywhere...
I could not do the real body today, as I need to buy a couple of clamps.
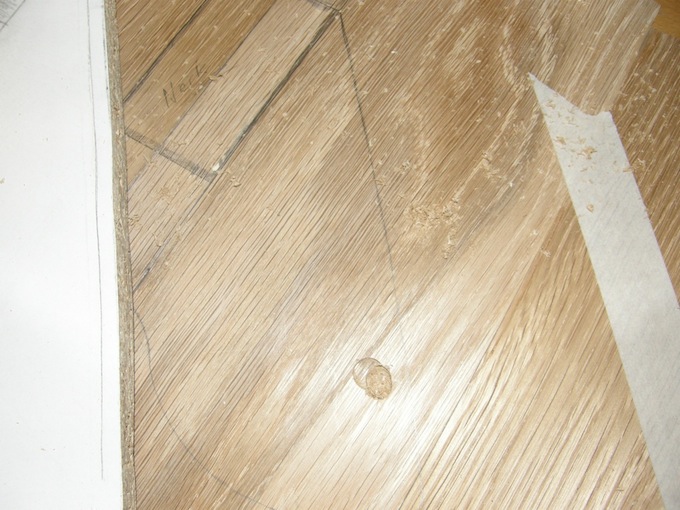
Here is a picture after I tested to route a hole for the jack holder.
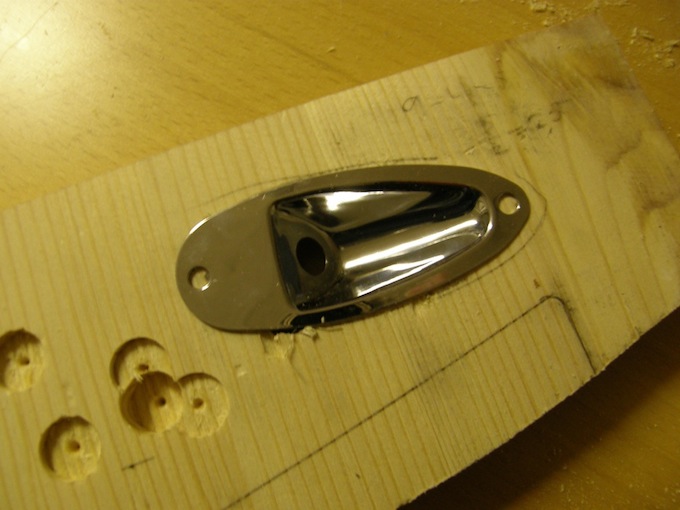
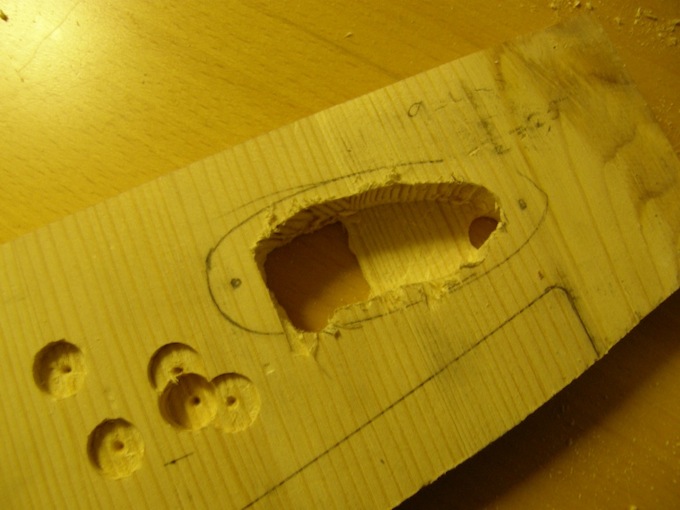
I were not careful at all, as you probably can guess after having seen the picture.
7th of November:
I will not have enough time to use the router today, but at least I have decided how far down the pickguard will go. I have chosen 5 cm down below the end of the neck. This will give me enough space to have two normal pickups in the pickguard (Plus some space in between). Only one pickup fit if I choose to use the skin of the jazz-bass pickup. I will also have the possibility to place a pickup between the pickup and the bridge, if I want...
I also bought a couple of clamps today
.
10th of November:
Today I got the time to decide the dimensions of the pickguard. As I believe that I wrote here somewhere, I decided a couple of days ago to let the pickguard go down 5 cm below the end of the neck.
I used some simple objects to make the pickguard round...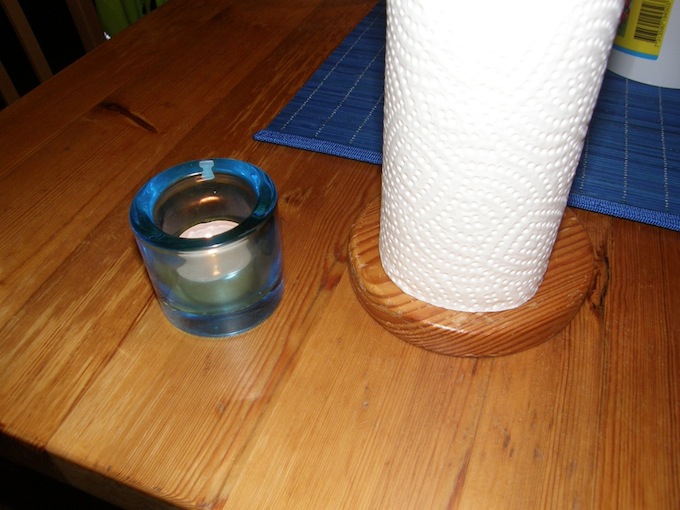
Other than these two round objects, I also used a simple ruler.
12th of November:
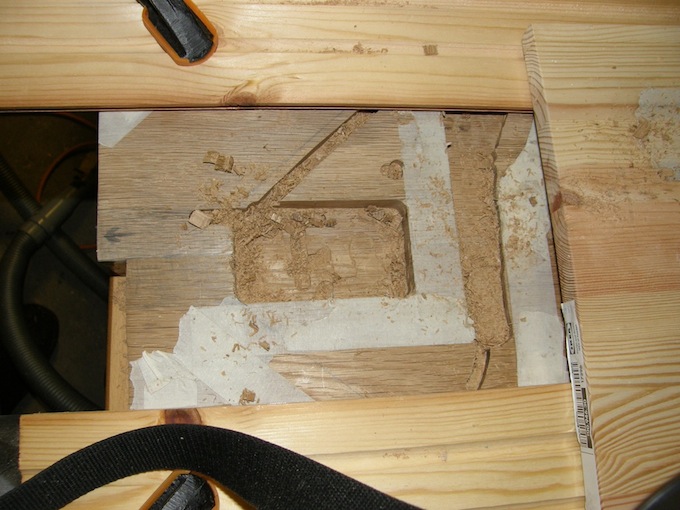
Today I started with trying to route the space for the pickguard. There is not much to say about this, other than I realize that this will take much more time than what I previously expected.
I also started with the neck socket, as I realized that it would be harder for me to route it later, since it will go deeper down than the pickguard. Unfortunately this part also seems to take longer time than what I expected.


